
I have all sorts of little pieces of paper sitting beside my bed; fragments of reminders from people who have asked me to pray for them. I write them down, put them in my pocket, and then take them out of my pocket hours later, and place them carefully onto my bedside table as I change into my pajamas. And there they sit. On one hand it’s good, because I can see each one as go to bed, and remember to pray for each need or desire. But on the other hand I have too many little pieces of paper on my bedside table. What I would like is a small cork board to hang beside my bed, where I can pin these special prayer requests. I had decided to make my own out of cork board, and a picture frame I found at a thrift store, only I couldn’t find my cork, maybe I didn’t buy it in the first place. (Update: Since writing this paragraph I found my cork. Read to the end to solve the mystery!) So I’m going to soldier on and make it out of something completely different: cardboard, vinyl fabric and burlap. So, here’s how to make a cork board without the cork!
Supplies:
- Picture frame, or pre-framed art
- Craft knife (although I used a bread knife from my knife block😏. Do you, too, feel just too tired to grab the right tool even though, in the long run you’d have been better off? I do that SO much. Do you? Fortunately the bread knife worked perfectly.)
- Screwdriver and pliers (If you’re using a normal picture frame you won’t need these, nor will you if you choose to take out the staples in another way, i.e. your teeth, which, I must warn you, is inadvisable)
- Cardboard
- Hot glue gun and glue
- Scissors
- Vinyl (the kind we used to reupholster chairs in this post) This step is likely not vitally necessary. I used it because I thought the vinyl would hold the push pins in more firmly than just cardboard and fabric. You will want something nice for your fabric in this step if your burlap’s holes are large. You don’t want the cardboard showing through.
- Burlap. The burlap I used has almost no holes in it, and it’s very soft. The burlap we used for this craft wouldn’t be as suitable unless you had really nice fabric underneath.
Instructions:

- If your frame is like mine (pre-framed art work) you’ll have to cut the back paper off of it. This is very simple. Just feel for the edge with your fingertips and push a craft knife tip (or bread knife 🤷♀️) into it. Gently slide the knife along the edge to cut the paper. Save the paper for the end of the craft.

2. There are staples under the paper that hold the cardboard backing onto the frame. I used a screwdriver to pull up the staples…

…and then pliers to pull them out.

Please note the background mess (because nobody’s perfect) and the requisite cup of tea (because it’s the little things…)
3. Using the paper backing you removed with a knife (or the cardboard you removed) as a template trace the same size from vinyl. Cut it out and glue it onto the cardboard with hot glue.
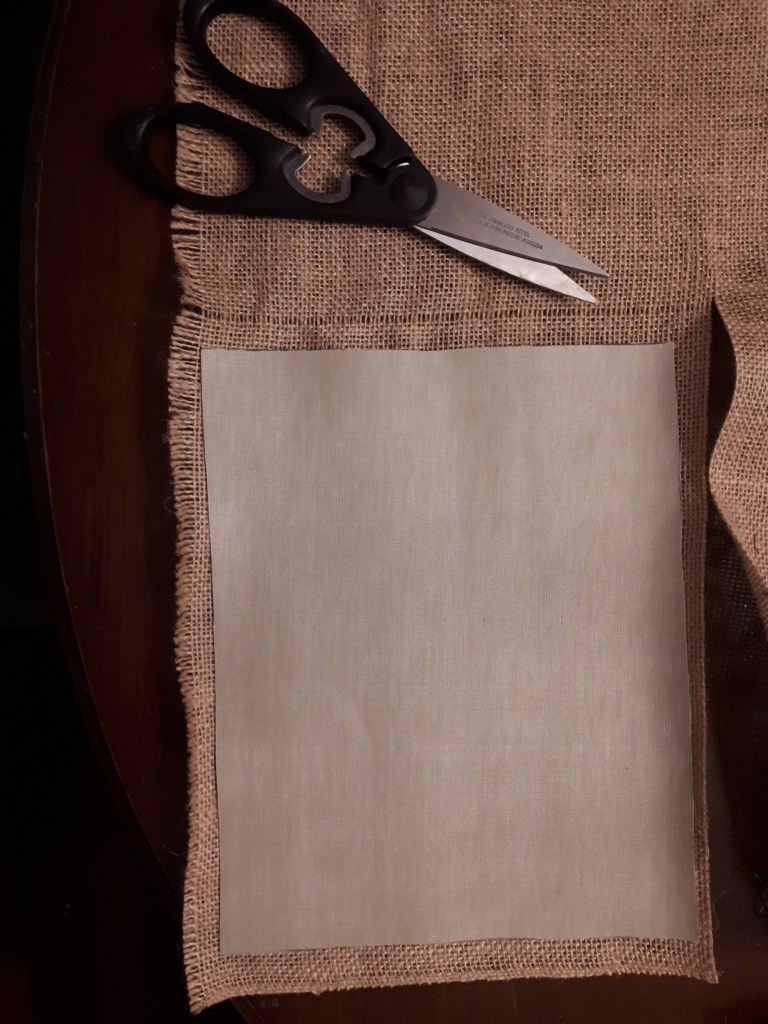
4. Leaving space all around the template/cardboard cut out the main fabric of the bulletin board. I left about half an inch around, but I should have done a bit more because I ran out of space while gluing the last side. Can you see on the top of the vinyl the railroad track line in the burlap? Making this line in your burlap makes it so much easier to cut it; you don’t have to worry about all the frayed edges. You can learn how to do it by clicking here: How to Easily Cut Burlap.

6. By this point you should have cardboard on the very back, then the vinyl and now put the burlap on the very top. Stack them like this and then turn it upside down. Adjust it as necessary to centre it. Glue the edges of the back of the cardboard so you can wrap the burlap around to the back. Glue all four edges. Warning: this might hurt! Lots of burnt little finger tips over here!

I just glued the raw edge to the side of the cardboard instead of the back.
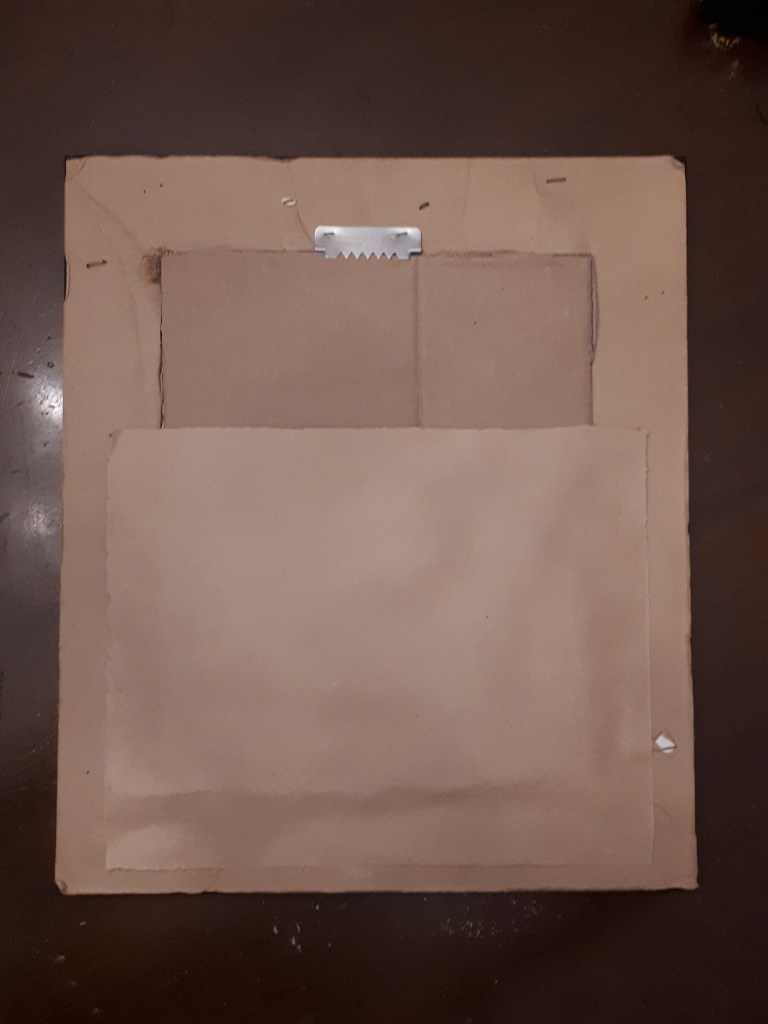
This is what mine looked like from the back when it was completed.

7. When I thought I was finished I put in some pins and they shot out the back of the board. This was not acceptable to me, so I added another layer of cardboard. I just laid my “finished” board on top of it, traced it and cut it out. Then I hot glued it to the back of the “finished” board to take it from being “finished” to being finished.

Normally I can blame the blurry ones on my kids 🤦♀️.
But I had to post it because think it’s necessary so you can see what I did.
8. All you have to do now is to fasten it into the frame. To hold the board into the frame I put hot glue on the cardboard and the frame and glued the original brown paper onto the back:
Then turn it over and start pinning!

We have lots of burlap crafts here at But First We Craft. This is one of my favourites: Burlap Hat. You can also search “burlap” for lots more ideas. What do you need a bulletin board for? Oh! I literally just found my cork as I’m typing this!! HAHA! It’s on my wall already! Look:

Oh my! 🤦♀️ That’s embarrassing. Well, if you want to make this bulletin board/chalkboard/clothespin art hanger you can click here: Look What We Made Sign.
Okay, back to my closing remarks. What do you need a bulletin board for? Are you a Mom too? Do you need it for grocery lists and dentist appointment cards? Are you a student? Do you need it for test dates and nail polish colours to try? Are you a grandparent? Do you need it for pictures of all those adorable grandchildren? I’d love to see what you make! Post a picture in the comments. And if you’re looking for another organization board you should definitely check out my DIY Dry Erase Sign from a Picture Frame. This is by far my most popular pin on Pinterest and it’s not difficult to make at all. It’s probably the craft I use most in my house. Happy Crafting!

