
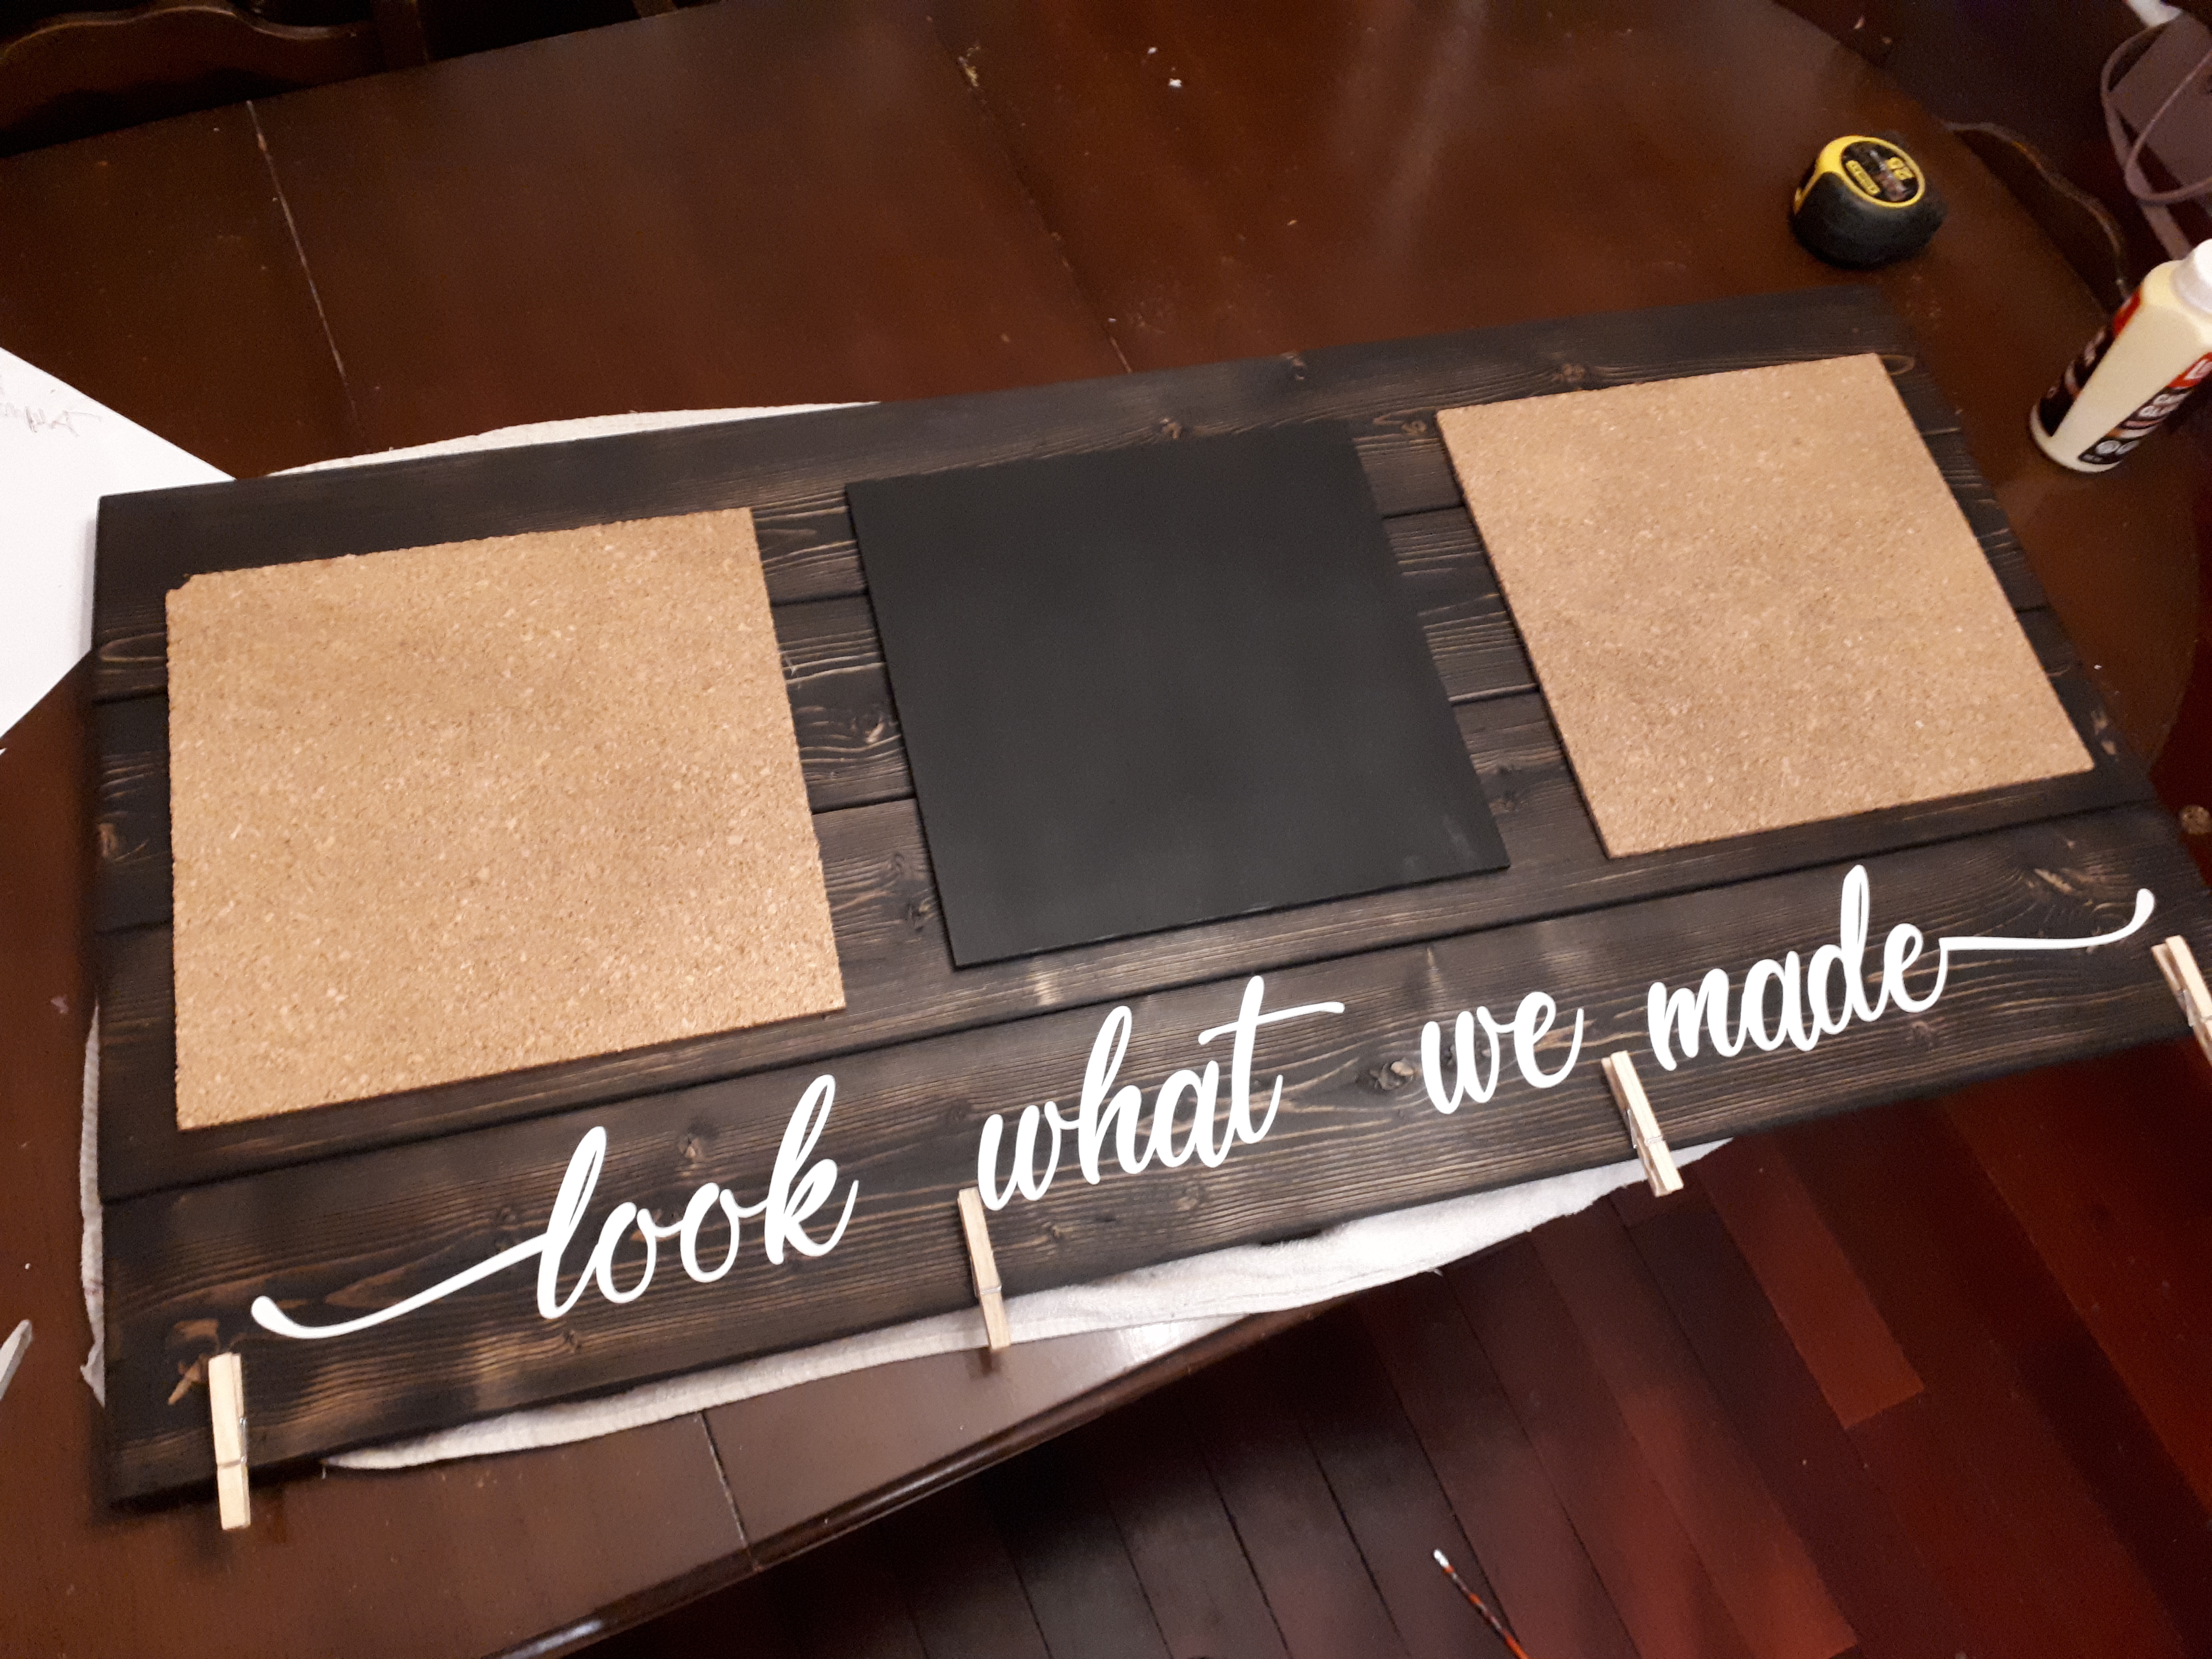
I’ve been wanting to make two things for a while now: a “Look what we made” sign with clothespins and a framed bulletin board. I’ve not been able to make the former because I don’t have the right sized wood and I’ve felt like setting up the saw to cut one is an insurmountable obstacle (I’m sure you get where I’m coming from. Those little kids can be exhausting, am I right?). And I haven’t been able to make the latter because I can’t find cork board of the right size to justify making my own framed bulletin board. It would have cost just as much as buying one ready-made…which is a lot. So, on a day when I “just needed to craft” (as my precious niece says) I had a brilliant idea: merge the two crafts. I even have lots of boards left over from when we expanded and improved our fence last year, so I wouldn’t need to cut a piece of wood. I am so thrilled with how this sign turned out. I hope you like it too. There are a lot of supplies and a lot of steps, but it doesn’t take as long as it looks, and the finished project is incredible…now, where to hang it…
Supplies:
- 4 boards; mine measure 5 by 43 inches.
- 3 spacers, used to brace the boards together at the back; I got mine from the packaging of the new fence boards we got. I sawed them down to the height of my sign: 20¾ inches. Basically any long, thin-ish pieces of wood will do. Mine are about a quarter- to a half-inch thick.
- The stain of your choice (optional: you can leave it unstained)
- Decal: “look what we made” You can buy your own decal that I made by visiting my Etsy shop; just click here.
- 4 Clothespins
- Various tools: mitre box, palm sander (with 120- and 220-grain sandpaper), hammer and nails or brad nailer, drill and screw driver (for attaching the hardware to hang the sign)
- Pencil to mark measurements
- Tape measure
- Hardware to hang the sign: I used a picture hanging wire kit, then just switched out the short screws with some longer ones because the sign is thick and heavy.
- Carpenter Glue
- Gorilla Glue
- Heavy books to put on the sign while the glue dries
- 4 small clamps
- 2 12- by 12-inch cork sheets
- 1 12- by 12-inch piece of quarter-inch thick MDF or similar wood
- Chalkboard paint and brush
Instructions:

- Sand your boards. Begin at a rough grain (about 120 grit) and end on a fine grain (220). Don’t forget the ends. I also slanted the edges a bit. Wipe your boards off thoroughly to get all the sawdust off before you stain them.

2. Measure and cut your spacers. They don’t need to be sanded because they’ll be hidden, but they will need to be stained. They’ll show, so they need to be the right colour, they just don’t need to be beautiful. As you can see I used a mitre box.

3. Stain your boards and let dry, preferably overnight. I really debated whether or not I should stain it. I really like the look of the original wood – the weathered look – but all the things in my house are dark stain with white letters so I felt like I should make it match, but it was a really hard choice, especially when I don’t yet know where exactly I’m going to hang it.

4. Paint your MDF (or similar) with chalkboard paint and allow to dry. (No picture)

5. Assemble your sign. Important: place the smoothest, least knotted board at the bottom so it’s easier to adhere your decal.

Step 5 continued. Using a brad nailer nail one spacer onto the middle of the sign, and two on the edges (my husband nailed mine for me 😍 – look at that manly arm💪). One spacer was placed at inch 8, the middle one at inch 21 and the last one at inch 35.5. We (okay, not “we”) put in 12 nails per spacer.

6. Turn it over and start sticking stuff on! The first thing I stuck on was the cork. I used carpenter glue, then put heavy books all over it to help it adhere. I put the chalkboard in the middle with one piece of cork on either side. I put the cork 1.5 inches from the side edges and 2.75 inches from the top.

7. Next I stuck on the clothespins, also with carpenter glue. I found this a lot more difficult to figure out how to space them out. It has to be far enough apart to hang artwork, but it also has to be not at the words. I ended up putting them at 2, 15, 28.5 and 41.5 inches.

Step 7 continued. Clamp those babies down.
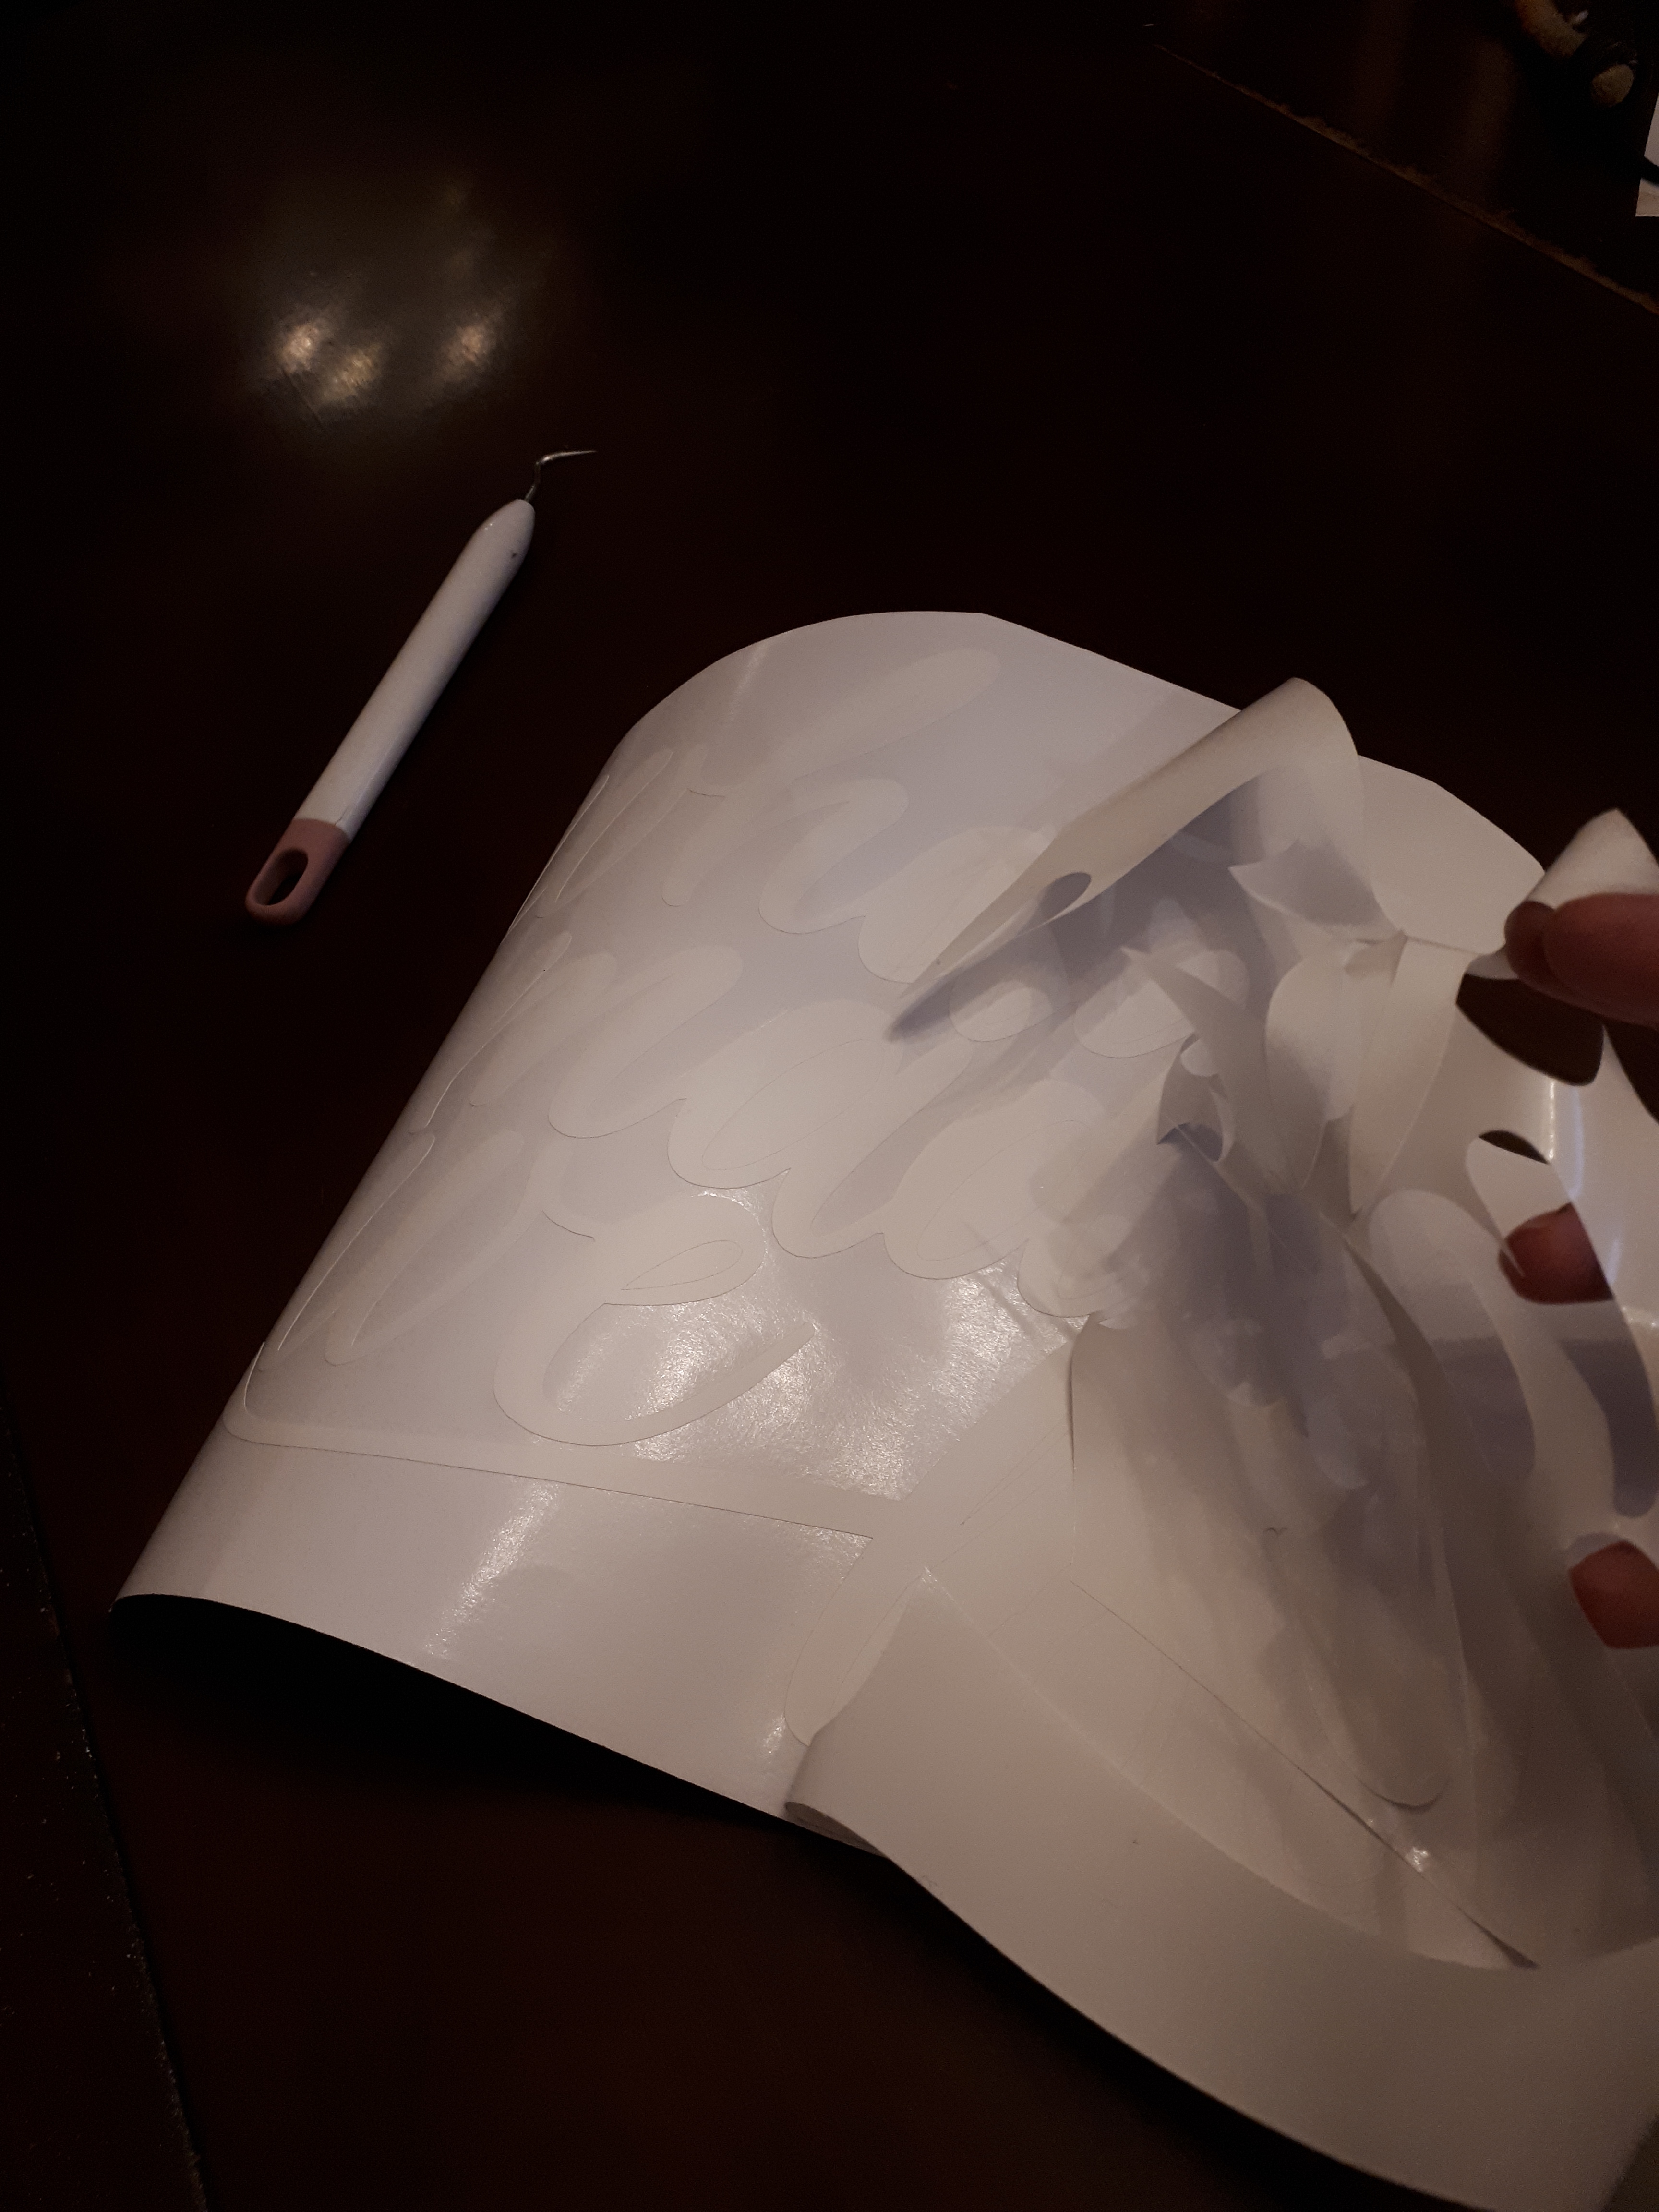
8. Stick on the decal. Now this was definitely the hardest part. I’m not great at math (understatement of the century) and I seem to have real trouble with this kind of crap thing. The other complication was that I wanted “look” in between the first two clothespins, “what we” in between the second and third, and “made” in between the third and fourth. The problem with this is that (do you see it before I did?) “look” was smaller than “made.” So either I needed it closer to the edge, or the spaces in between the words would be closer. I ended up doing a bit of each. I’m fine with how the spacing turned out, but not thrilled. So please, please, PLEASE plan out what you want to do for this before you stick any words down (unlike me 🤦♀️…oh well, nobody’s perfect).
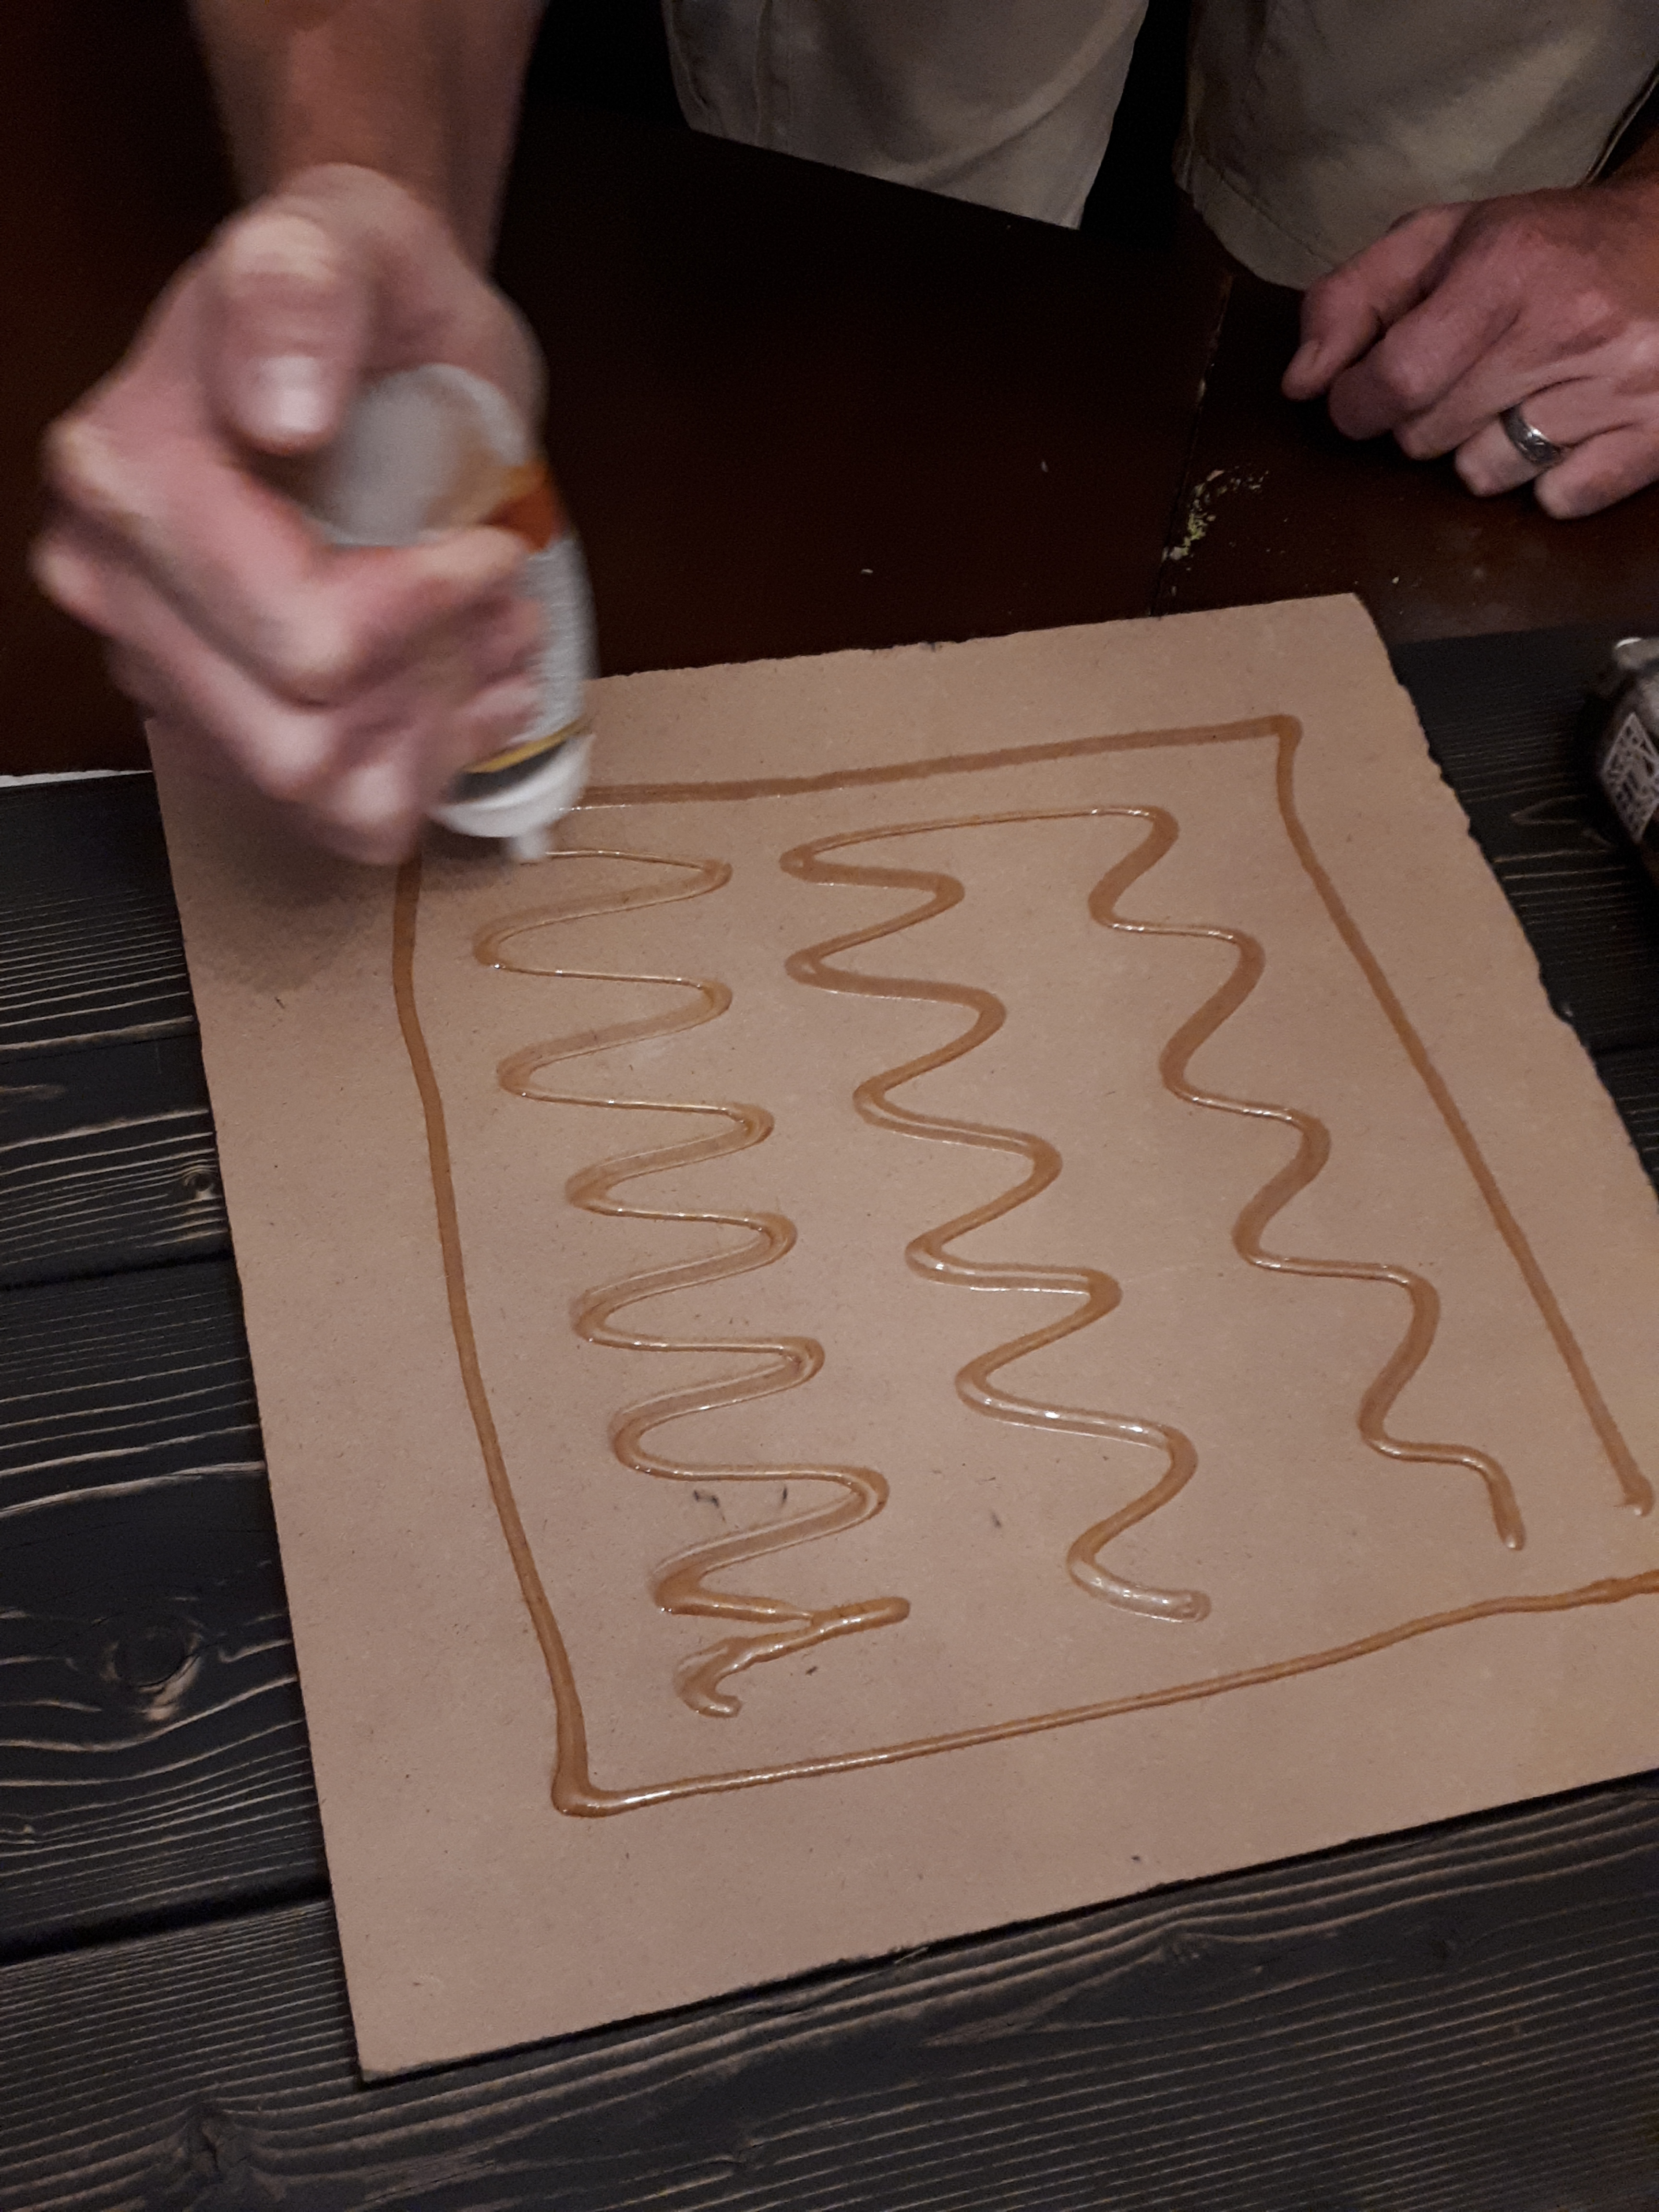
9. Using your husband and Gorilla Glue (why didn’t I do this step? No idea…he offered?) I guess, really he was teaching me how to use Gorilla Glue. I’ve never used it before. Basically, keep it away from the edges because it expands. Then put something heavy on it. This needs to cure for longer than the carpenter glue so make sure you read the package.
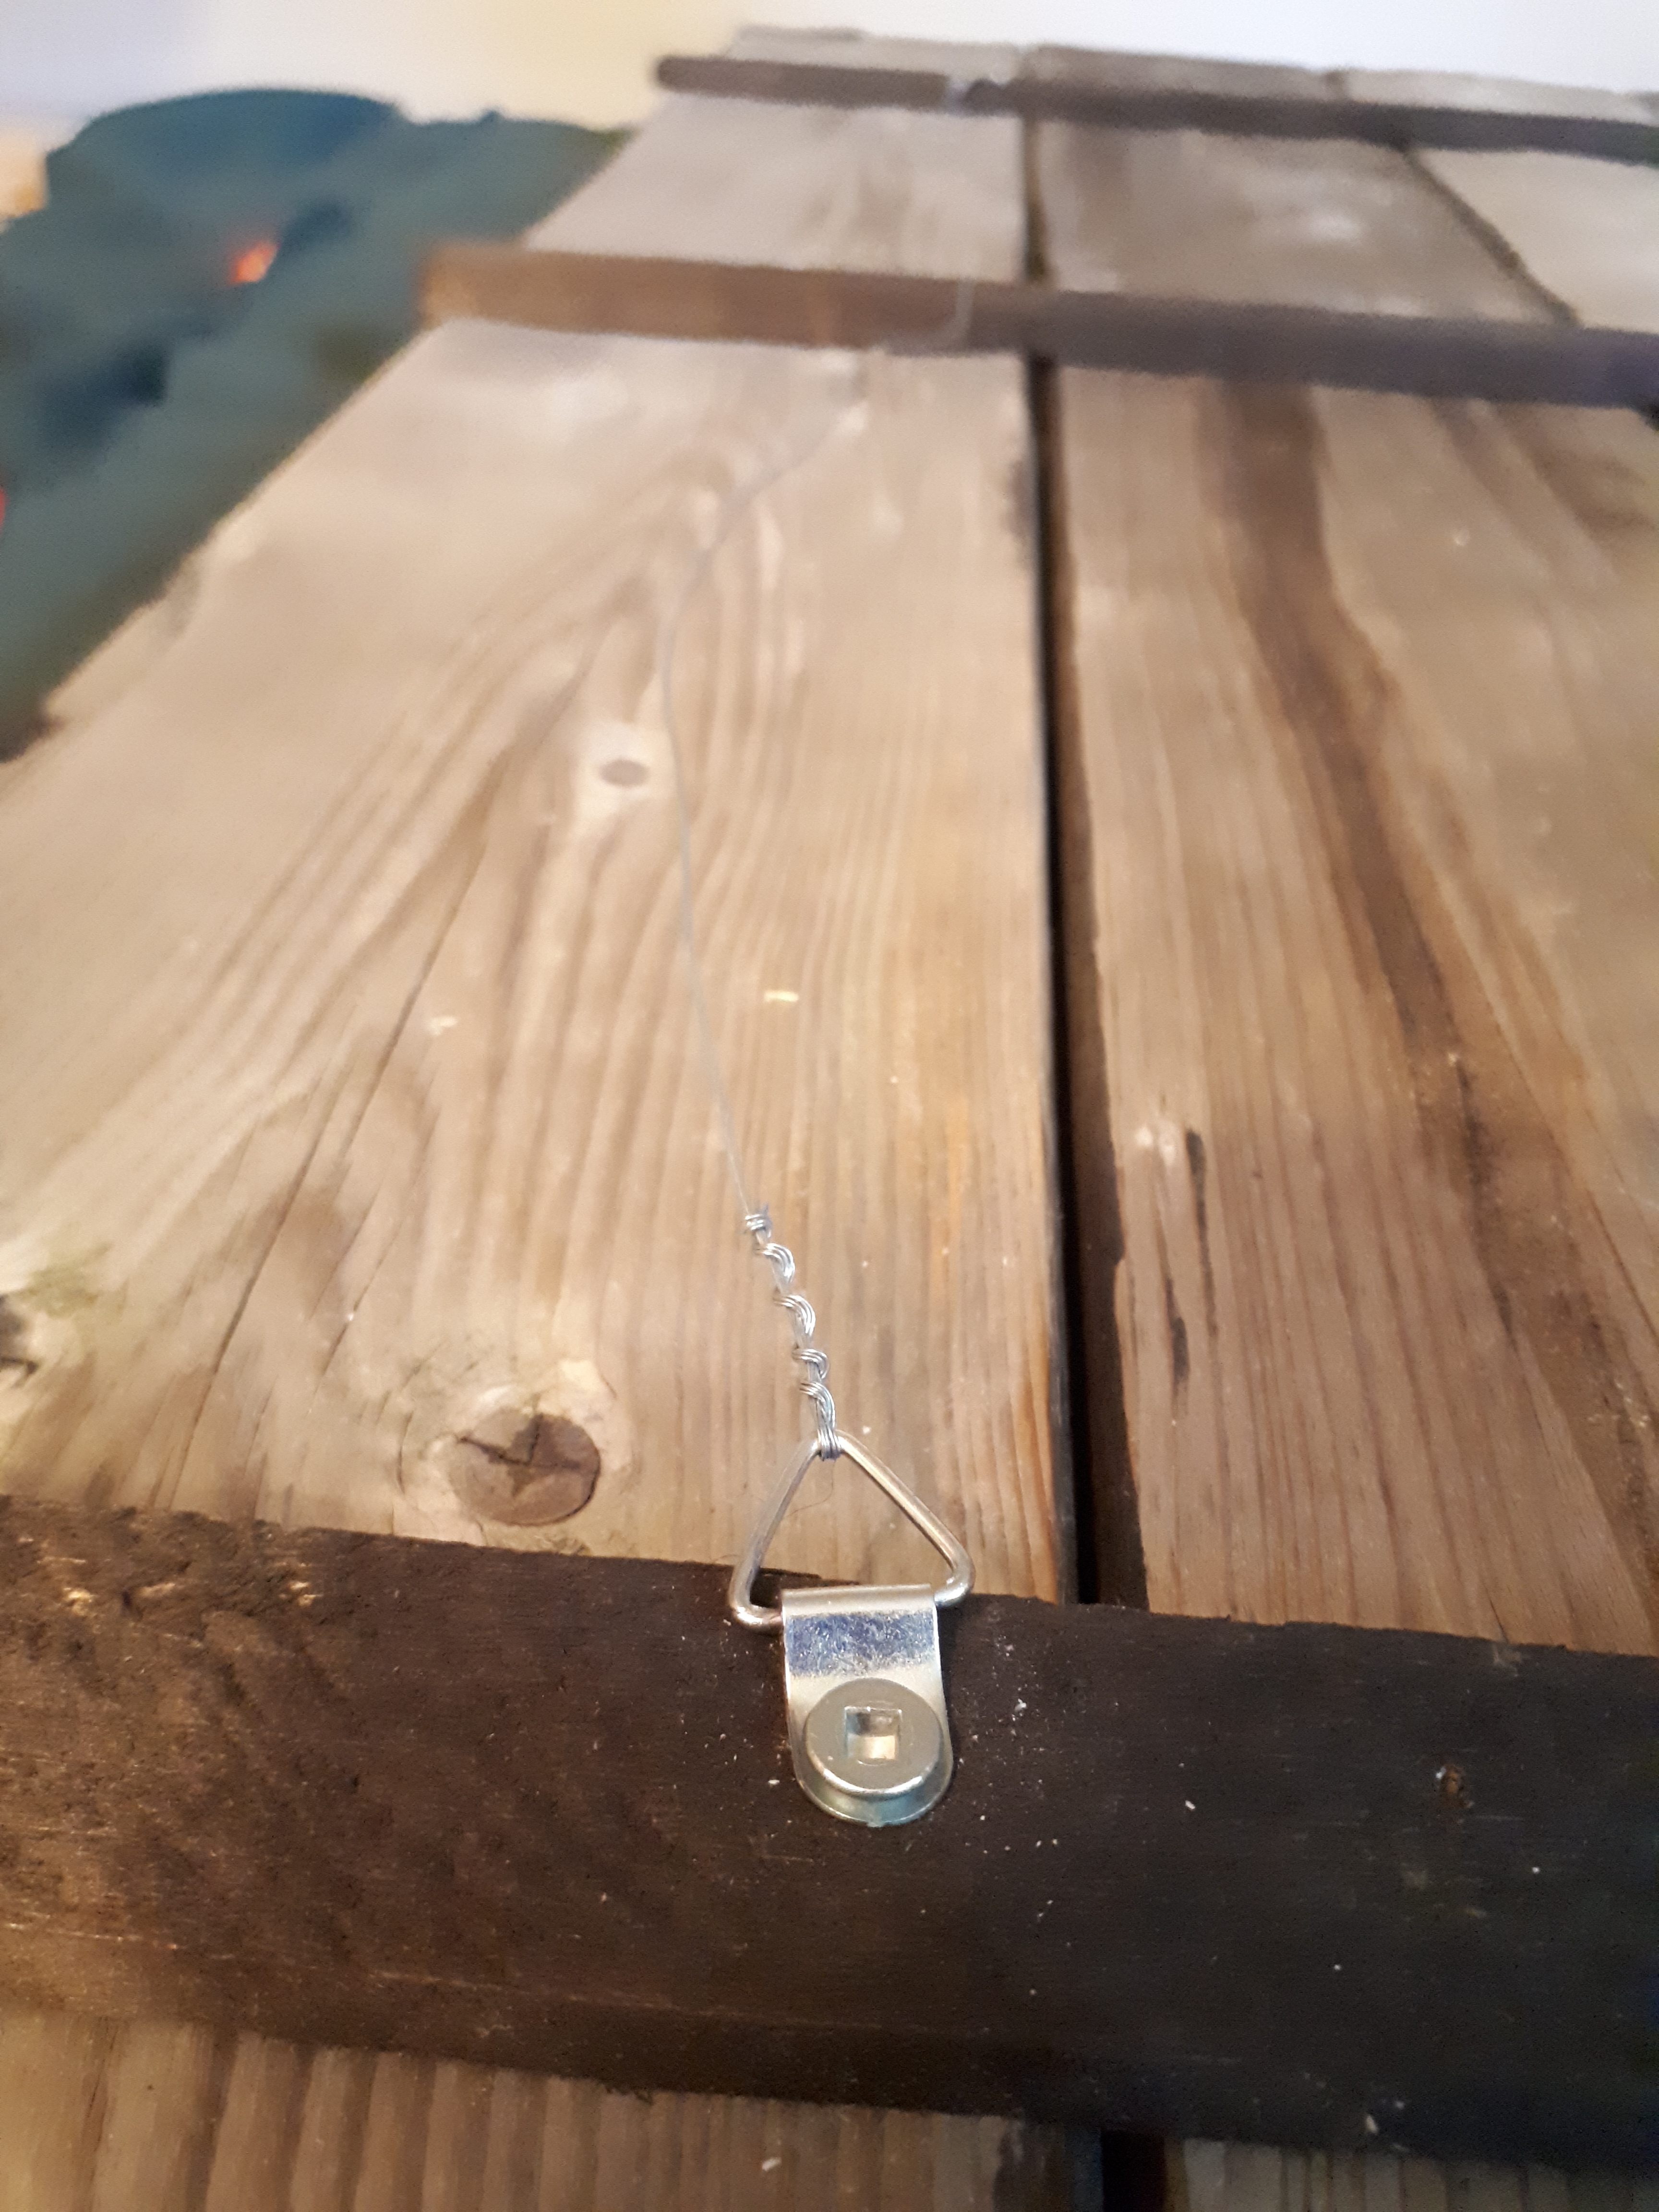
10. Attach the hardware. Place the hooks about 3 inches down from the top of the sign and screw them in. We screwed ours on just before the fist crack between the boards. Measure the wire so that the top of it will not show from above the sign. Twist the wire around the hooks. (Again, you should read the package instructions.)

This is it! Complete with children’s artwork. I threw Walt Disney’s quote, “If you can dream it you can do it,” on there for now, but I’ll change that as I feel like it. So, do you like it? I am thrilled with it! One more craft to cross off my list- it’s kind of bittersweet. Happy Crafting!


I love this project! And I’m jealous of your air compressor. Sure, everything here could be done with hand tools… but that’s a nice brad nailer. 😀 Very cool combination of a corkboard and a chalkboard and way better than the fridge door. I could see myself using cup hooks at the bottom and using this project as a key holder/list keeper/family datacenter.
LikeLike
I am very new to using all these tools. Sooo grateful for my husband who is the reason I even have access to tools and is amazing at teaching me!
I was thinking about putting hooks at the bottom too, but I want to hang buckets of markers, crayons, fancy scissors, etc from the bottom.
Go for it – and send me a pic when you’re done!
LikeLiked by 1 person
Enjoy having a handy husband – and enjoy the learning process! It’ll be so much fun. 🙂
LikeLiked by 1 person