

In this lovely, steaming hot summer weather a freezie (or a “juice pop” if you’re American, or an “icy-pole” if you’re Australian, or an “ice pop” or ‘freeze pop” who knew there were so many names for them? Wikipedia did – thank you Wikipedia) is always a nice treat!
When my kids do things it often reminds me of being little. Like when they go swimming in a freezing cold pool or splash pad, and I think they’re crazy, but I can remember doing the exact same thing as a child. There are so many examples of this, but one thing I cannot relate to is needing rags or paper towel or cloths to wrap around a freezie in order to hold it. Seriously, if my kids can’t wrap their freezie up to make it hold-able they make me hold it…or they don’t eat it. It’s bizarre. This leads us to another wildly unnecessary project: The DIY Freezie Holder. Just slide these babies onto your child’s freezie and they will no longer complain about cold little handsies. Bonus: This method reduces waste in the number of paper towels you use and the number of rags or cloths you need to wash. It’s important to use every opportunity to teach our child about waste reduction!
Supplies:

- Sewing machine (or needle, thread and more time)
- Fabric (flannel is really nice – this flannel was left over from my choirs’ scarves at Christmastime. I also used it for the mattress and blanket for our Clementine Box Doll Bed with Cupboard. You can check out that tutorial by clicking here)
- Measuring tape
- Scissors
- Quilt batting
- Freezie (not immediately necessary, but might help with measuring)
Instructions:
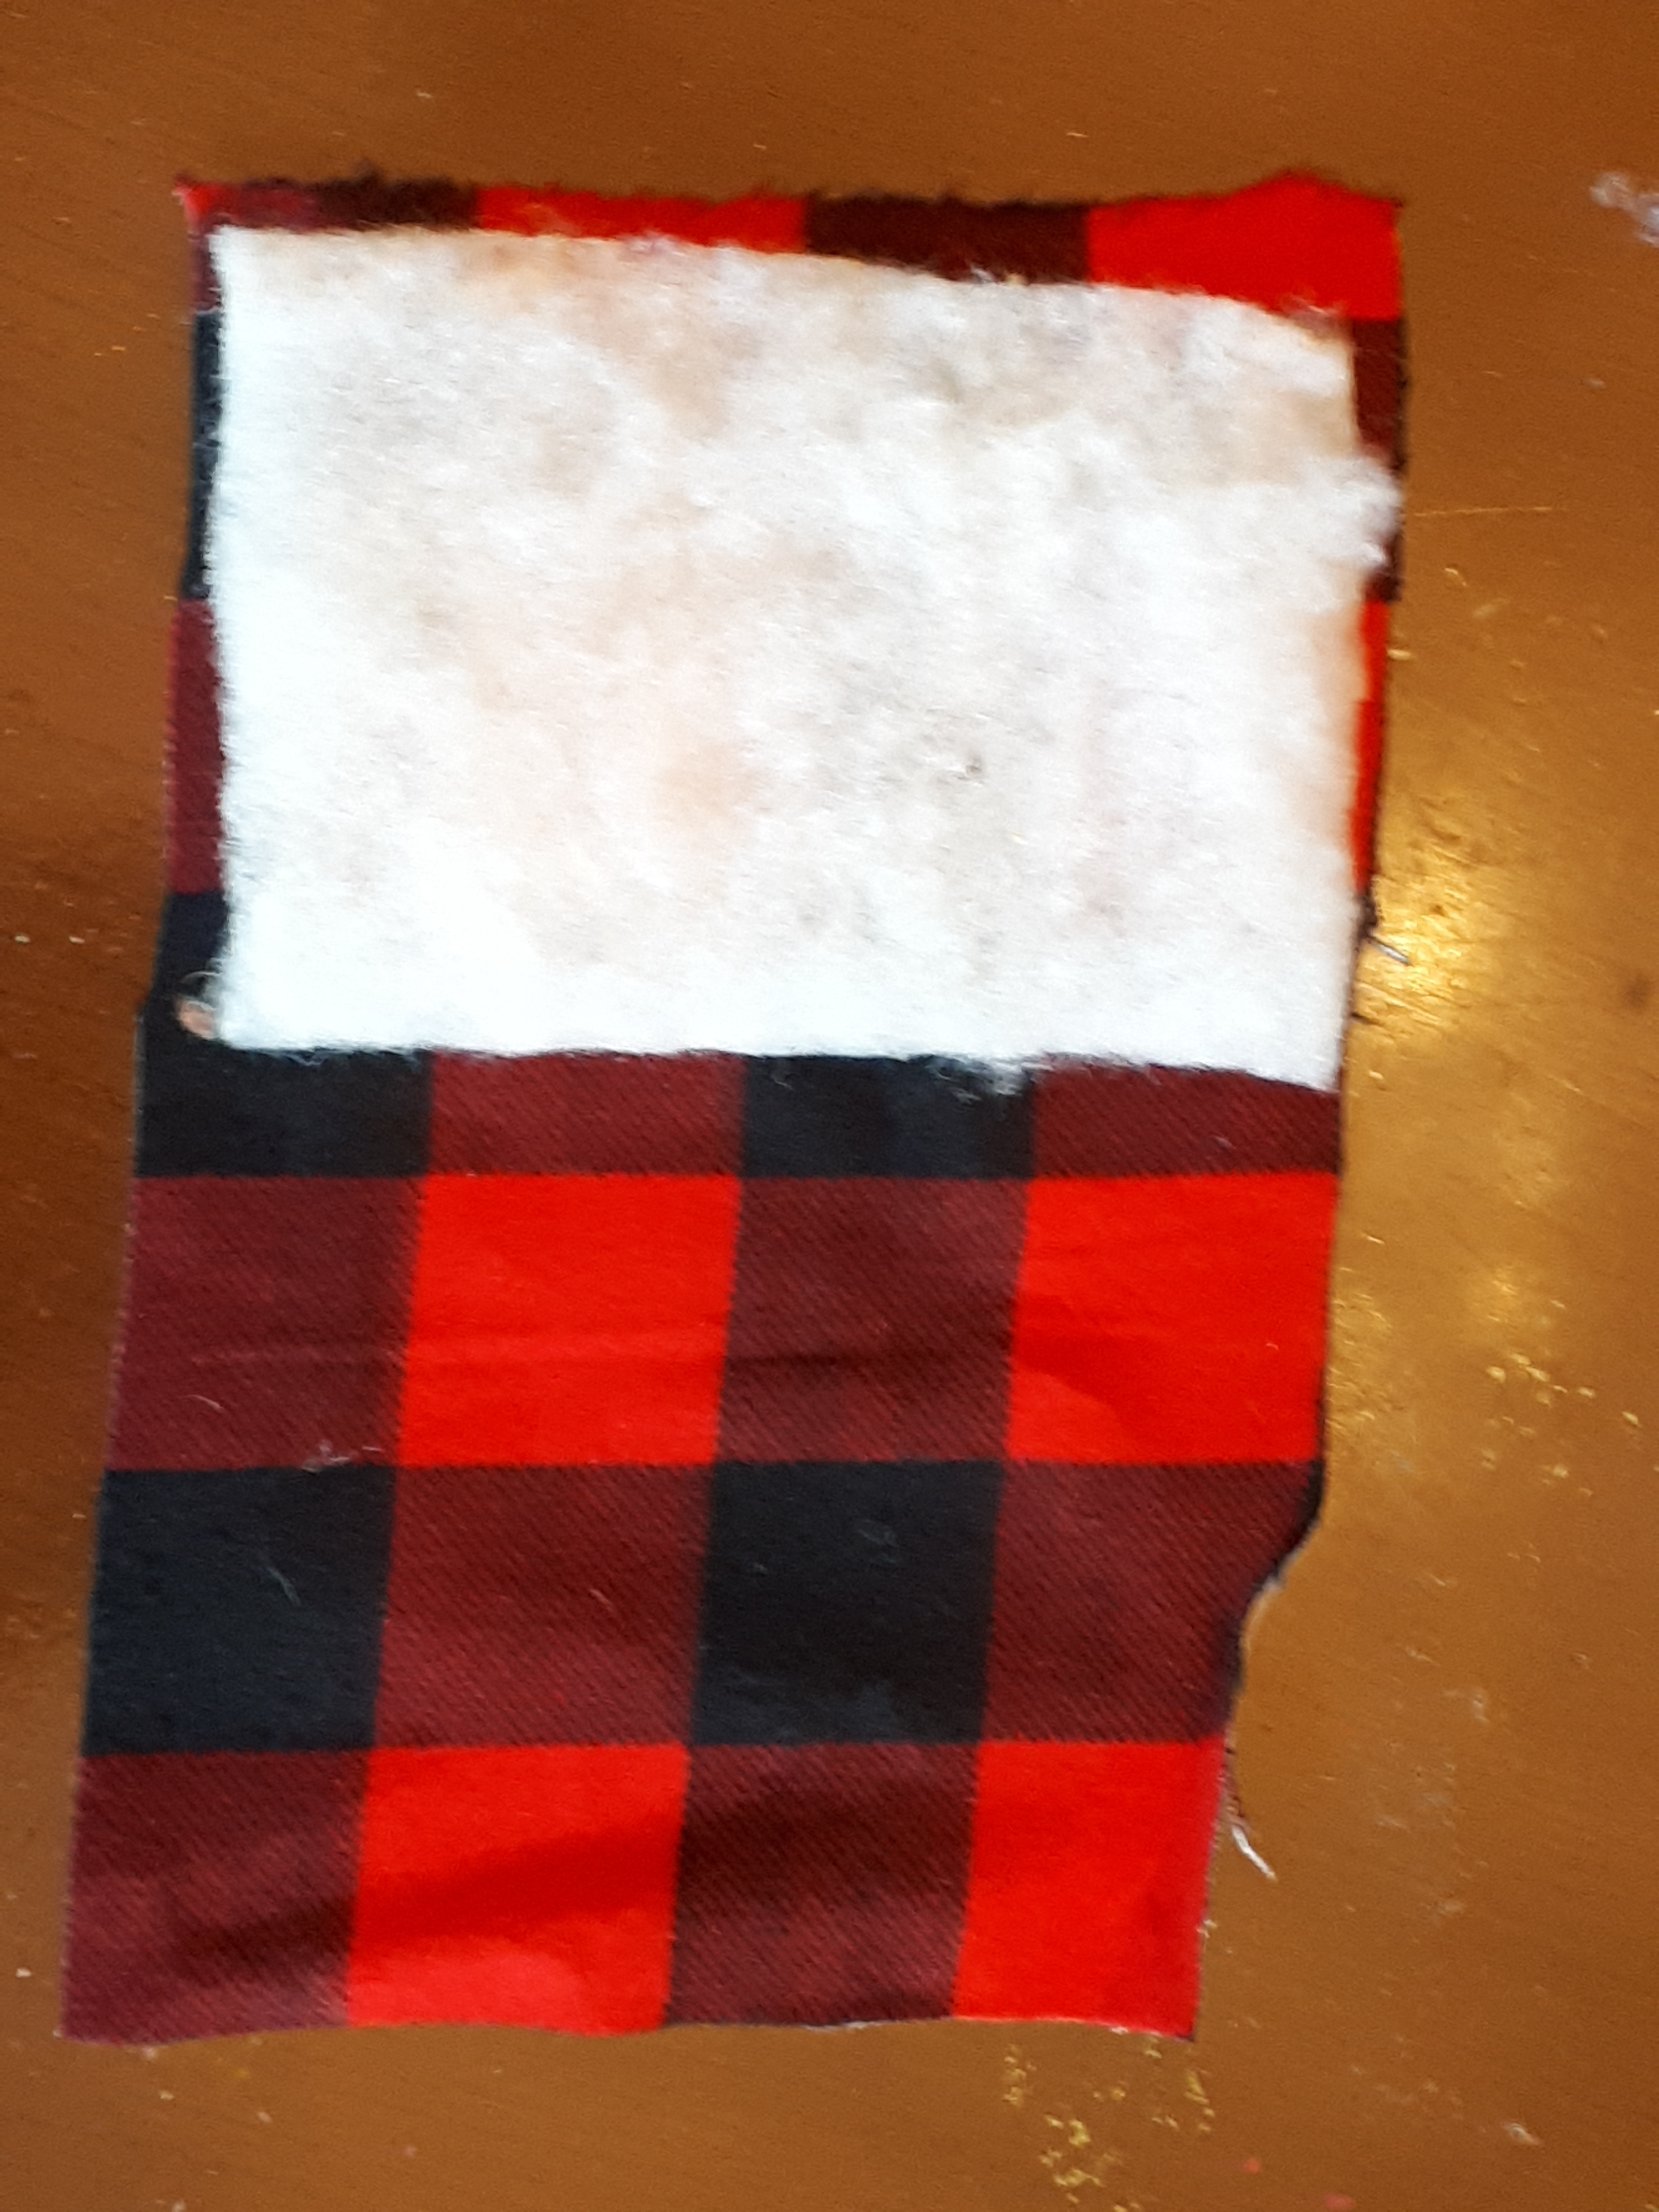
- Measure your materials. My Jumbo Freezie was 3.5 inches in circumference. So that’s exactly what I measured the quilt batting to be. Then I made the fabric double that, with a border for the hem.

2. Start sewing right sides (the side you want showing) together. Sew one long side and one short side in one long sew.
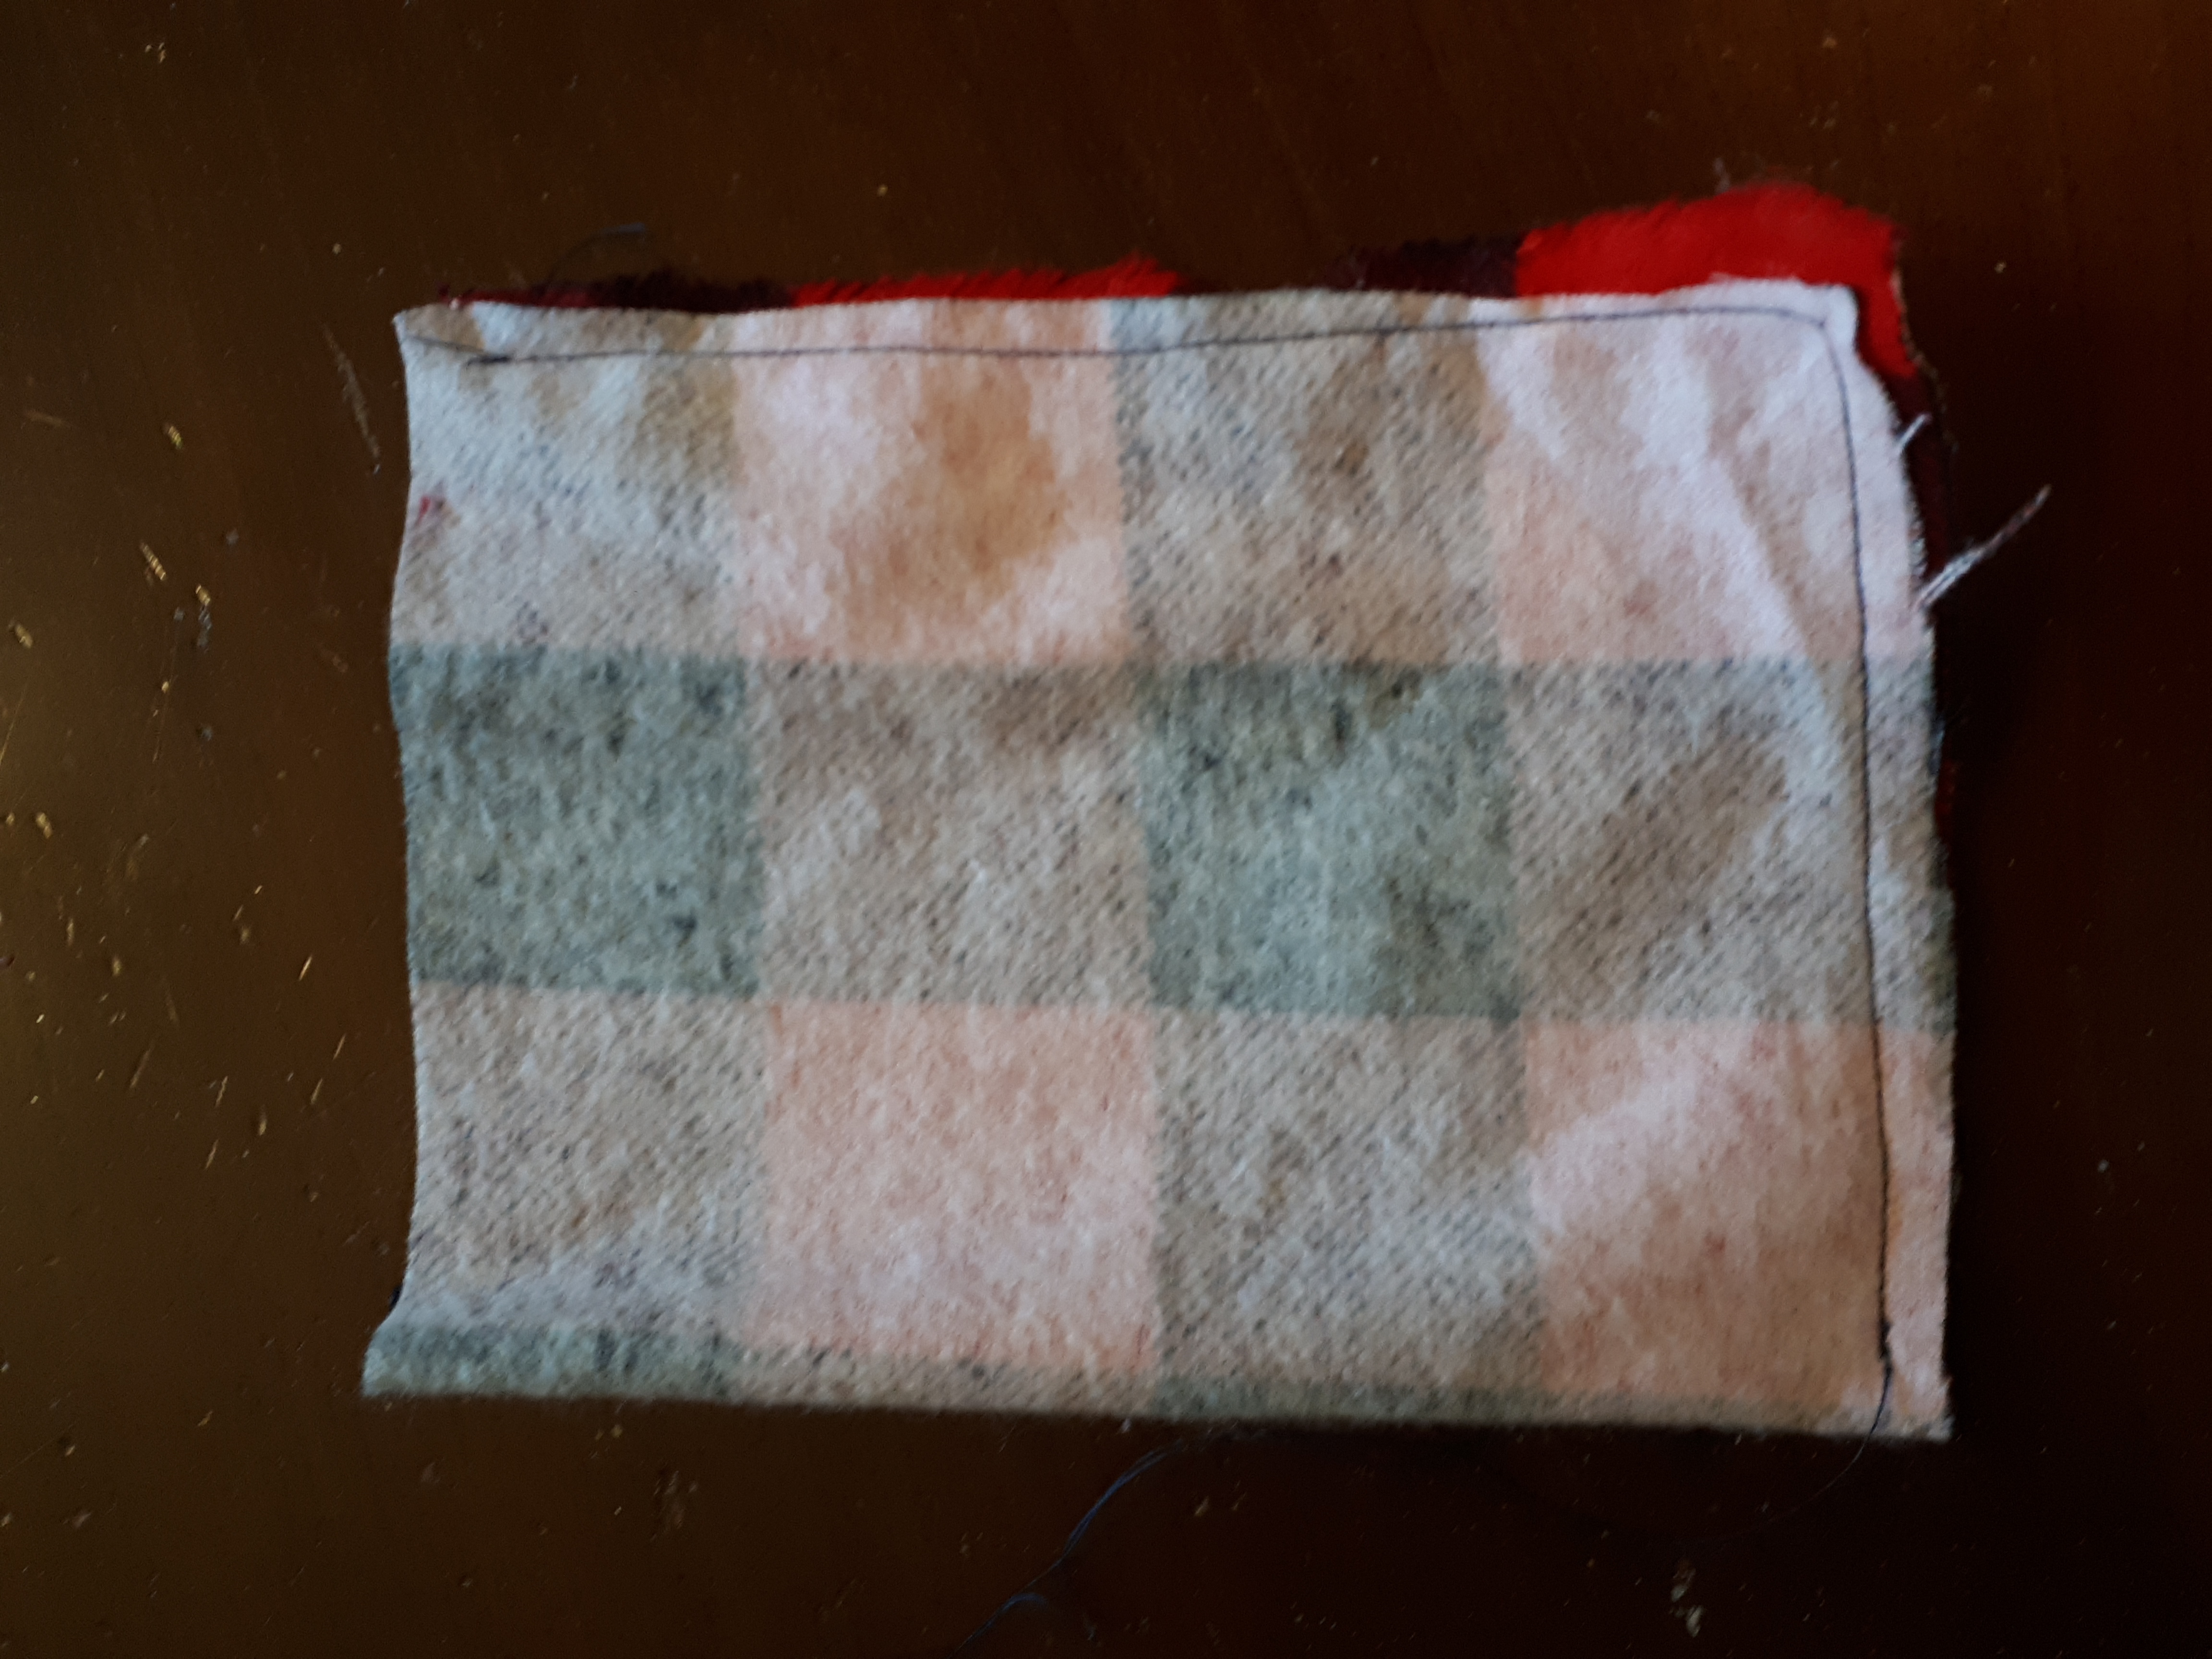
(Step two continued.) This is what you should have now.

3. Turn the fabric inside out to have the right side facing out. You can use a pencil or a butter knife to push those corners out if it’s too narrow to fit your hand in. Spread in the quilt batting, making sure to get the batting to reach the corners. Try to slide it in. If you stuff it it could get all folded up inside and be tricky to lay out.

4. Tuck in the top edges and sew them together. If you keep tension on them as pictured above you won’t need to pin it before you sew.

5. Fold the completely sewn project in half, squishing the quilt batting away from the seem gently to get just fabric along that edge.

Now you have a cozy little tube! So cute, right?! Just slide the freezie into the tube and…

…give it to a kid!
If you’re looking for another summer food craft check out Watermelon Happy Faces. Nutritious and delicious. I hope you’re enjoying this weather and thinking of more fun ways to be cool in the sun!


One thought on “Freezie Holders”