

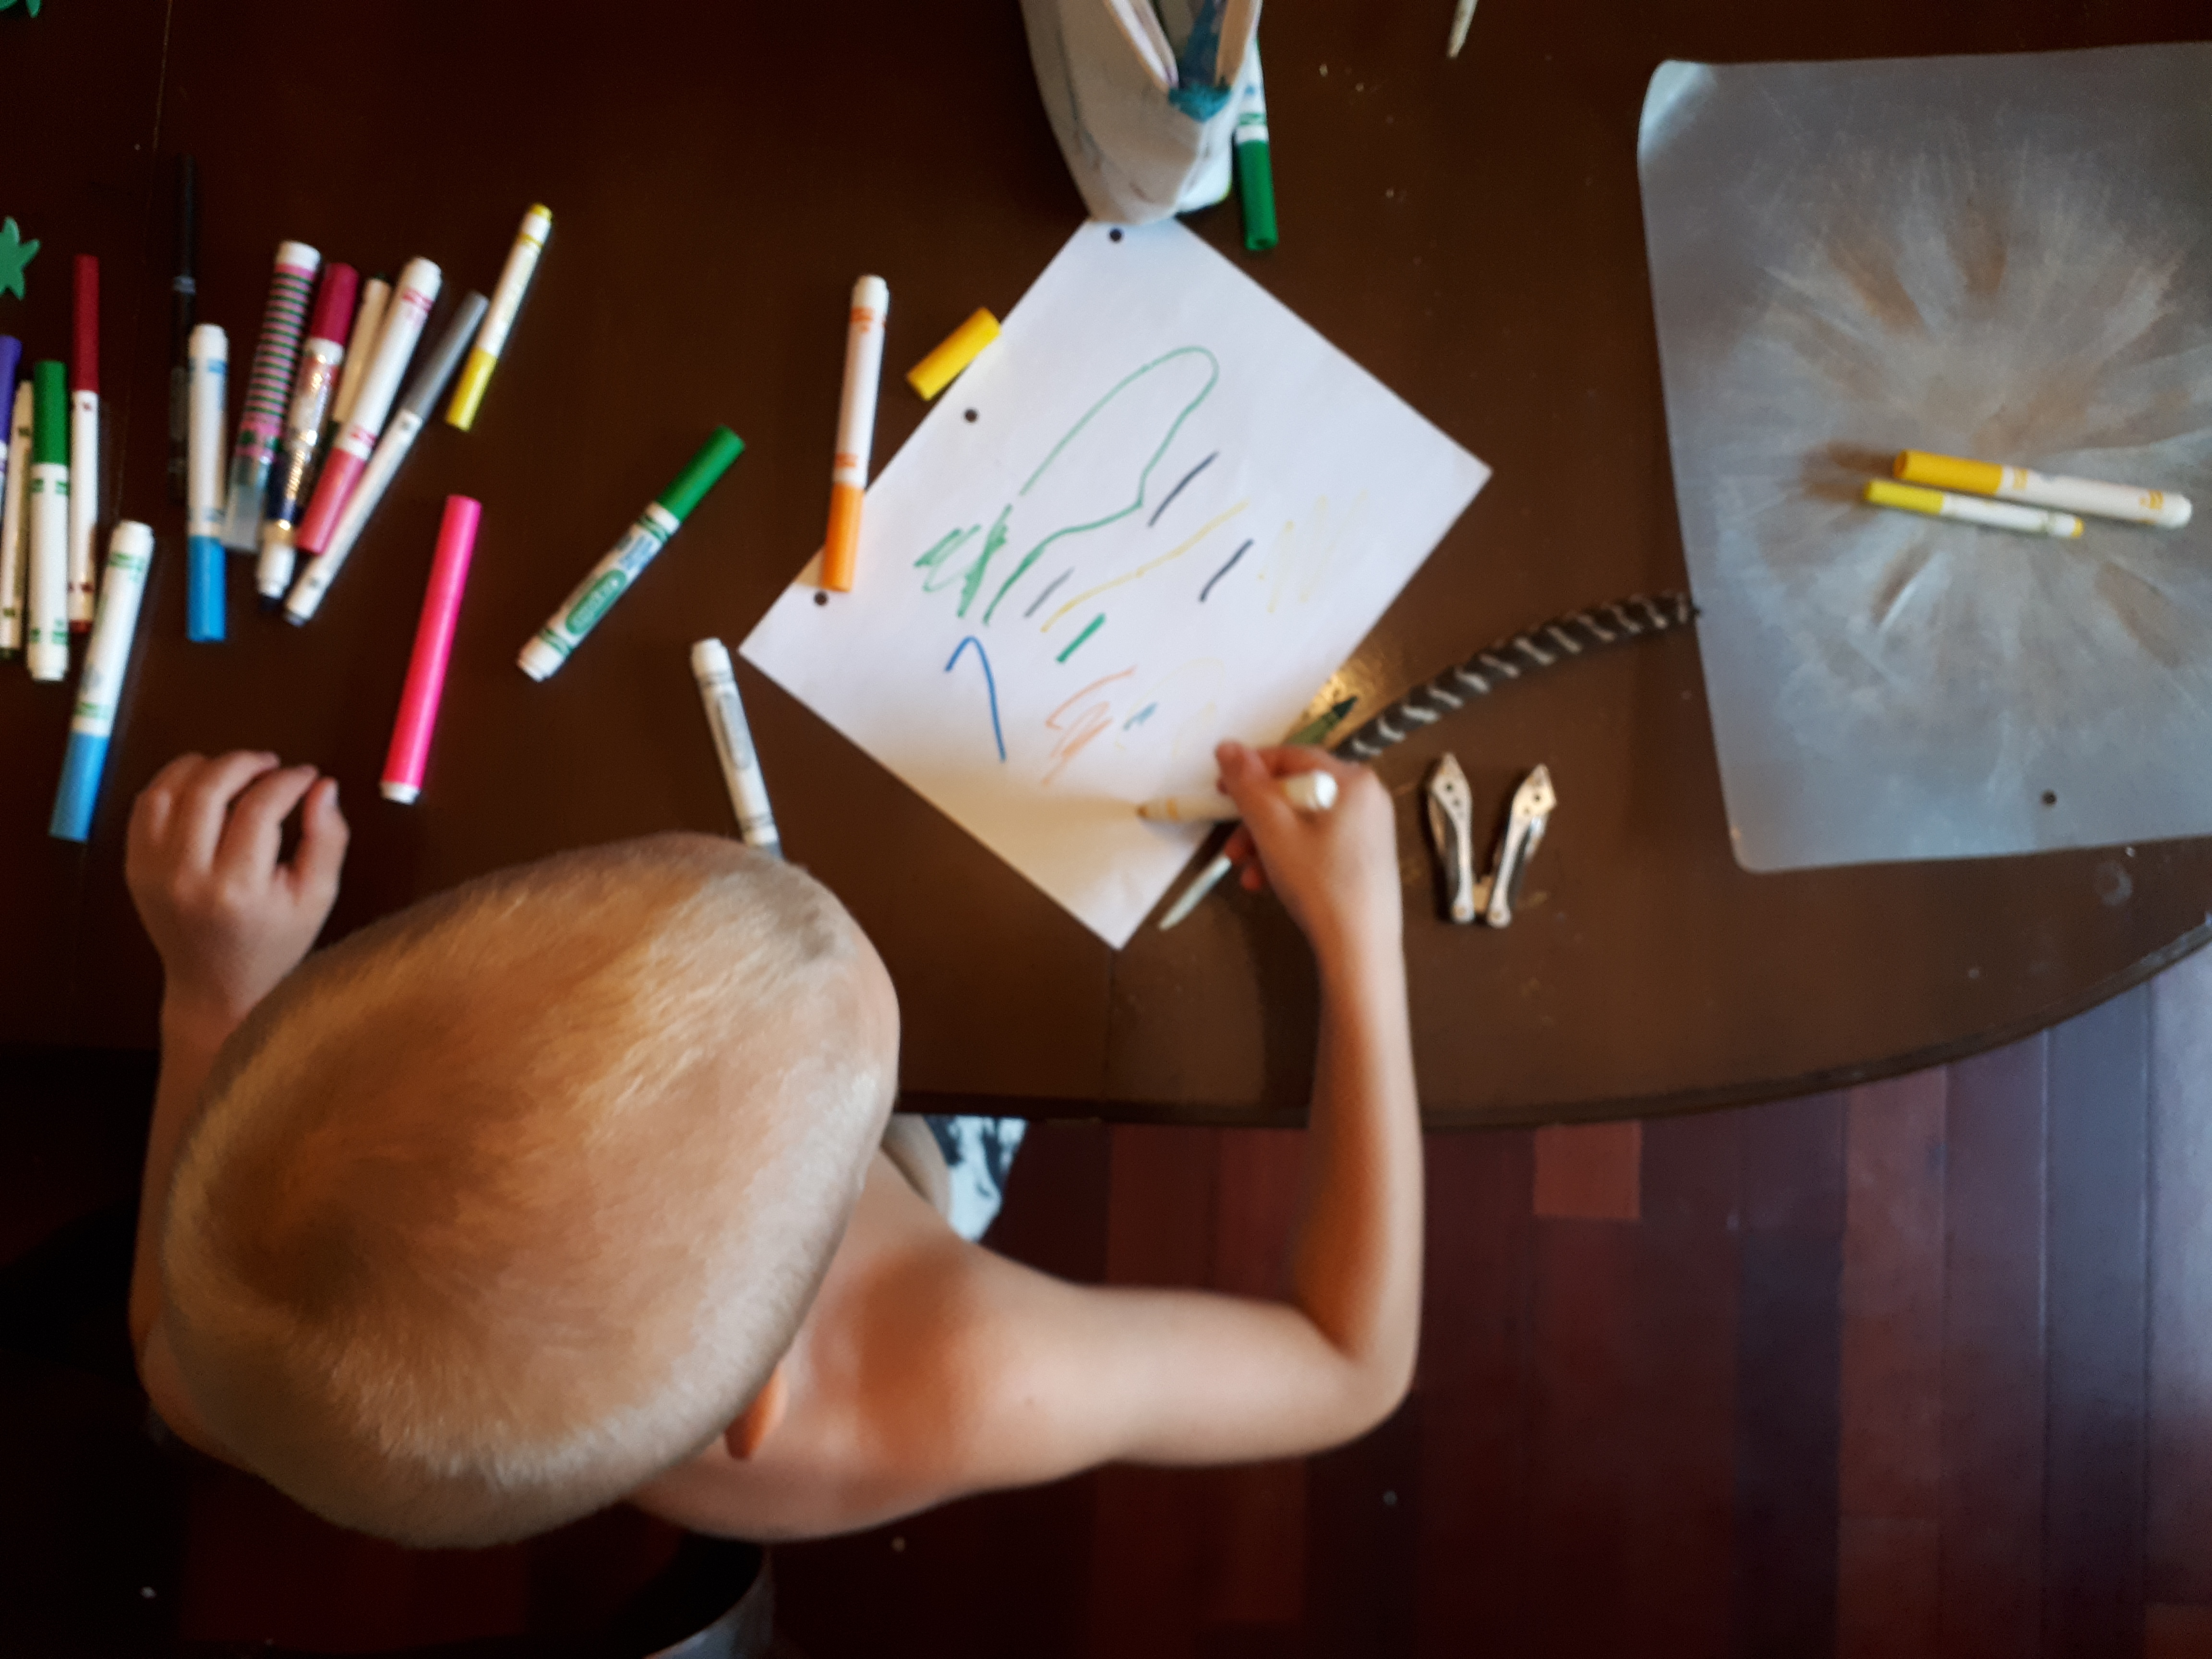
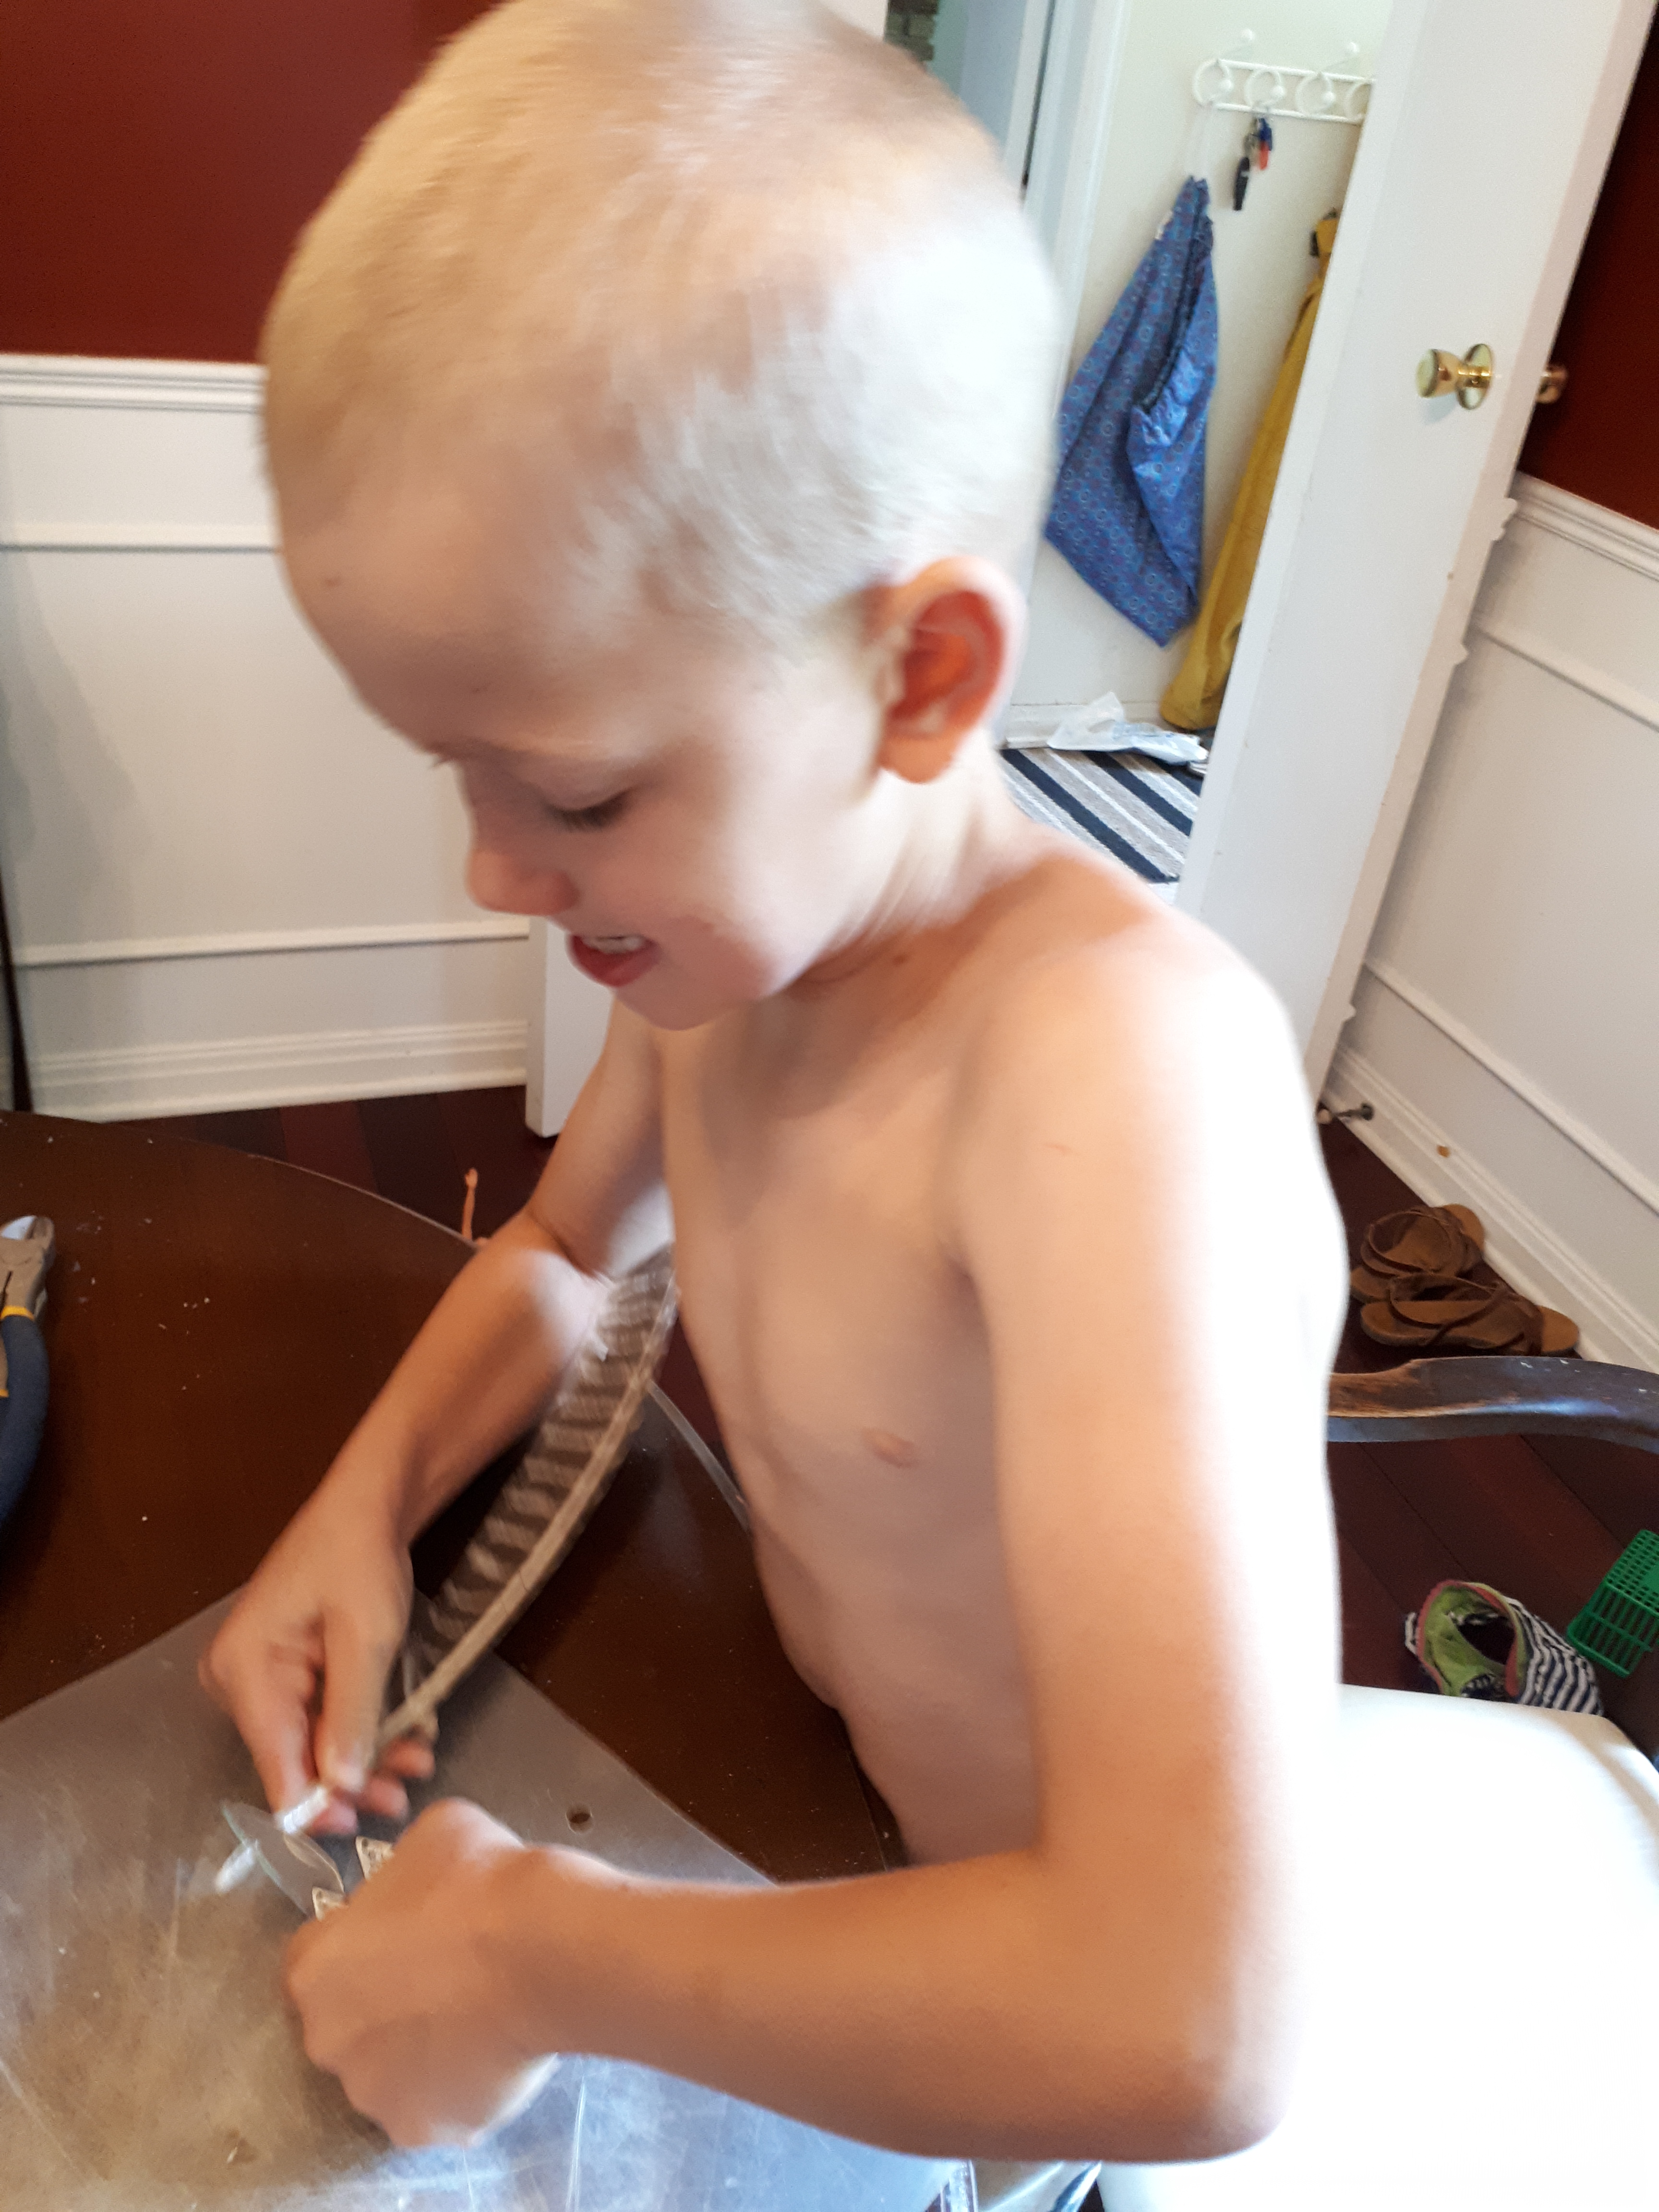
My son and I began reading the fourth volume of the Harry Potter series, “The Goblet of Fire,” this week. After reading one of the first chapters he asked me if we could make a feather quill like Harry’s. So here we are. After having made a very successful DIY quill and ink craft we get to share it with you. We didn’t have to do any special shopping or searching. We had everything we needed right at home. I can understand if you don’t just have feathers lying around (you can buy them at a few stores; Walmart, Michael’s and on Amazon to name a few), but the rest of the items should be readily available at home. I’ll give you instructions first on how to make the ink, because it has to sit for a bit before it’s ready to use, and then how to make the quill. *Use your discretion on which of these steps you do and which your child does. Not every step is child friendly*
First We Make the Ink:
Supplies:
- Dried out markers
- Rubbing Alcohol
- Bowl
- Paper
- Pliers
- Knife
Instructions:
- Test all your makers to find the dry ones.
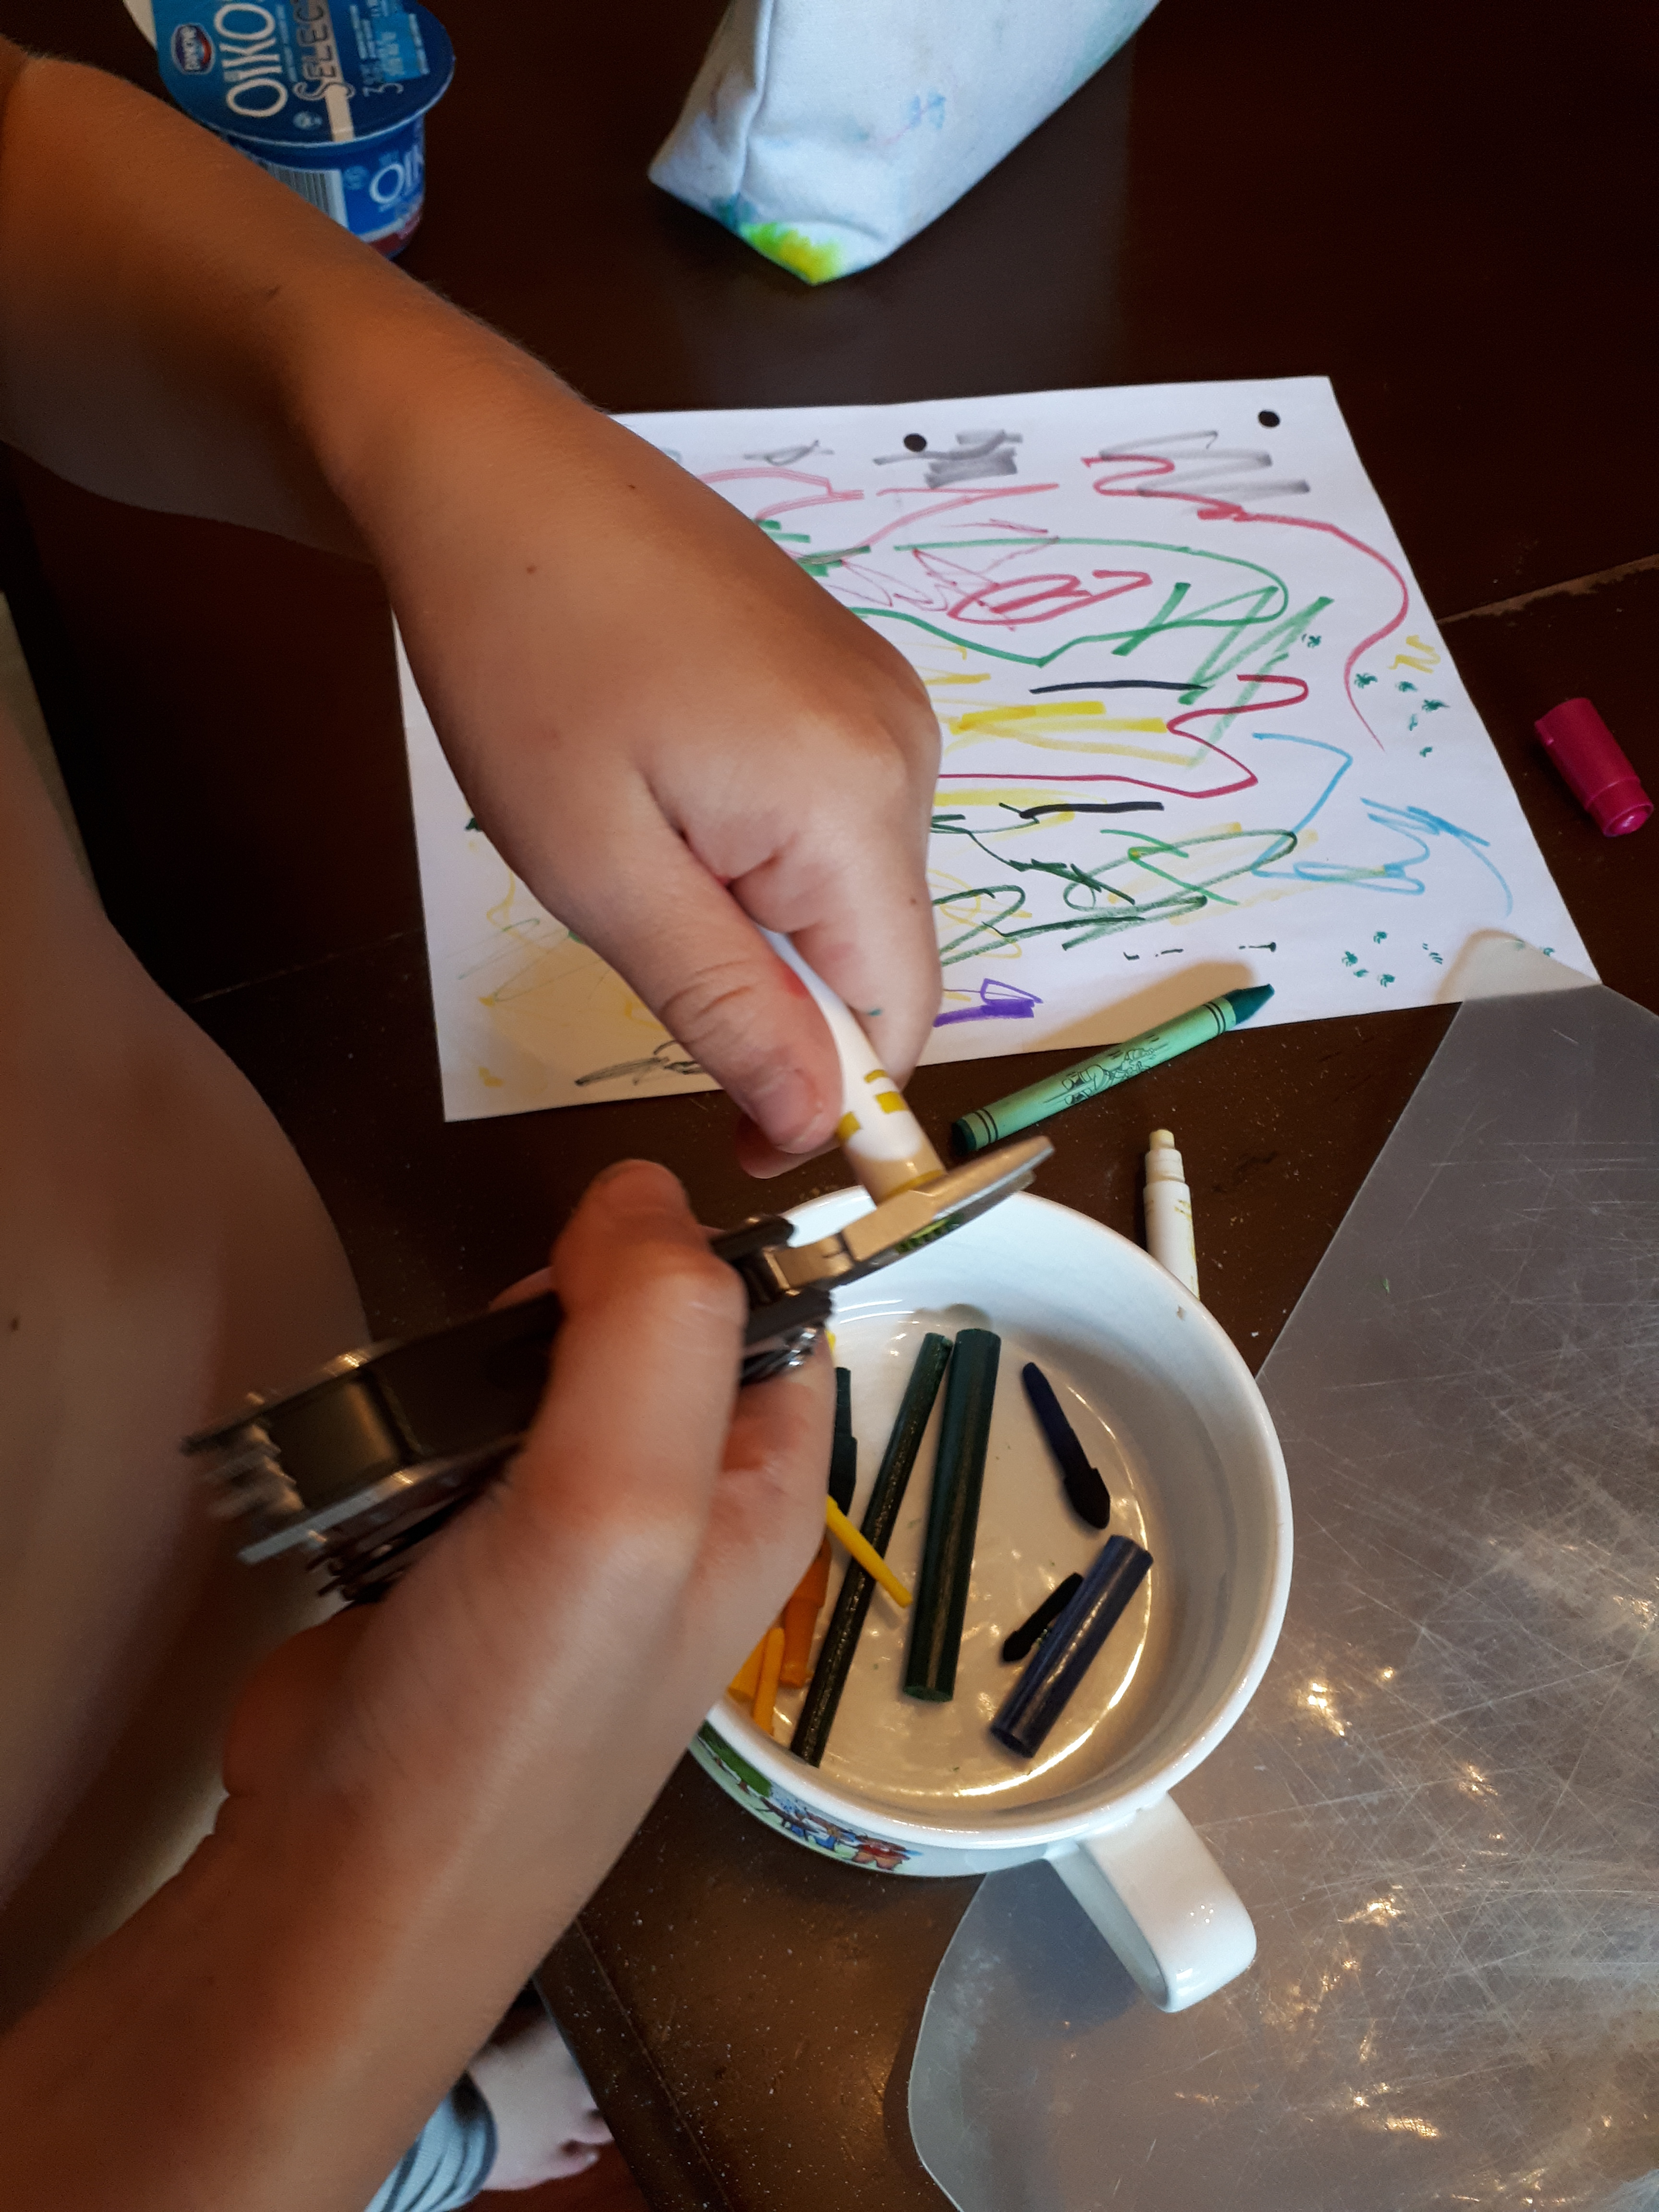
2. Using pliers pull off the ends of the dried out markers.
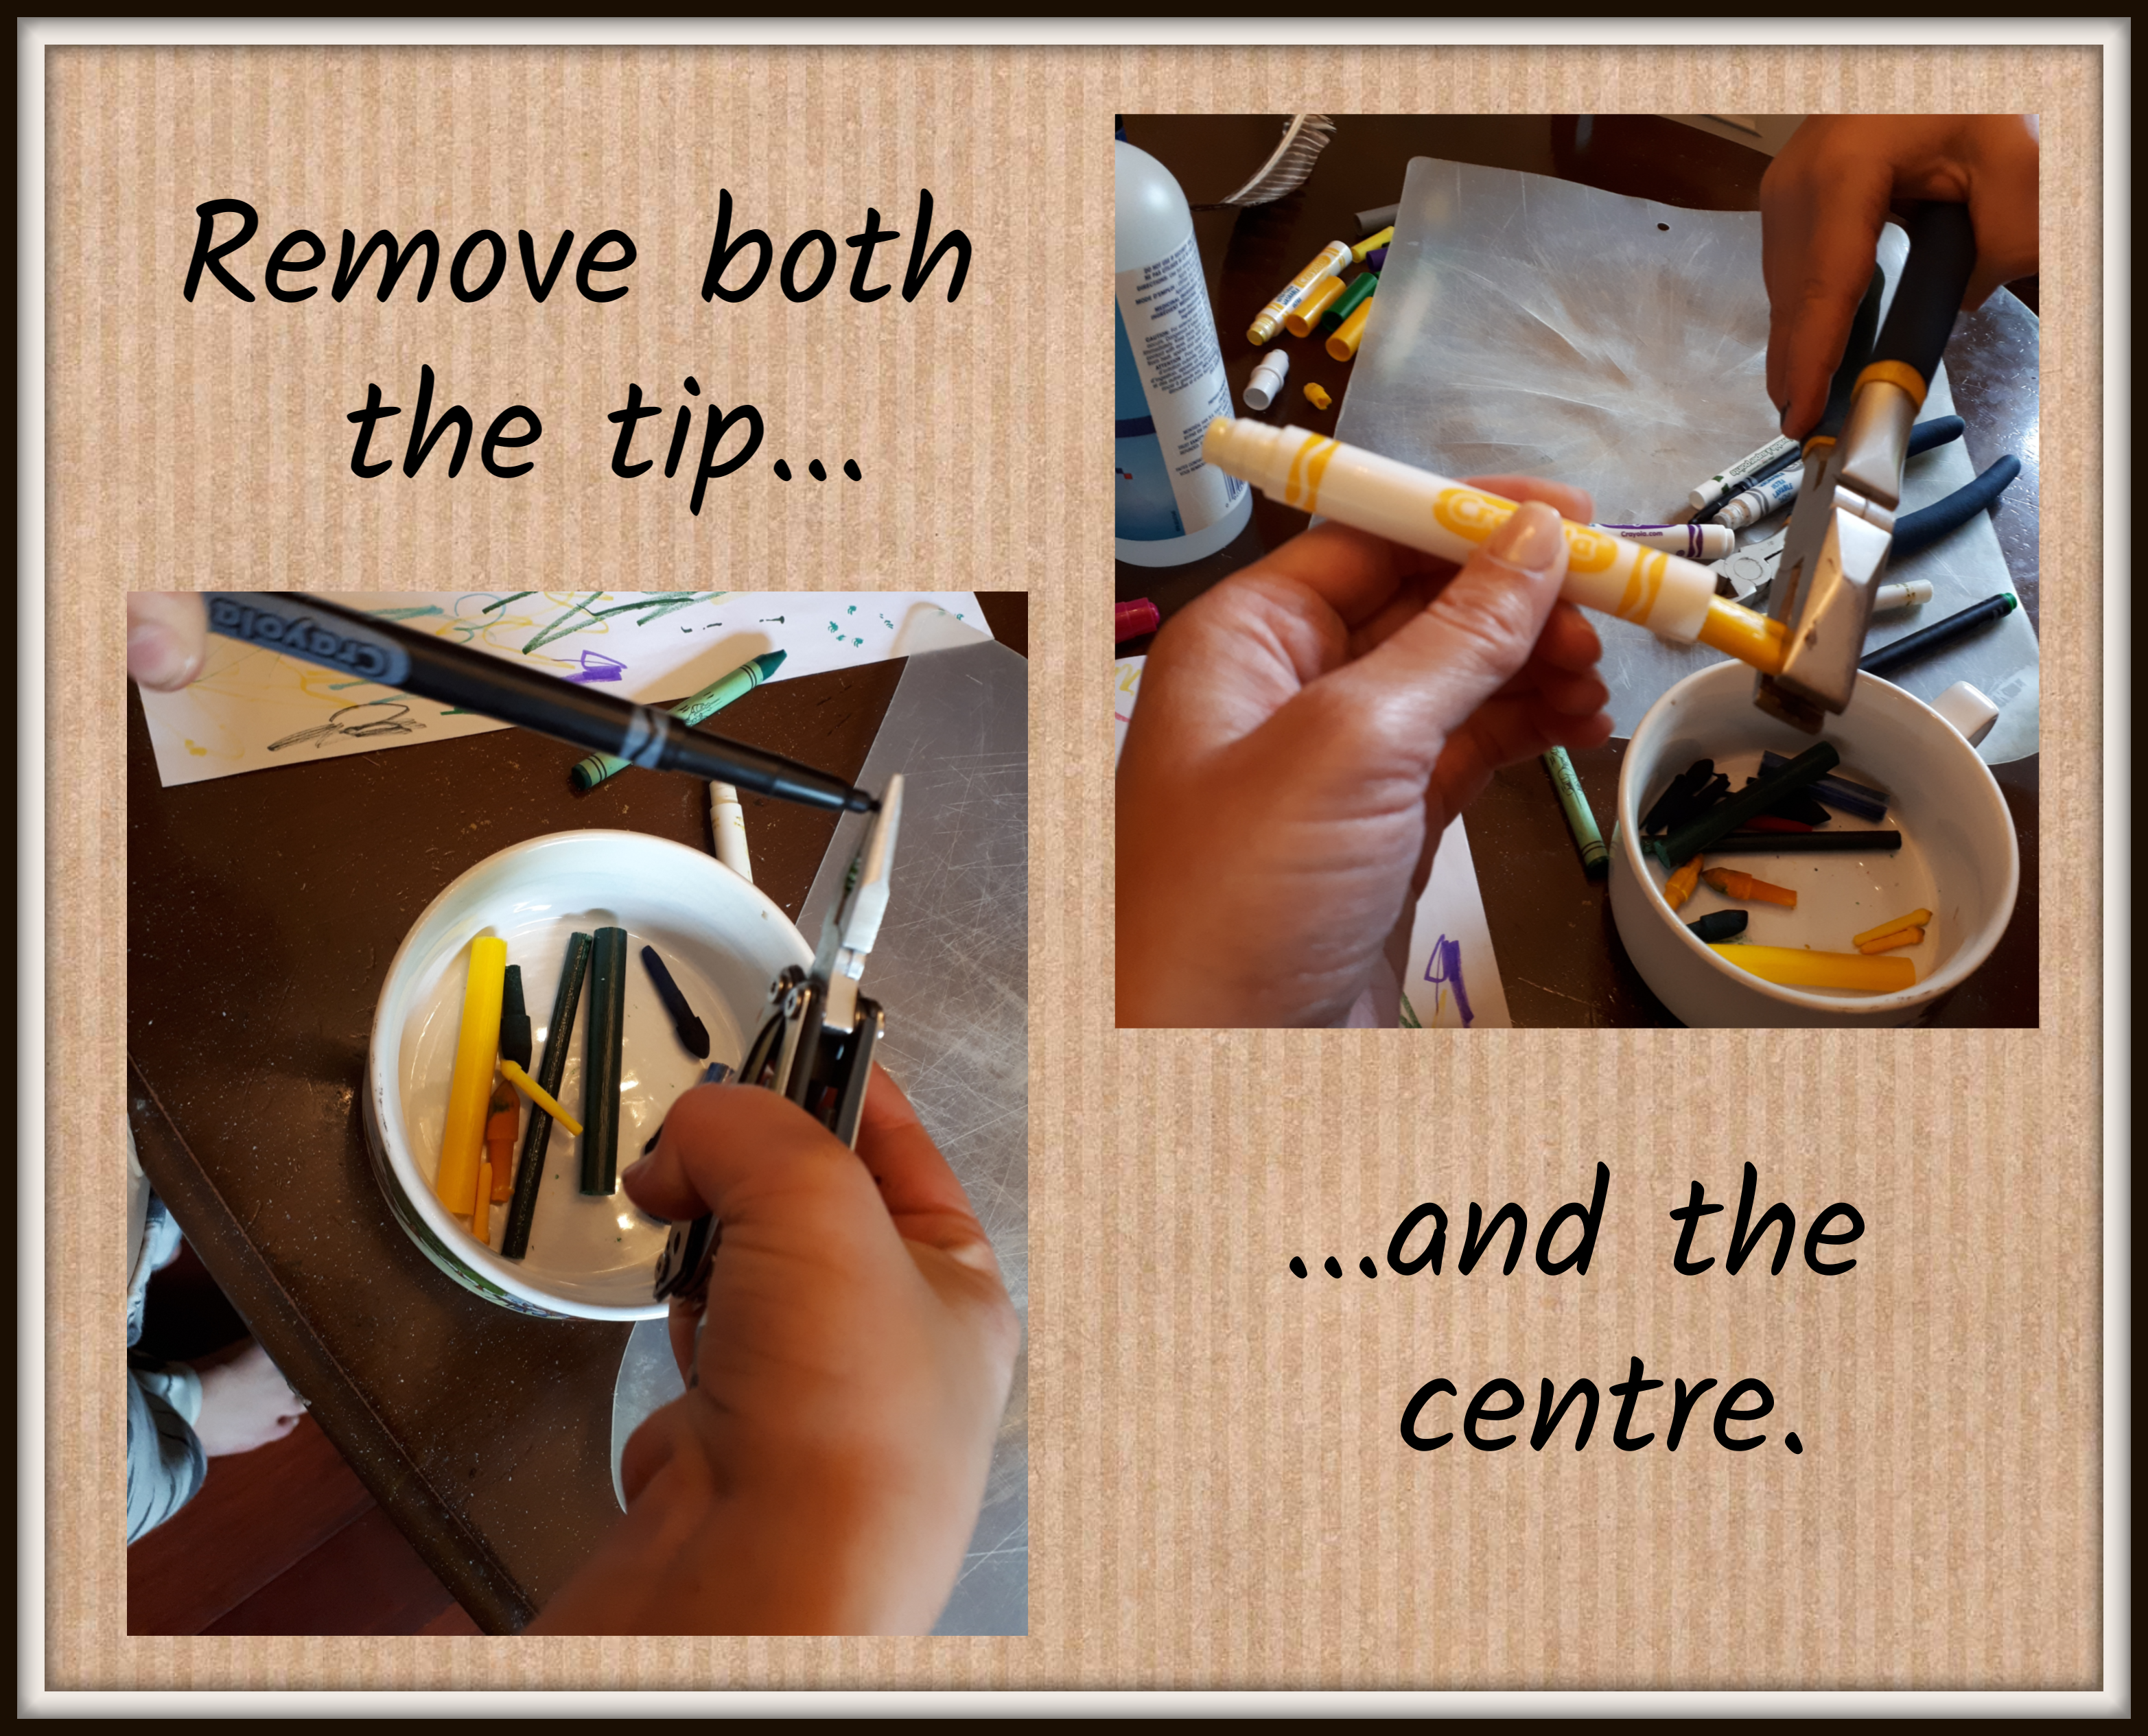
3. Pull out the tips and centres of each maker and place them in a bowl. Cautiously slit the plastic coating of each ink tube with a sharp knife to more easily allow the rubbing alcohol in and the colour out.
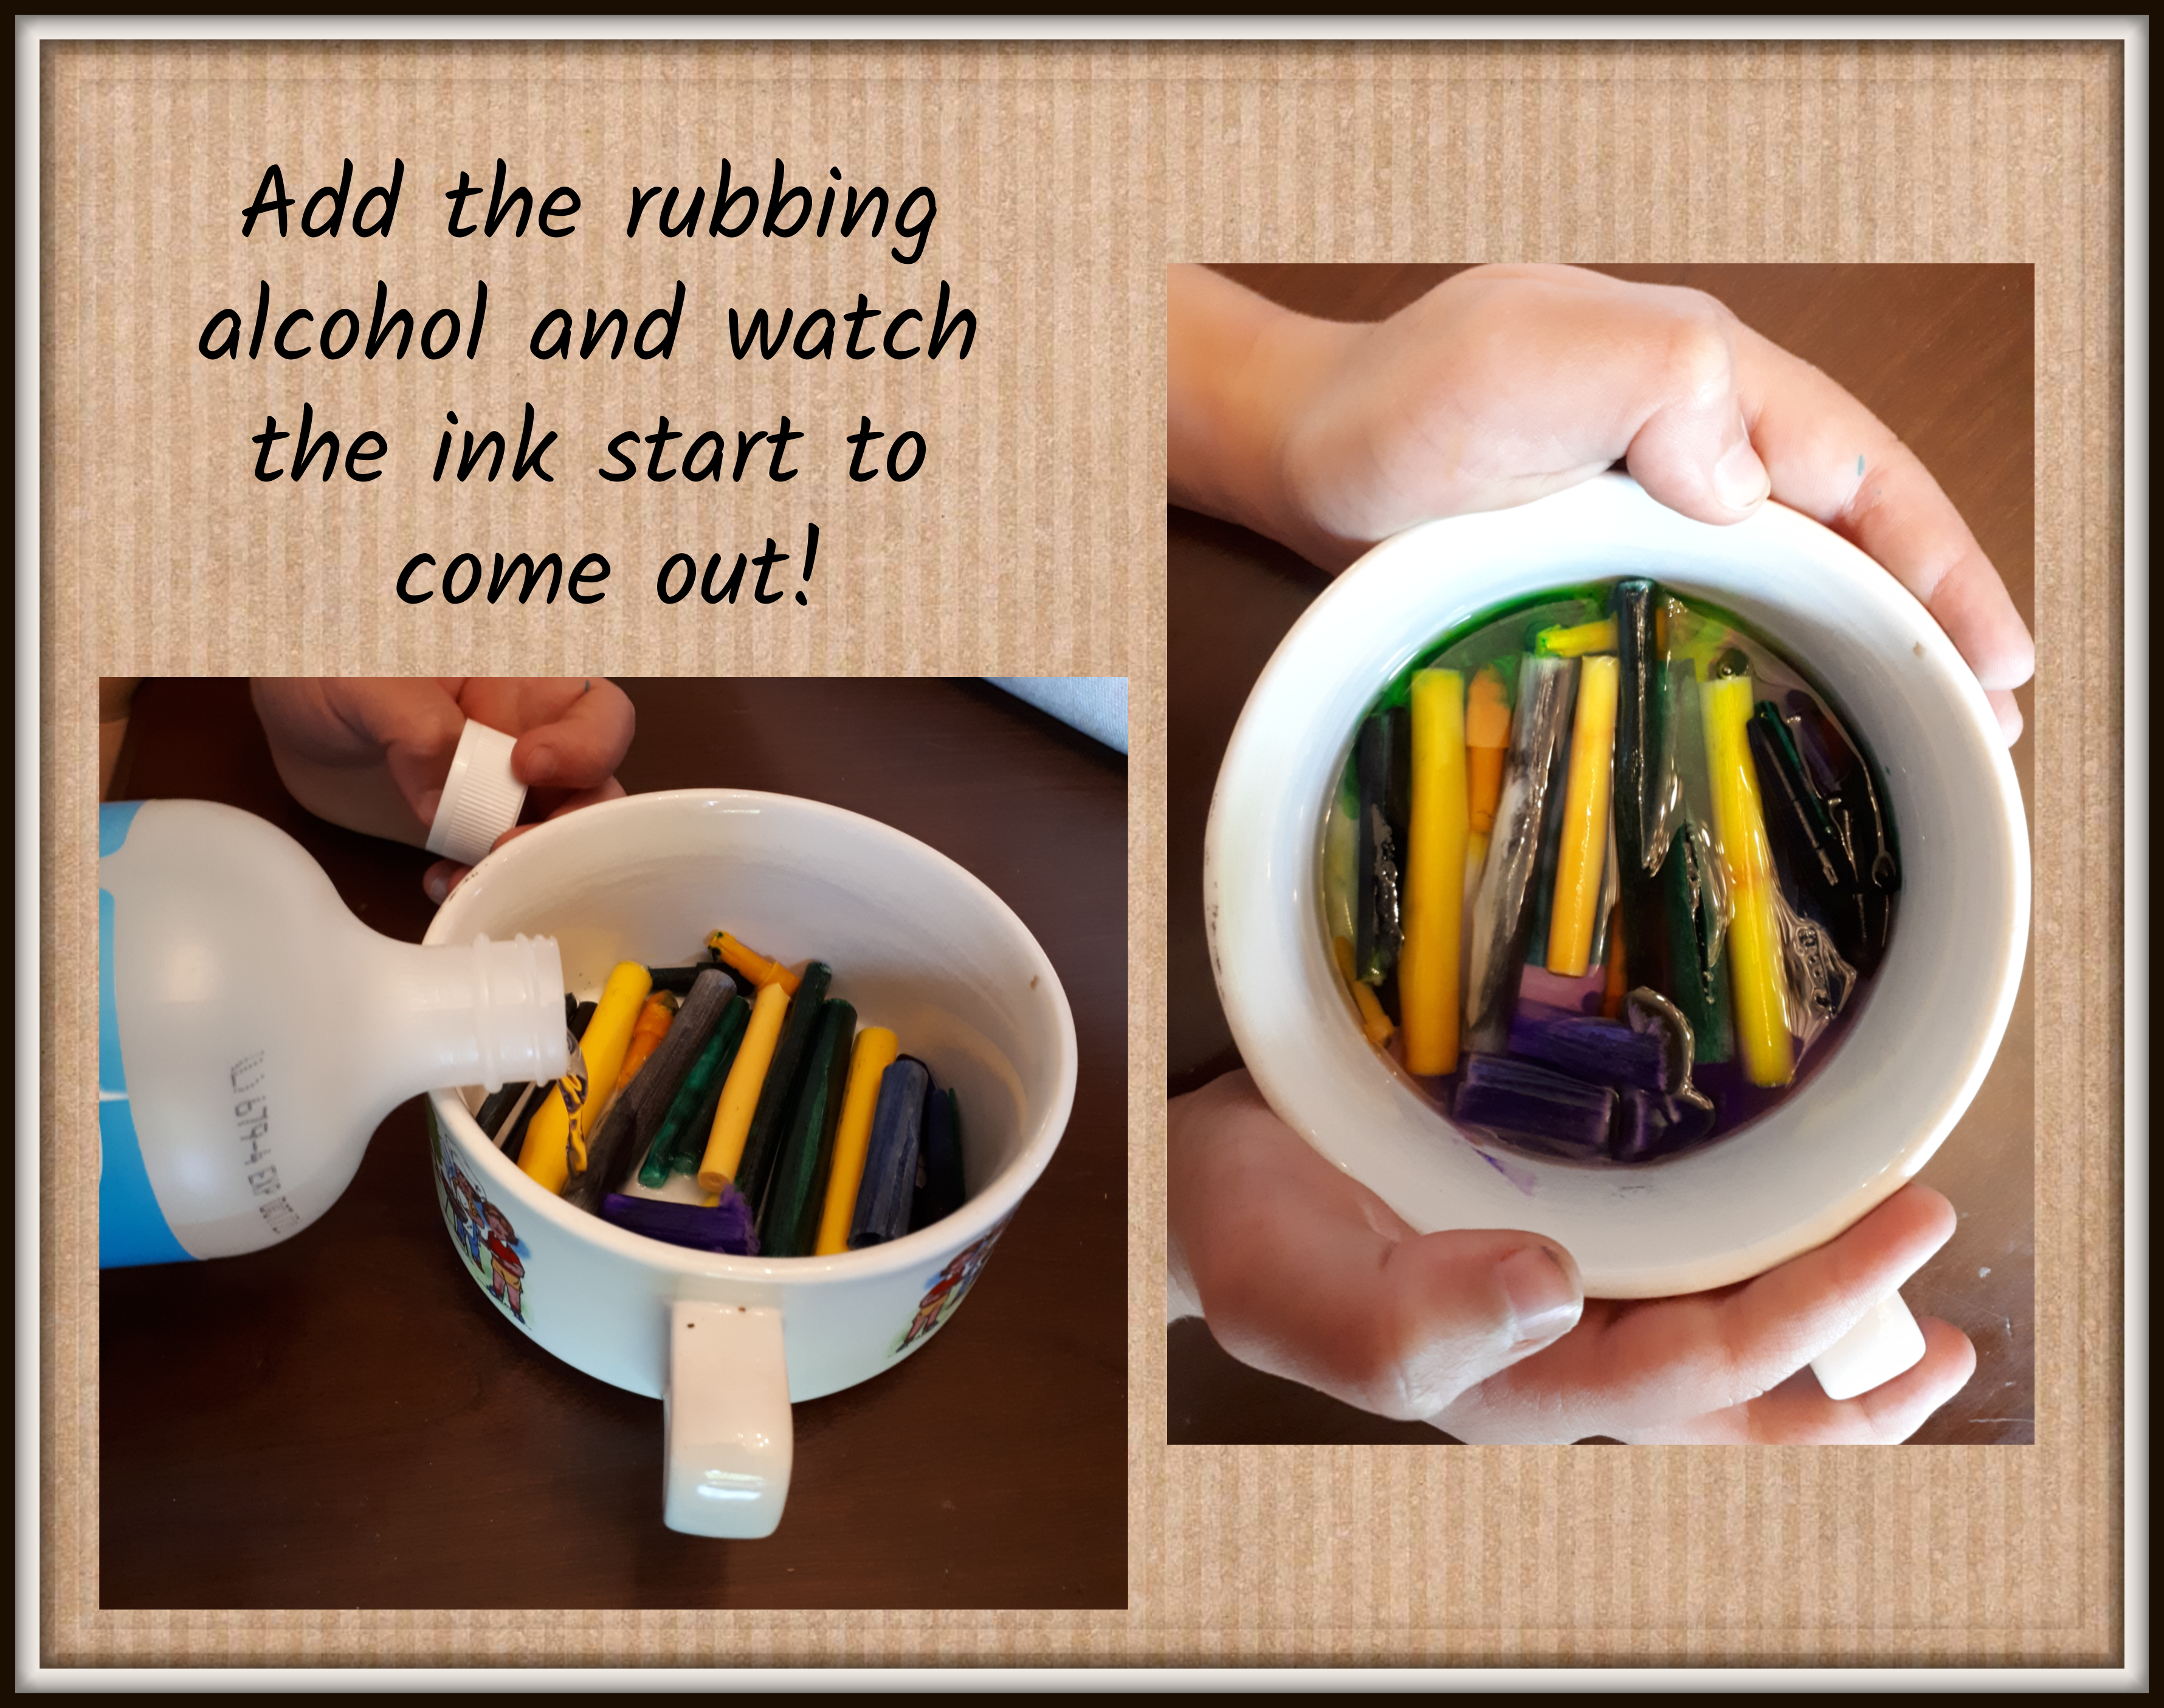
4. Cover the marker parts with rubbing alcohol. The less alcohol you use the better; this will make the ink darker. This concoction needs to sit for as long as possible to get all the ink out. We left ours for about an hour before being unable to wait any longer!
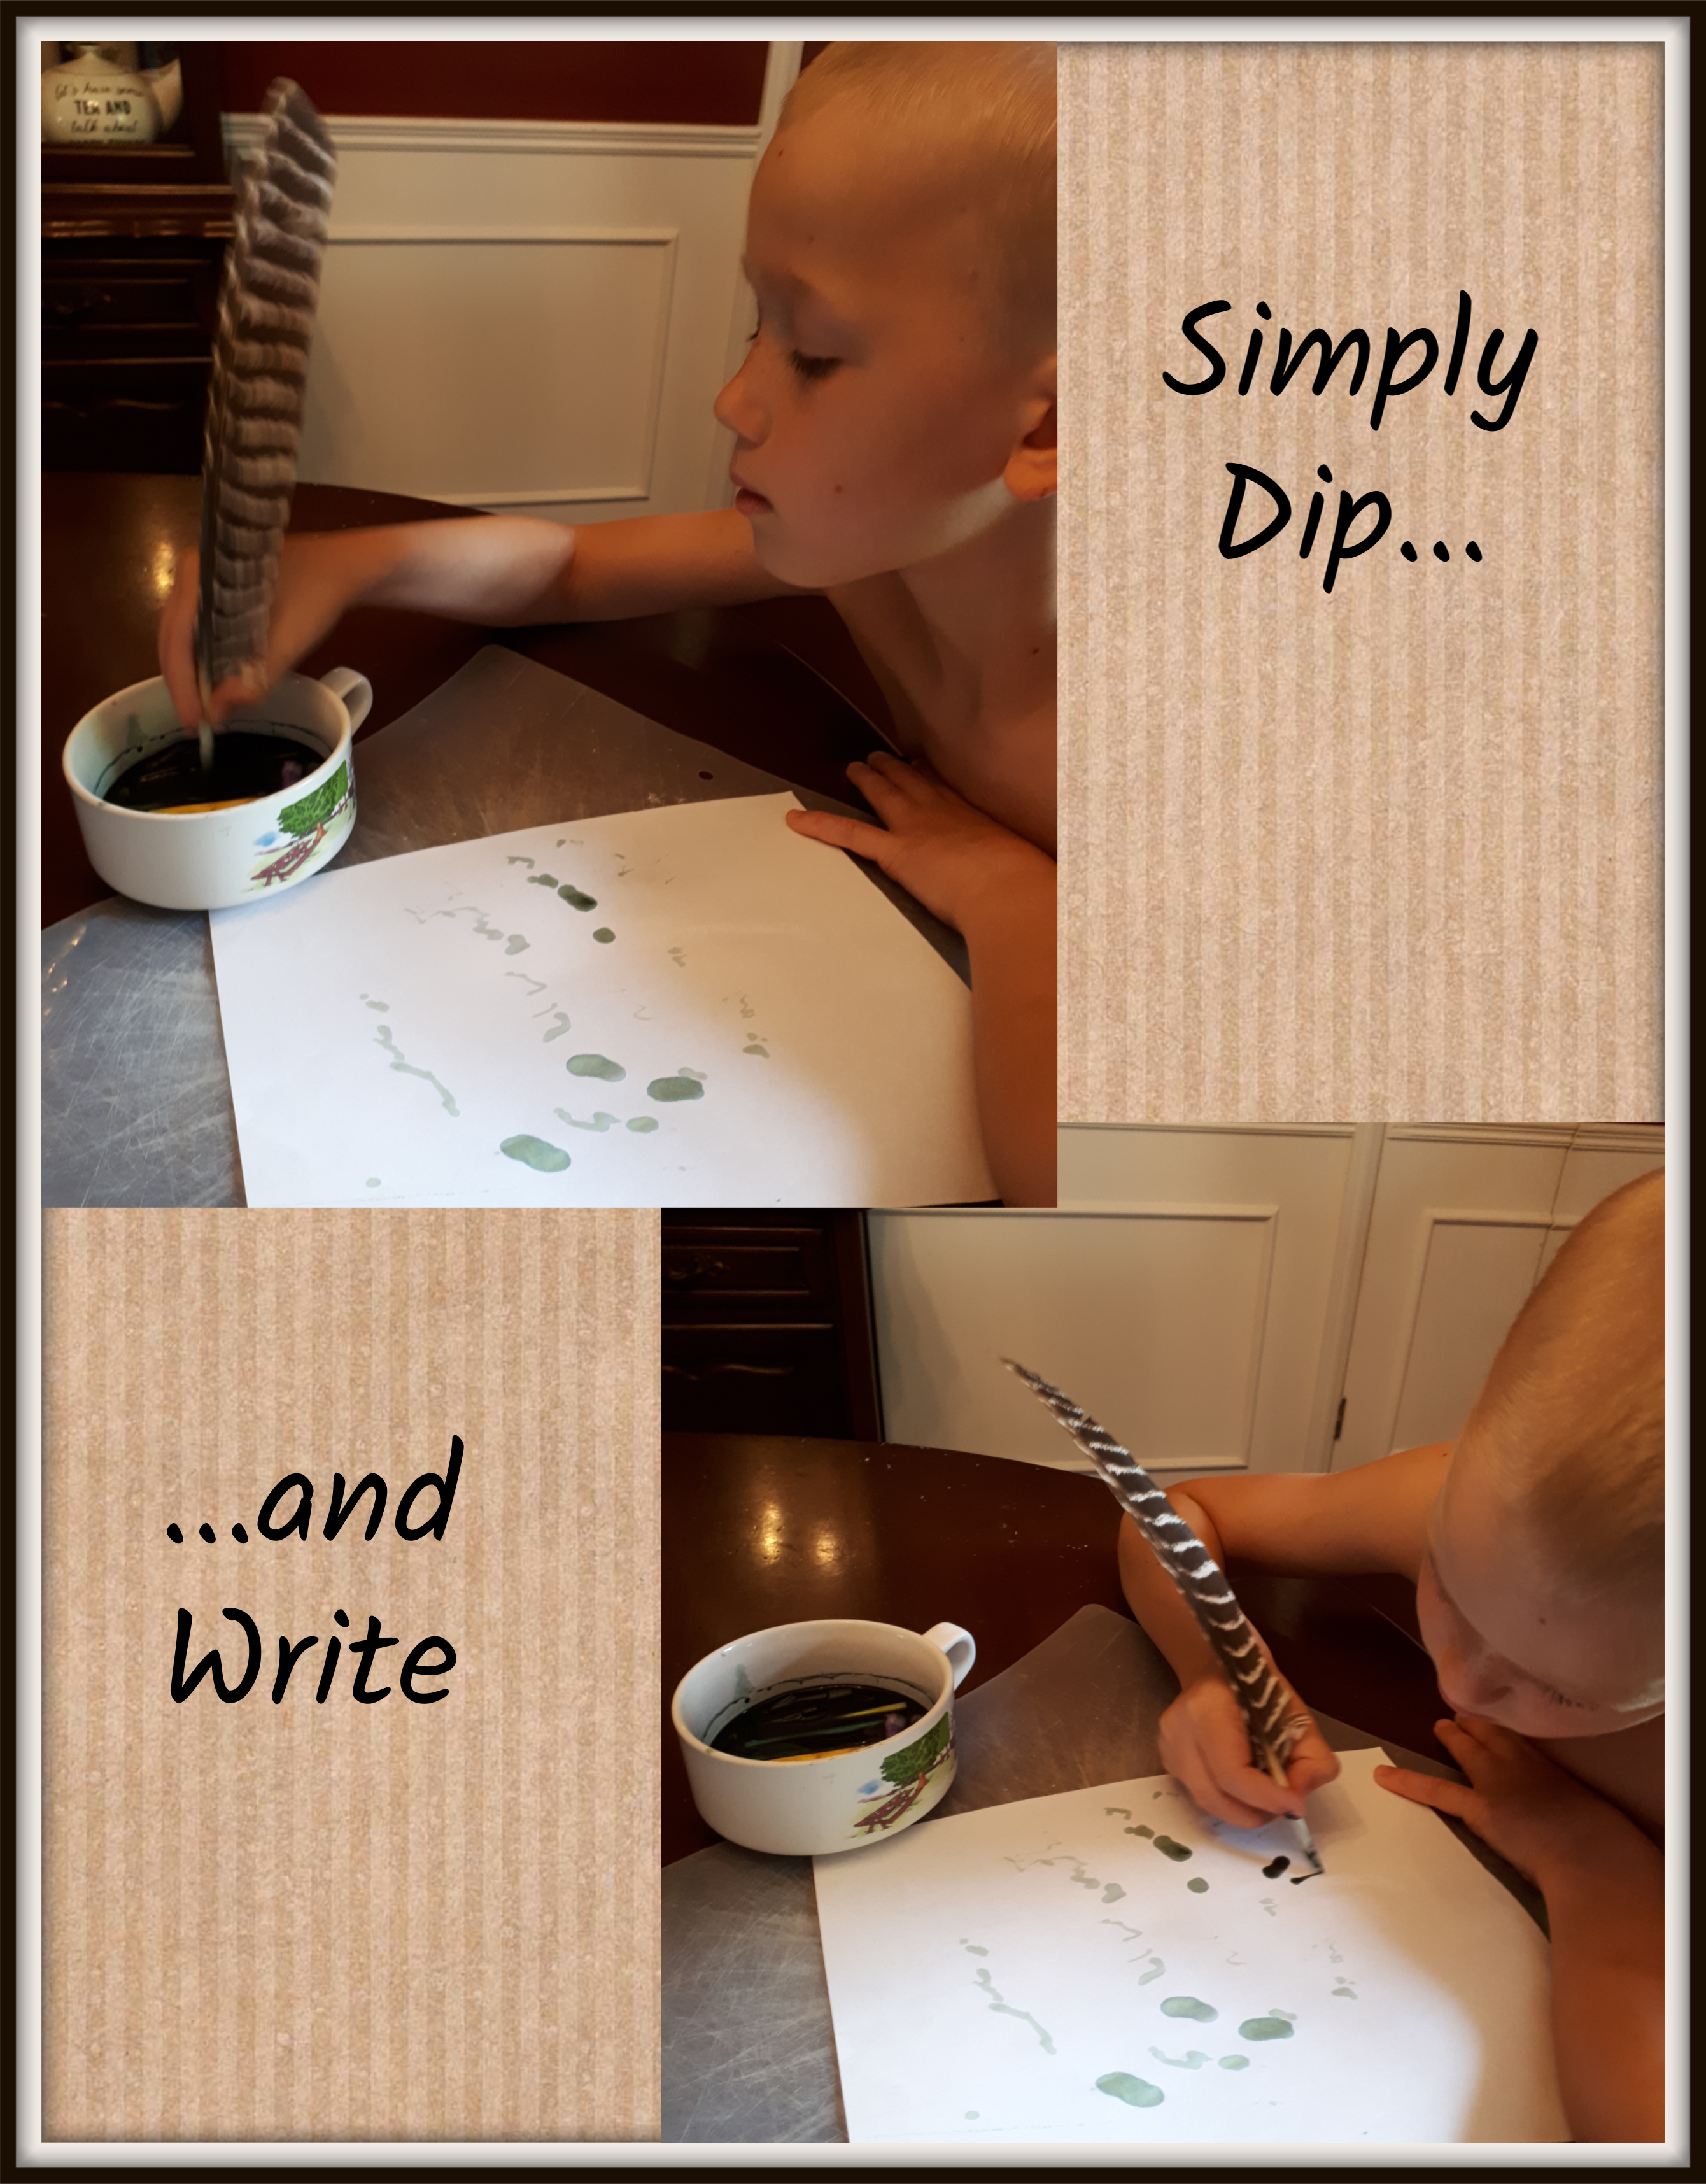
And now it’s time to turn your feather into a quill!
How to Make the Quill
Supplies:
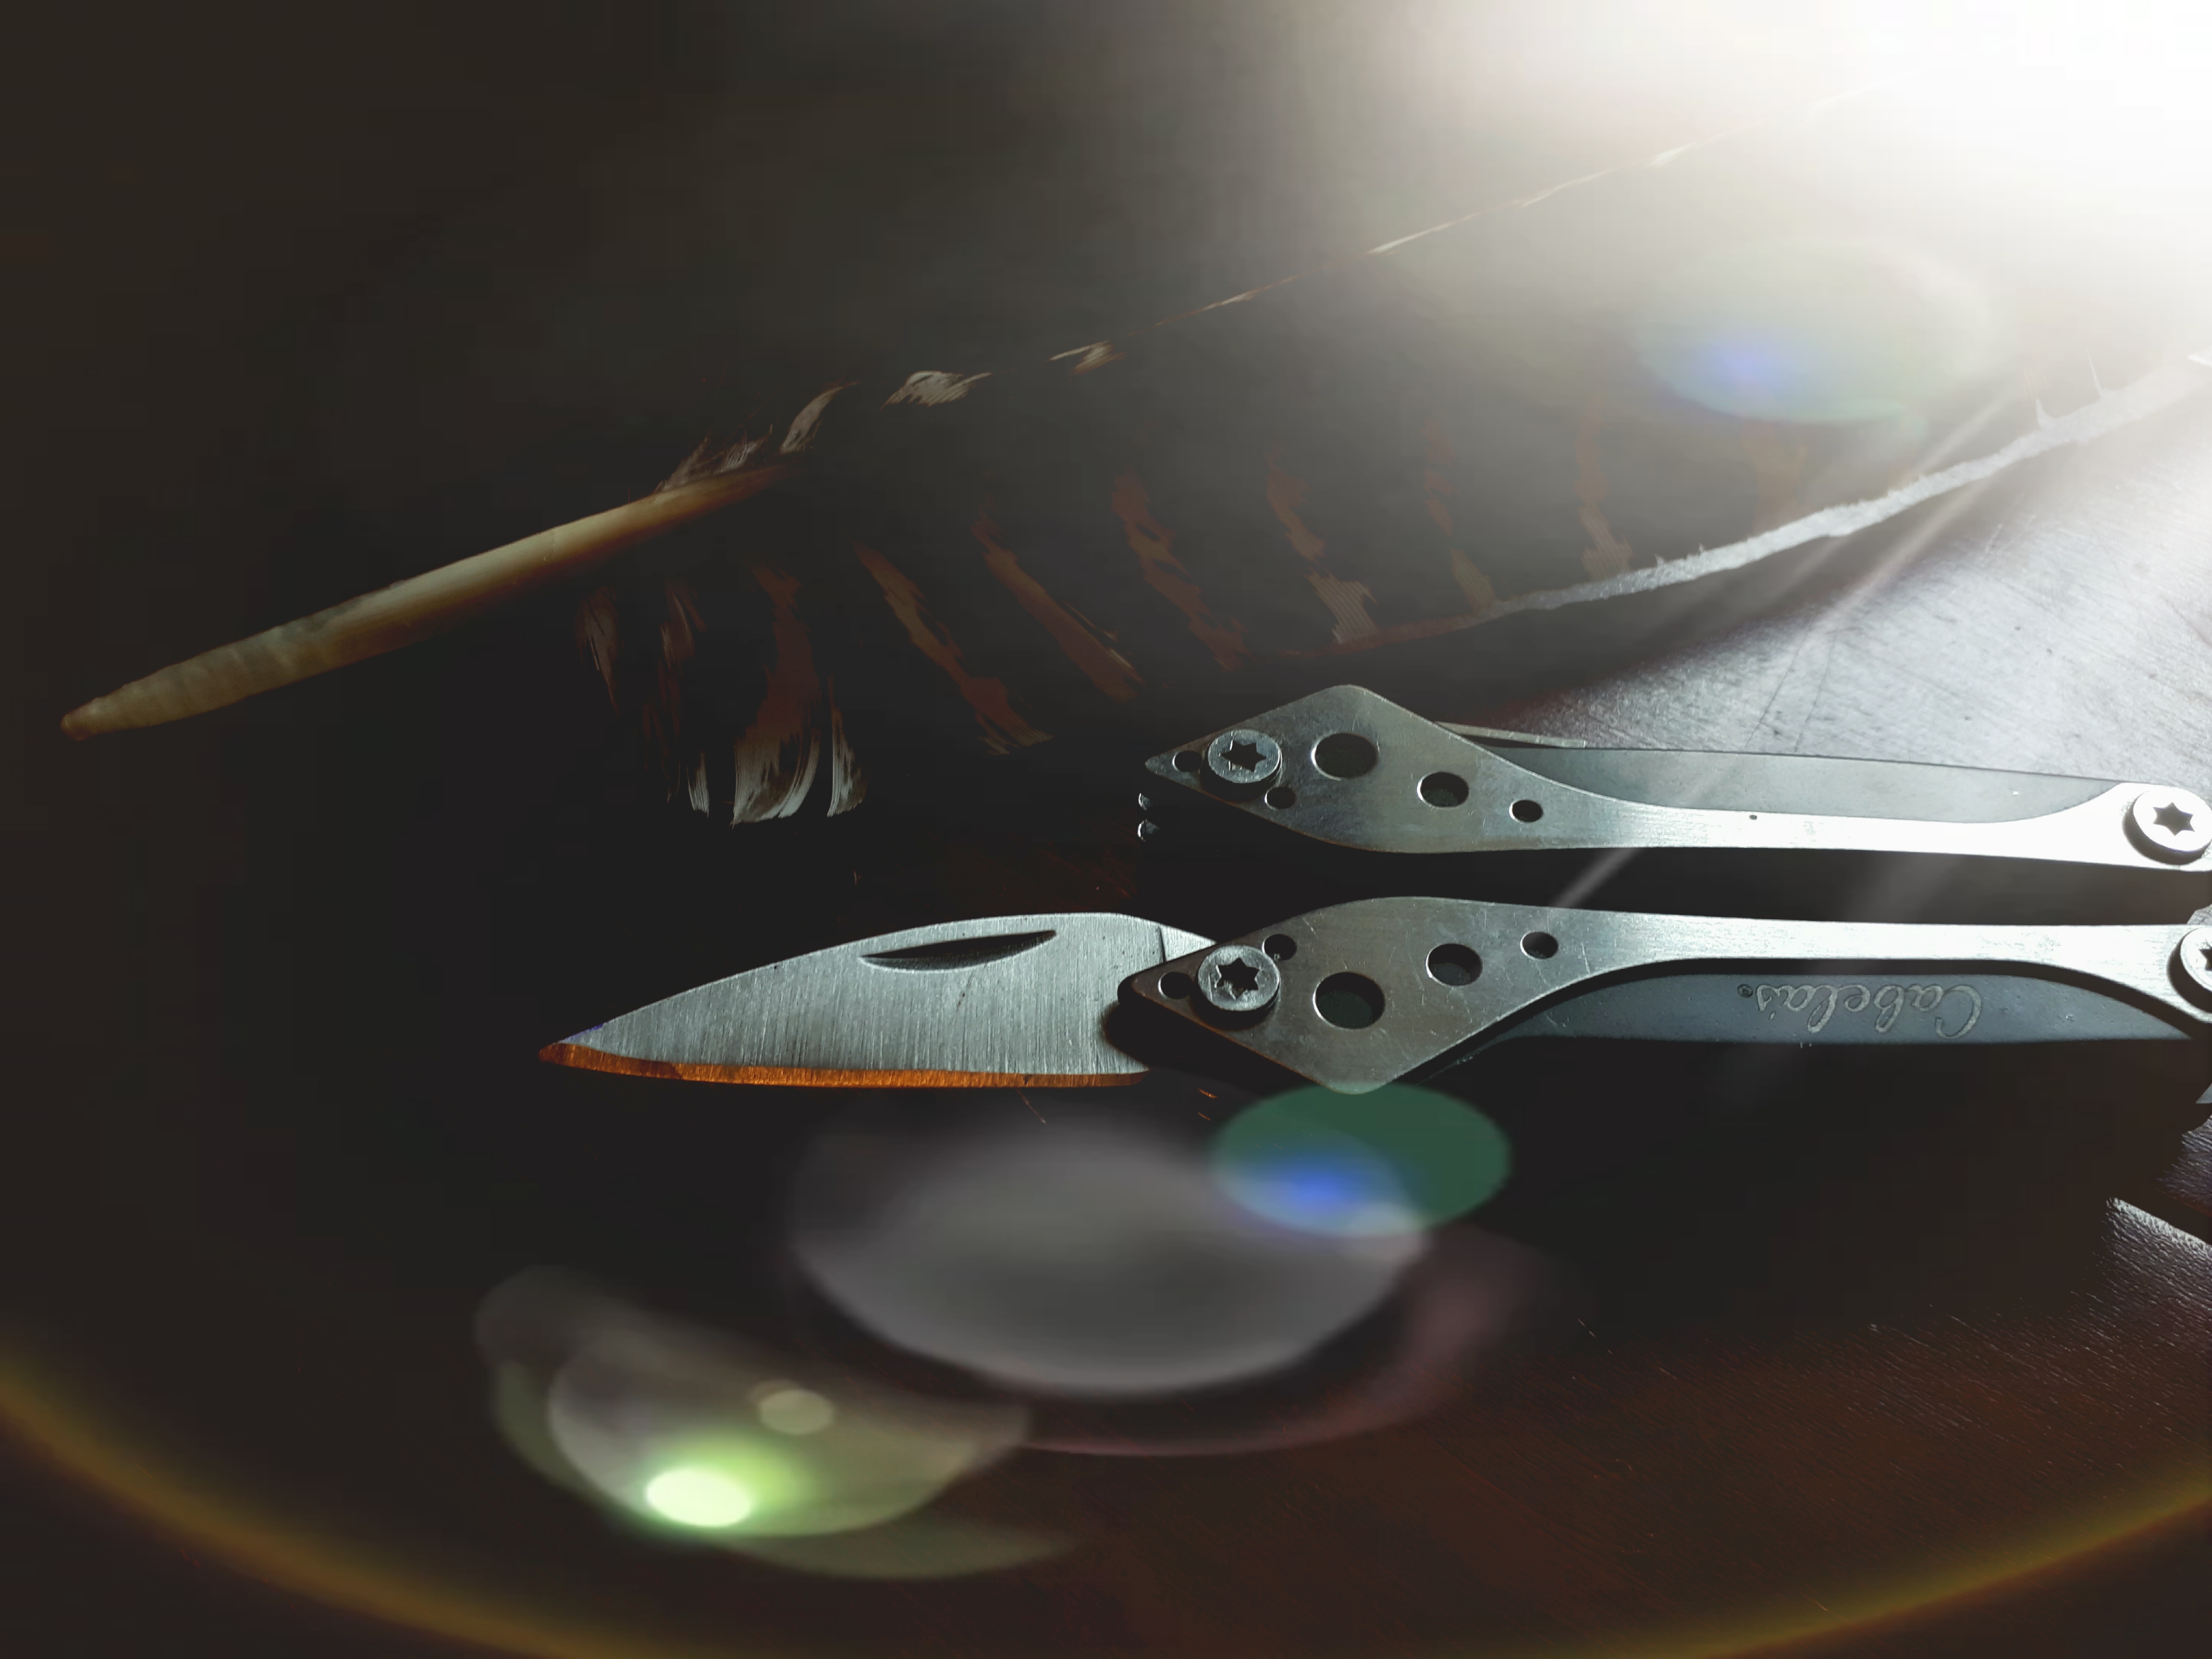
- Knife
- Feather (We used turkey feathers (that we had previously used in our Autumn Porch Display and Thanksgiving Table Display), but some other good options are crow, owl, eagle, goose, duck, swan and hawk.)
Instructions:
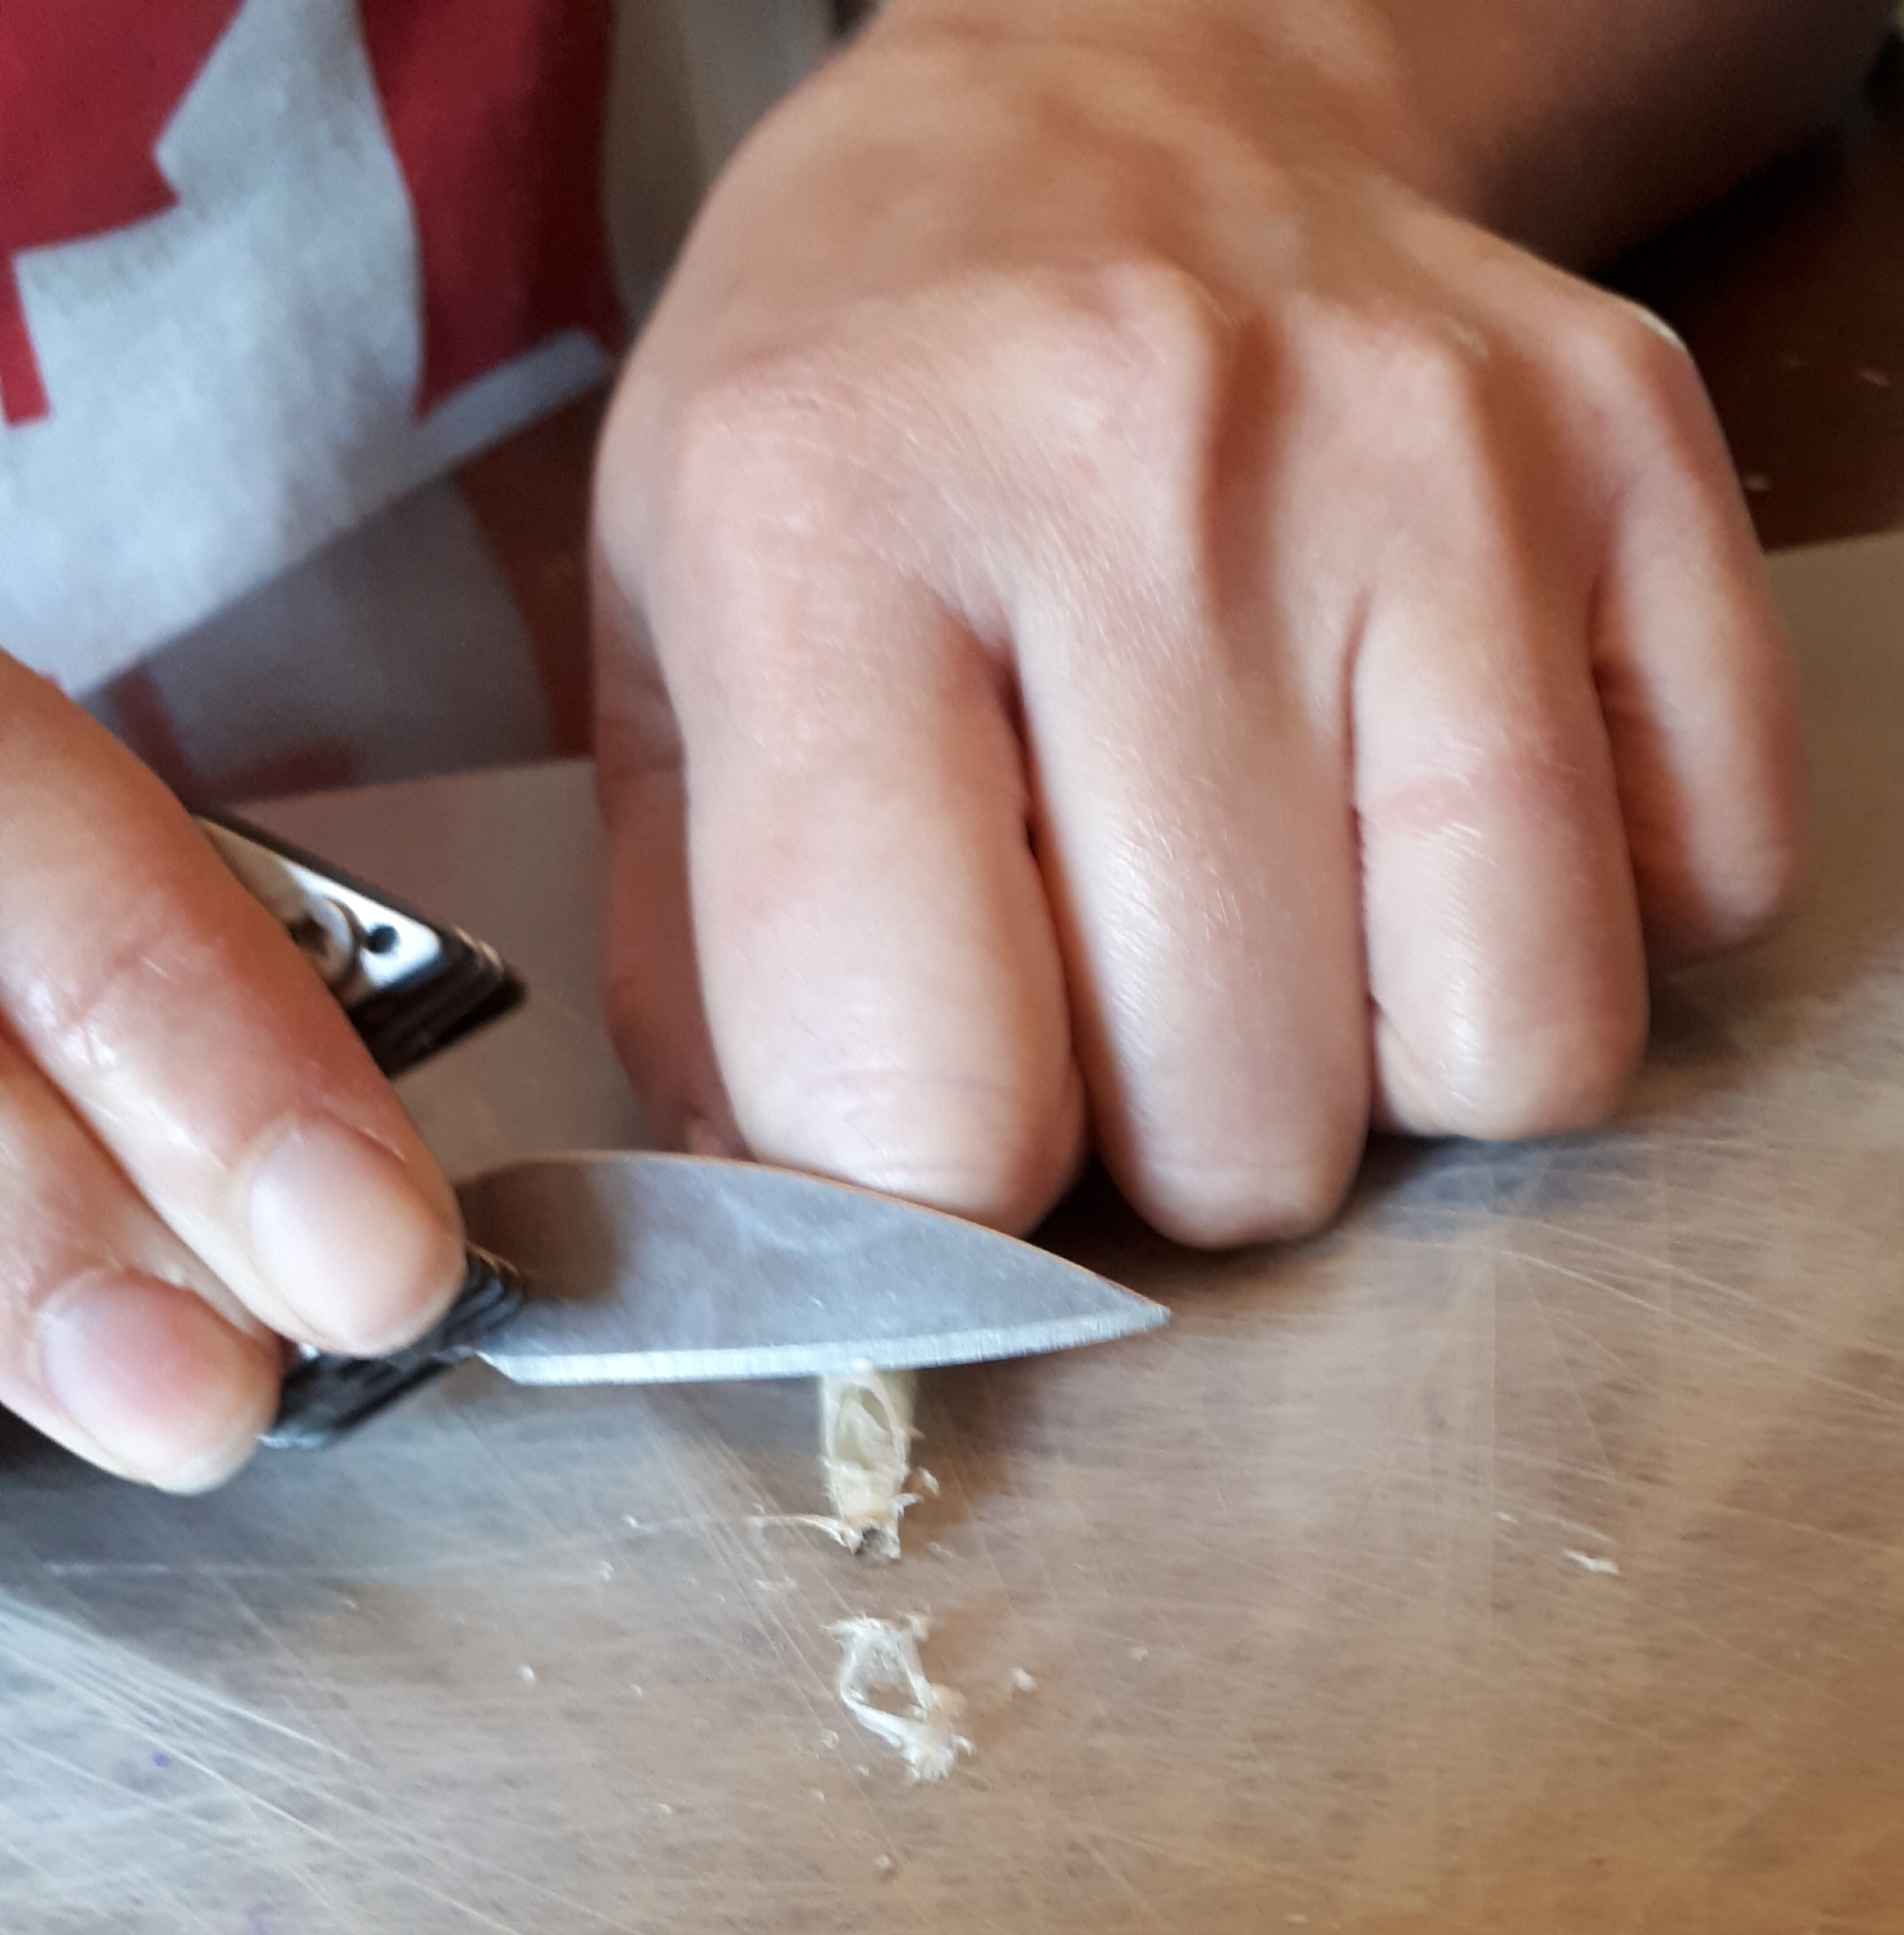
- Using a sharp knife, whittle away the top half of the feather tip. There’s a small nub of feather right at the end, you’ll have to scrape this whole section off. It’ll feel like you’re hollowing out a straw. (Optional: take off some of the lower feathers to make it easier to hold)
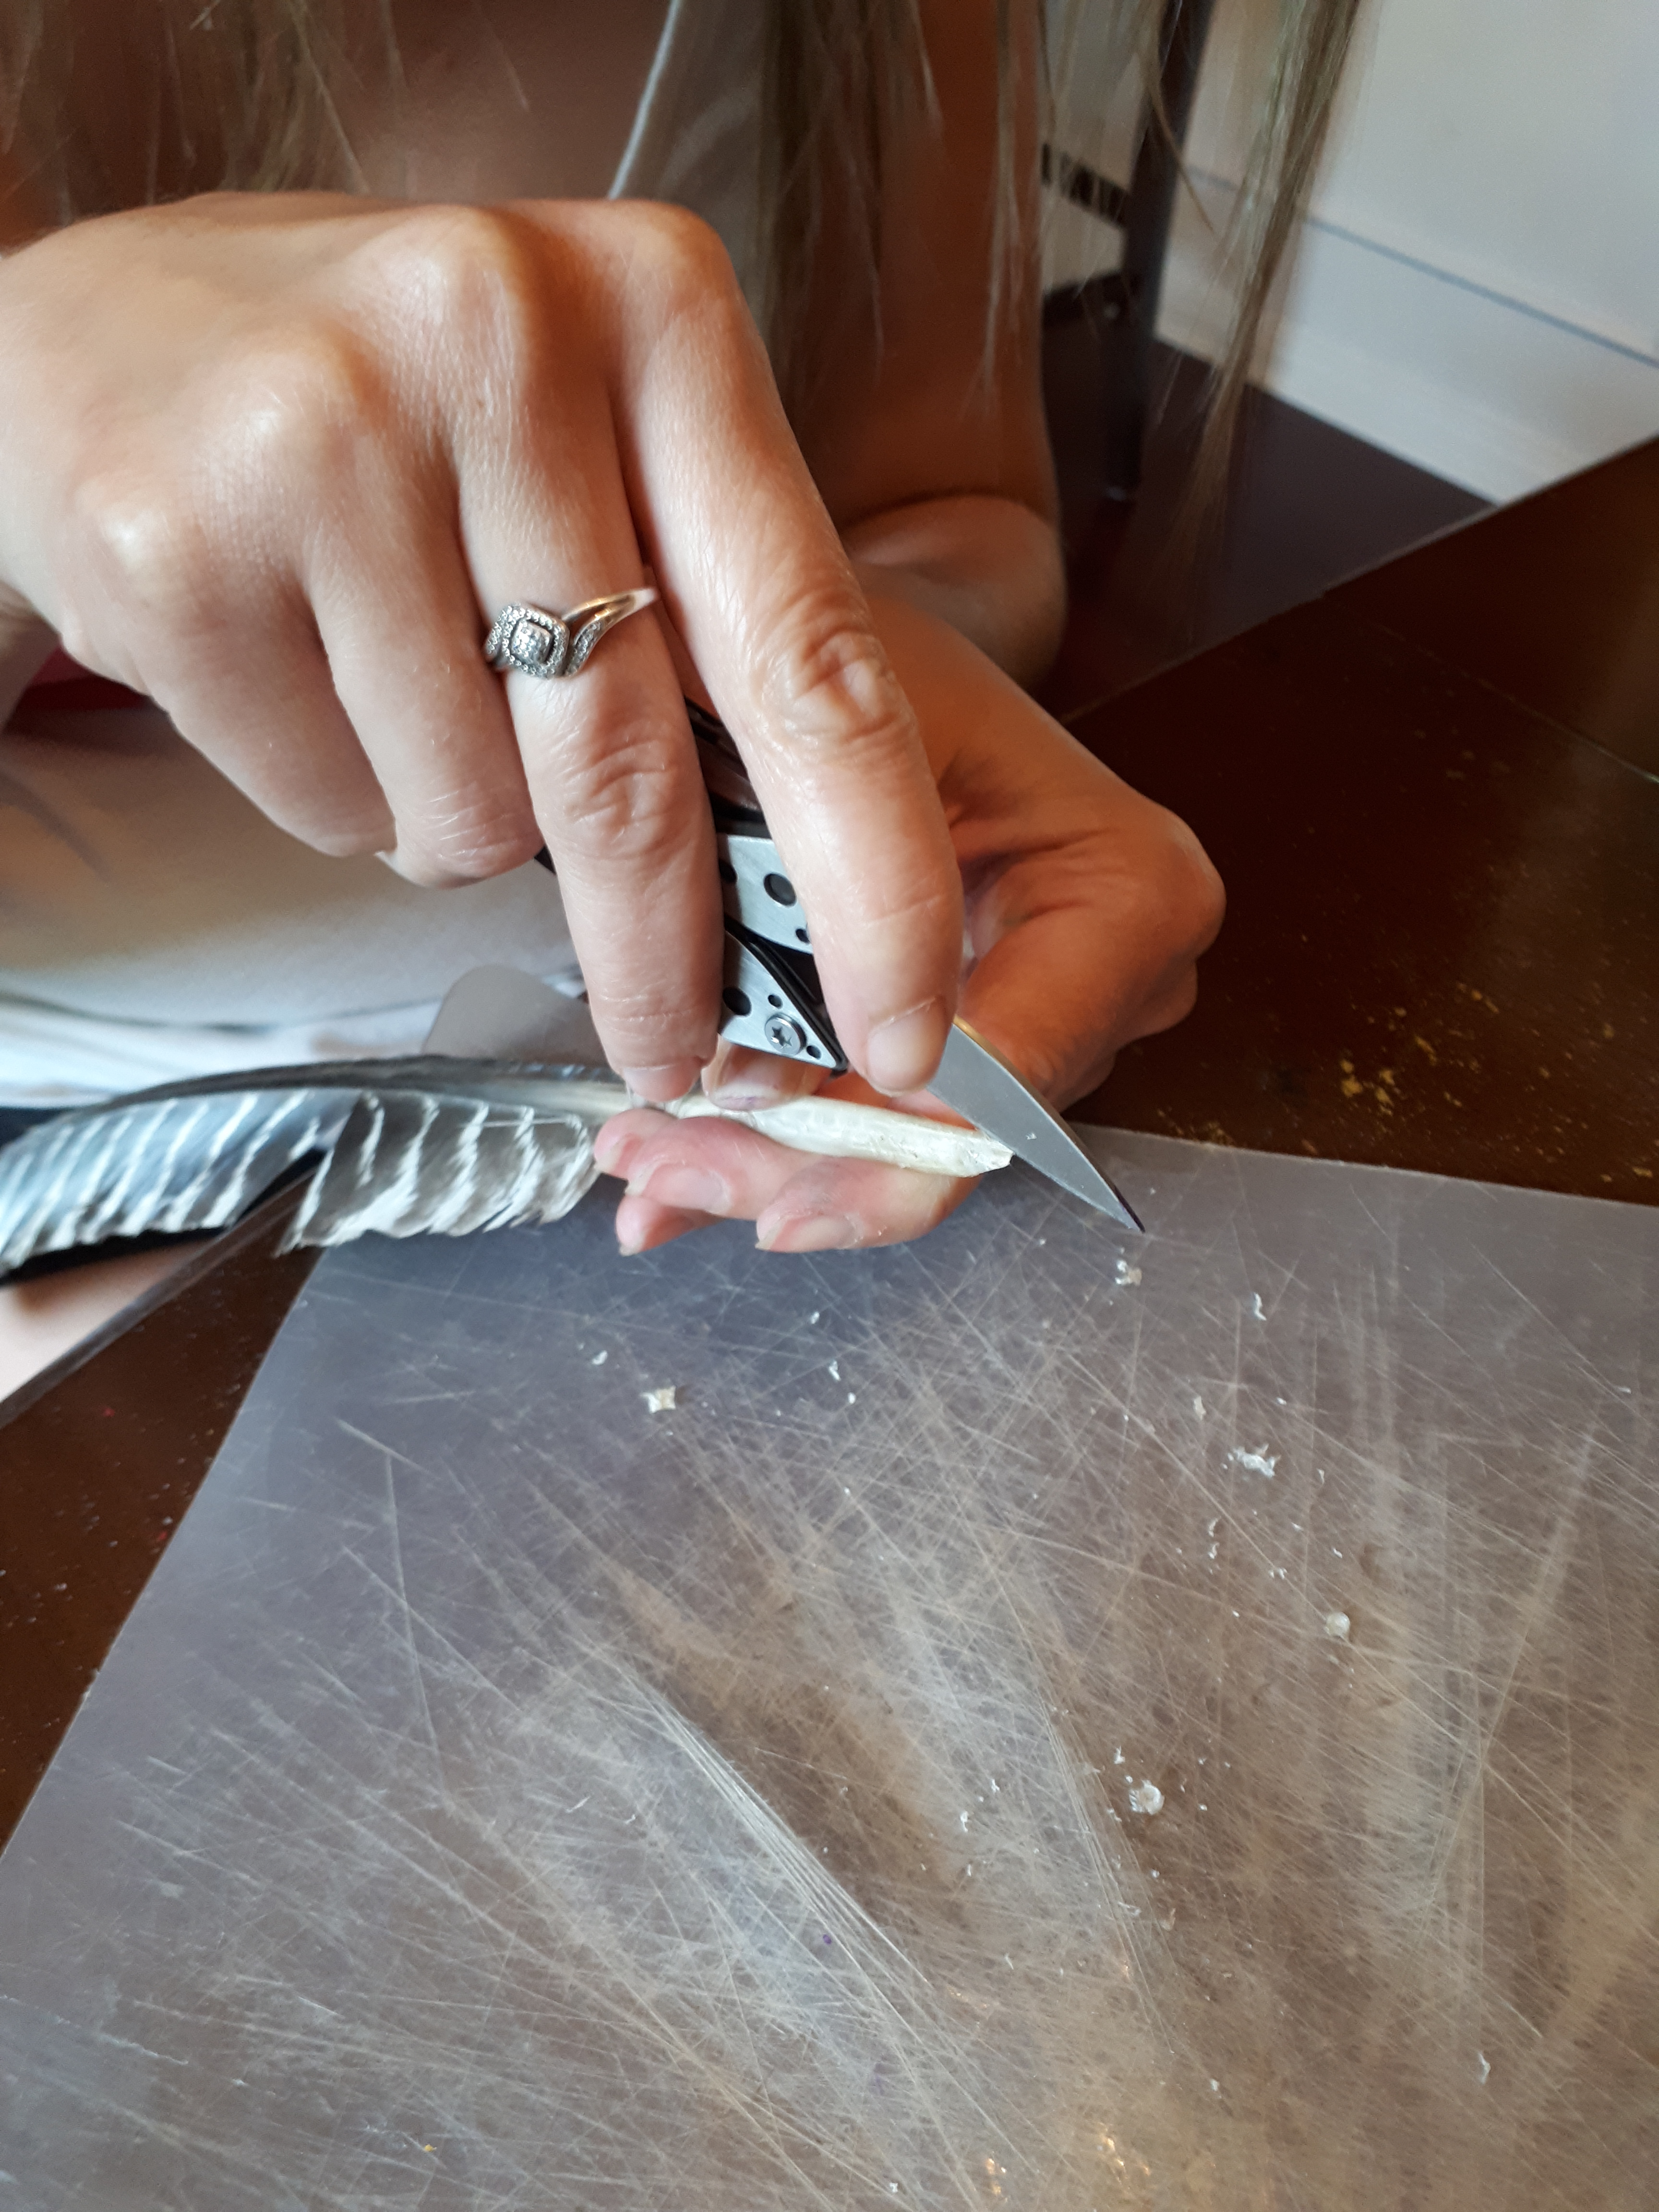
2. I put a little slit in the tip of my feather quill, which my son thought was ridiculous. I did it because that’s how I thought they looked. Turns out it’s fountain pens that have that. Oops. I could have cut myself open for flawed thinking. 🤦♀️ My son especially thought the way I was cutting it was dumb…and looking at the picture it I think he was probably right. So only do this completely unnecessary step at your own risk.
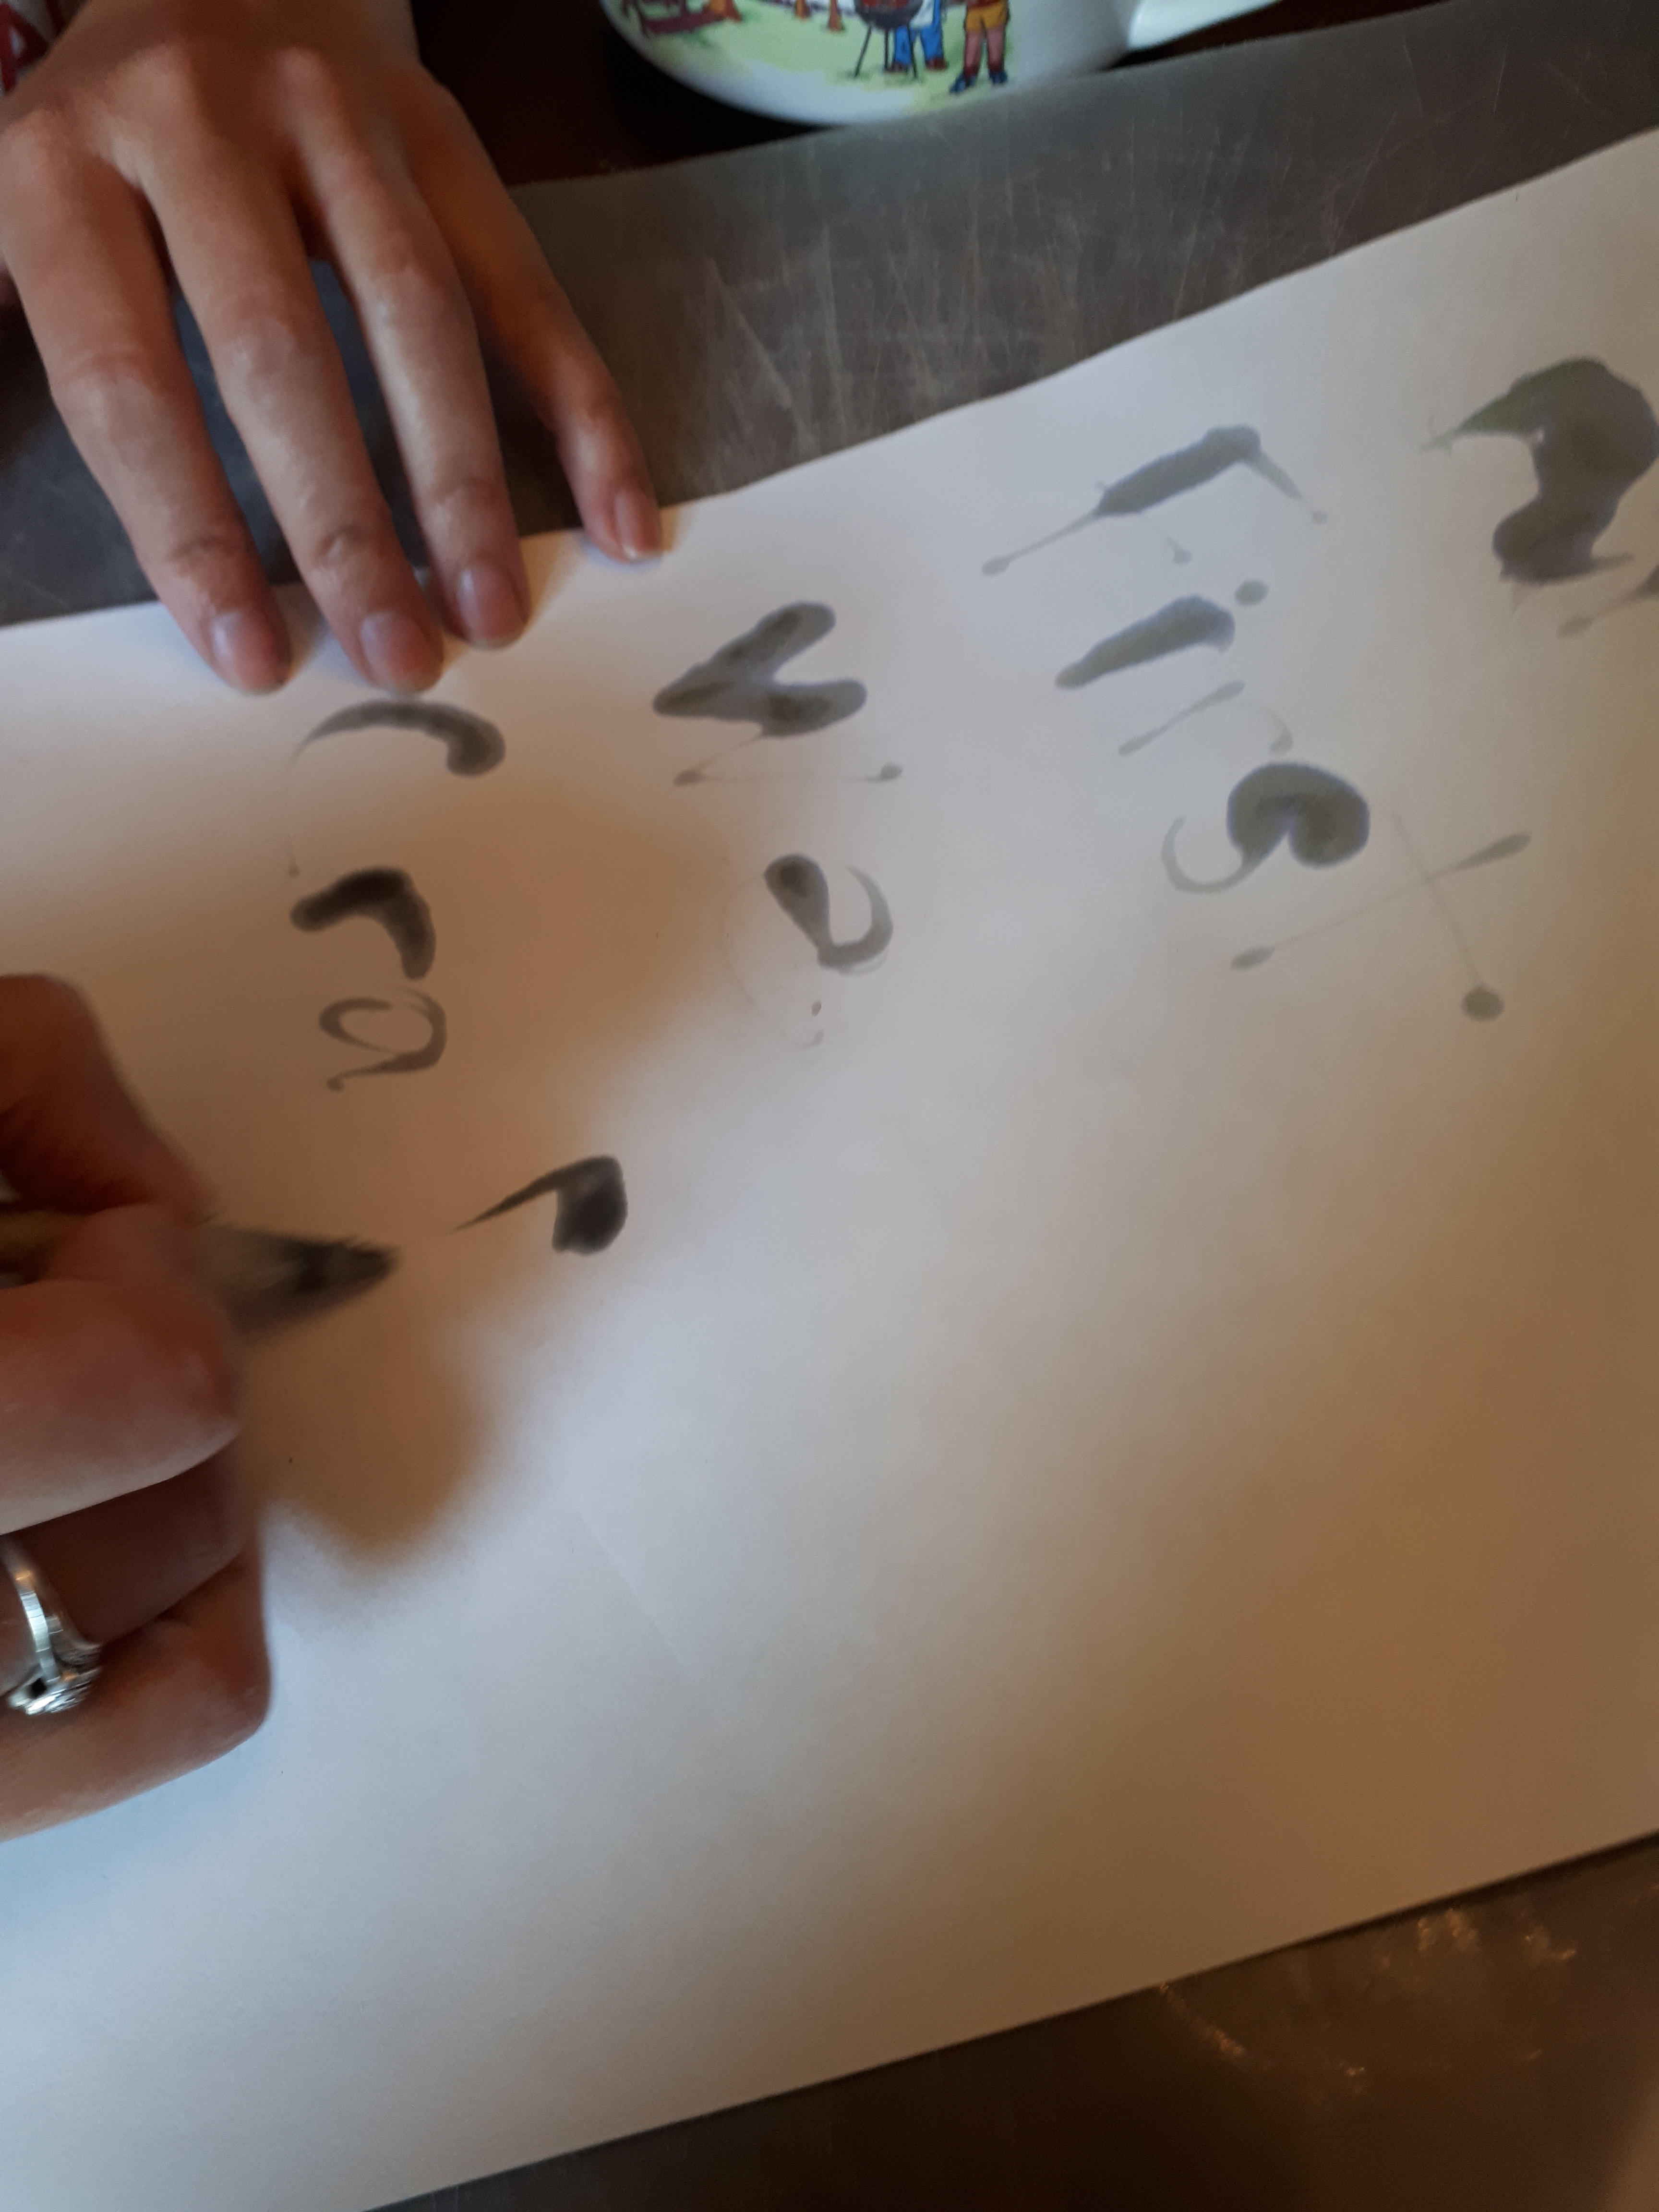
Test Out Your Ink and Quill!
Another great place to make these quills would be a Harry Potter Party. You can see the Harry Potter Party we hosted by clicking here. Let me know what you used these for! Maybe we should host an “Olden Day Party”…


Thank you! Very interesting and I am definitely going to try it. Tks
LikeLike
I’m so glad! Enjoy!
LikeLike
Cool craft! You were right to put the slit in the tip. It does two things – it helps the quill hold more ink, and if you do it right, it also lets you make the line thinner or fatter. Fountain pens got it from the quill. I’ve used quills, bamboo pens, metal dip nibs, and fountain pens, and they all have the slit! 🙂
You can make some nice inks out of berry juice. If you have blackberries in your area they make a pretty good ink. I love your idea of recycling old markers though, I wouldn’t have thought of that.
Finally, be careful if using hawk and eagle feathers – if they are a protected species, and you live in the US, it’s illegal to own/use the feathers unless you are a recognized native tribe. I love me some turkey feathers though. They work great for this.
LikeLike
Wow! Thanks for the info Rohvannyn! We have mulberries right now that I was thinking of trying out. 😊
LikeLiked by 1 person
You’re welcome! I love your craft ideas.
LikeLiked by 1 person
Oh, and another cheap and easy source of ink is instant coffee, brewed really strong.
LikeLiked by 1 person