
My husband and I are homeschooling our children. Last year was our first year (my son was in grade 2), and it was so much better for us than public school! But there were a lot of things that, this year, needed to be improved upon, and one of them is our disaster of a kitchen, which is where we do the majority of our schooling. It’s not practical for us to do school in a different room of the house, so last year I had stuff taped all over the walls, and a constant mess. This year I still have the constant mess, but I’ve kept stuff off the walls (well, taped on the walls, anyway. Check out my Look What We Made board to see one improvement!). Now, we are getting into Lent, a time of year that we observed for the first time last year – another thing we had more time for because we were out of public school. We bought a printable from Nancy at Do Small Things with Love to help us observe Lent. (You can purchase your own printable by clicking here.) We aren’t Catholic, so Lent was almost entirely new to me. To read more about why we started observing Lent you can read my post, DIY Easter Bonnets, where I tell you a bit about this decision, and show you our Jesus Tree. So, last year we taped our Jesus Trees up on the wall, but I didn’t want to this year, so I bought a totally ugly, but functional bulletin board from a thrift shop, and spent Saturday afternoon improving it. So that’s what this post is supposed to be, amid all the other details! Oh! We also observed Passover last year for the first time, and that was AWESOME! I have a two part post on that; you can start with DIY Christian Passover.
Supplies:
- Old, ugly, tired (but functioning) bristol board
- Antibacterial wipes
- Rubbing alcohol and cotton ball
- Paint and brush (I used a foam brush)
- Stencil of an encouraging verse or quote
- Transfer tape
- Damp cloth to wipe off the sawdust, another one to wipe off any misplaced paint
- Optional: Sandpaper (150 and 220 grit)
Instructions:
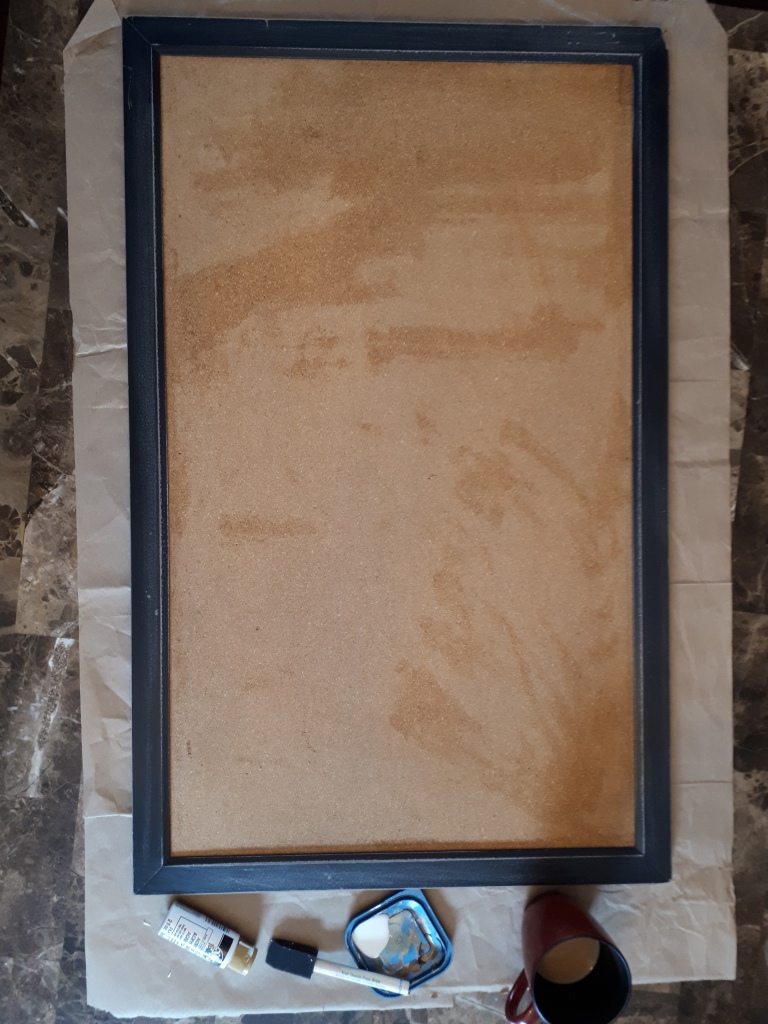
- Wipe down the bristol board, frame and surface, with an antibacterial wipe or five. I wanted to get all the germs off of my board before I started. It was more than a little grungy, so even this step dramatically helped improve the look. The sweep lines on the board in the picture above is the wipe liquid drying.
- Sand the frame (not pictured). My frame had lots of dents and scratches. I used 120 then 220 grit to get rid of some of the bigger problems. Once it’s sanded wipe it down with a damp cloth to get rid of the sawdust.
- Wipe down the frame with rubbing alcohol.
- Paint the frame. I wanted a white frame and white lettering. I placed my bulletin board on some packing paper and painted it free hand. I had a damp cloth ready to wipe off the paint that I accidentally got on the cork. My frame took three coats.

4. I made my stencil on my Cricut and cut it out of adhesive vinyl. I laid out my stencils approximately where I wanted them to be, but then I measured them a lot, a lot, a lot, before sticking them to my board with transfer tape (at which point I still managed to stick “Give Thanks” on crookedly🤦♀️).
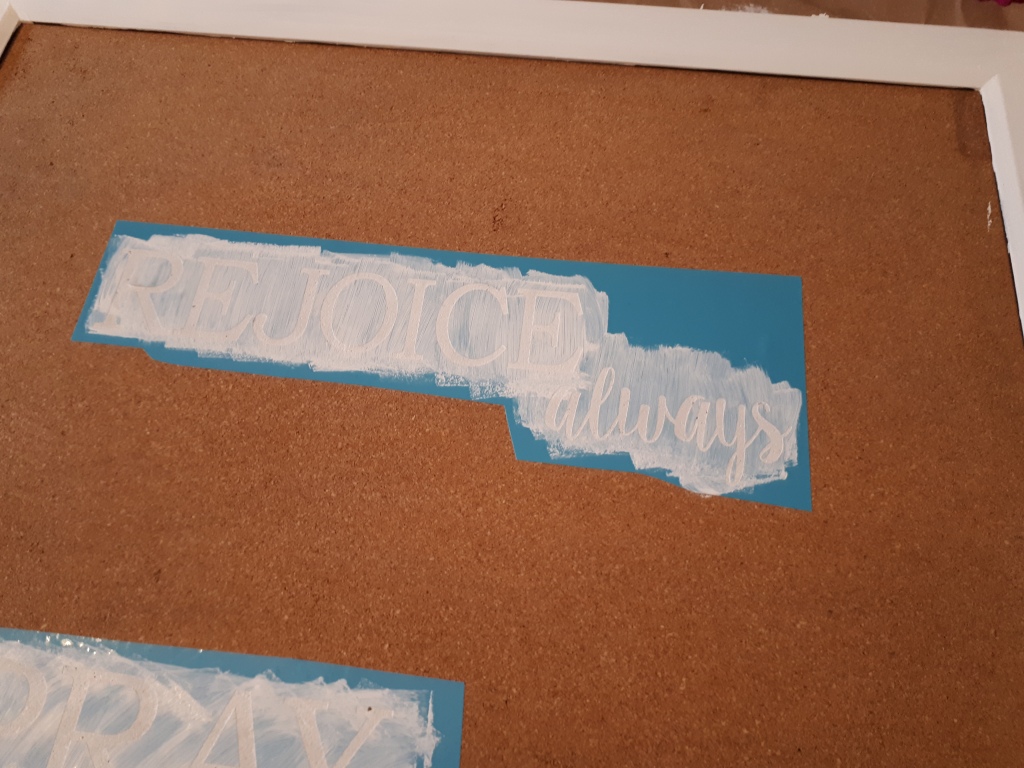
5. Once you’ve transferred your decals on, paint them. I painted mine with white Folk Art paint, but any paint should work fine. I only did one coat, and that worked great. I figured that the bulletin board should be quite porous, and therefore soak up enough paint in one coat – I’m no scientist, so it was a bit of a gamble. I also didn’t mind if it looked a little faded, which it didn’t.
6. Remove the adhesive vinyl decal with extreme care! The very top layer of bristol board is likely to peel away in little crumbs, that’s perfectly okay. The problem I had was that my bristol board started to pull away in big chunks. For the most part I was able to hold it down while I pulled up the stencil, but in one case I pulled up a whole chunk, right on a word! Look!
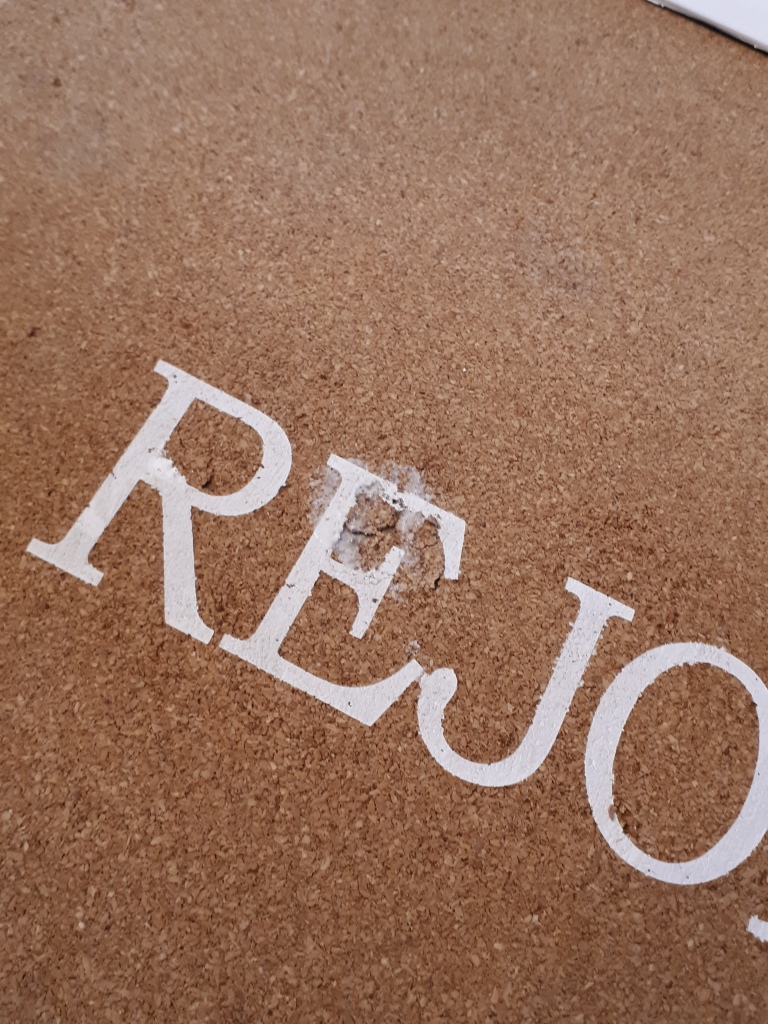
When this happened I died a little inside (it was a lot of work for it to be wrecked with the pulling off of the stencil!) and then I grabbed my Mod Podge for a quick repair job. The picture above is the Mod Podge before it dried.
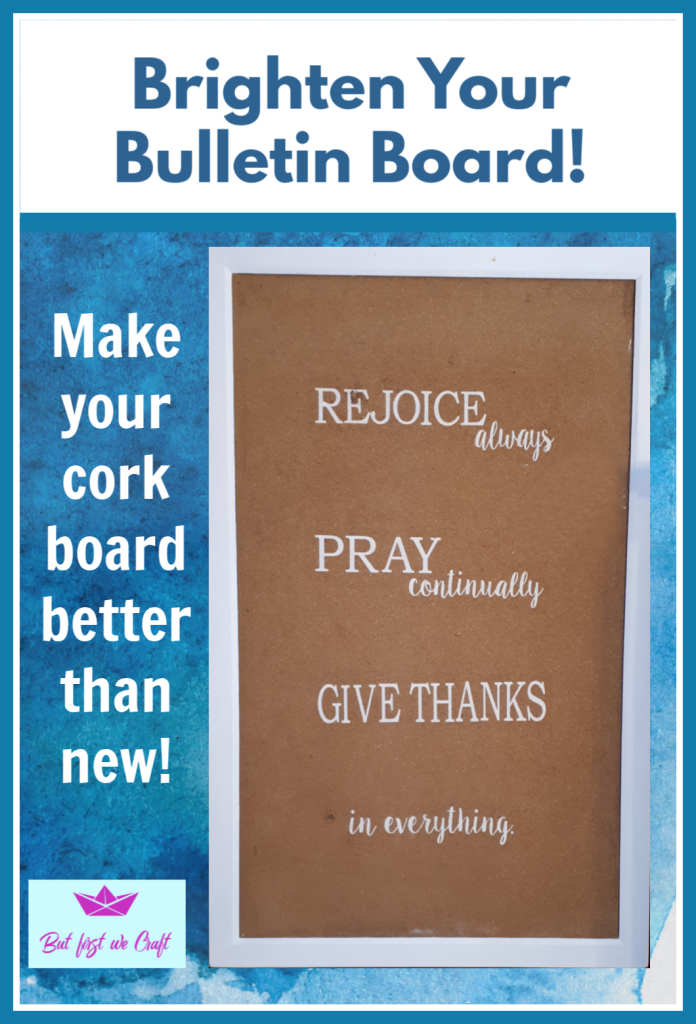
So here’s the finished bristol board!
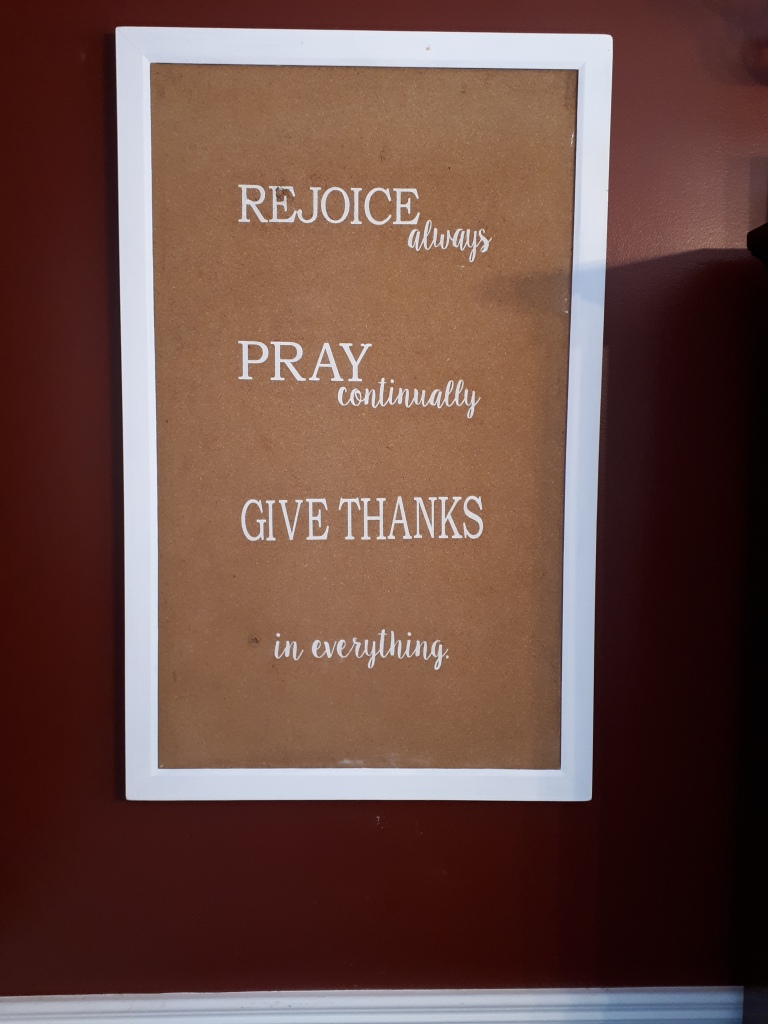
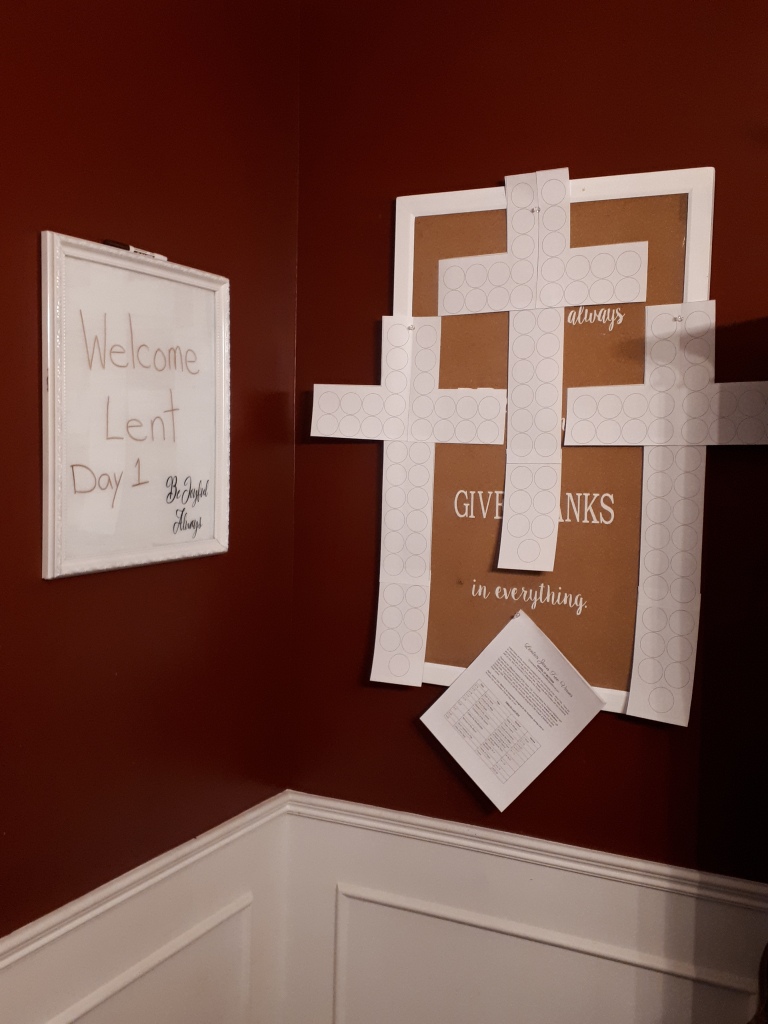
And here it is functioning with our Jesus Trees for Lent. You will notice another dry erase board I made from a picture frame. You can find that handy tutorial by clicking here.
I would love to see your boards! Please let me know what you think in the comments below!

One thought on “Brighten Up Your Bulletin Board!”