
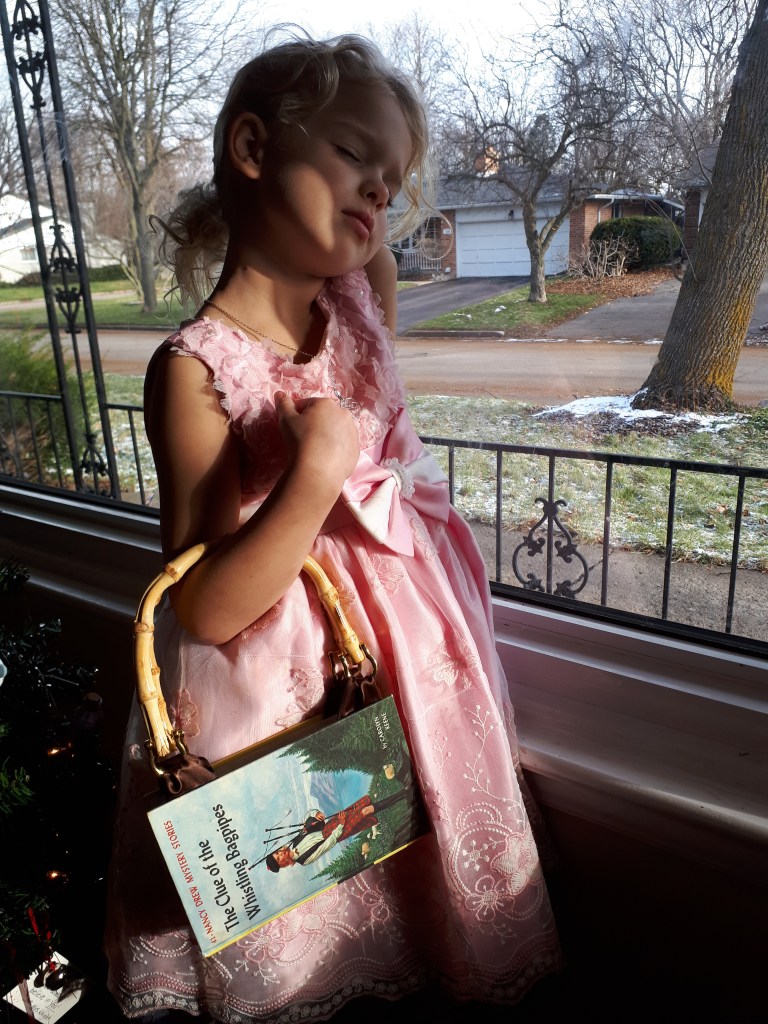
and she replied, “But I want to close my eyes!”
We went to a Medieval Fair this summer and there was a woman there selling purses made of hardcover books. I told the woman how wonderful I thought they were (I regret that I didn’t take note of what her name, or her shop’s name was). Her main medium was making woodland hairbands, you know, the ones with unicorn horns or deer’s ears. It was a lovely little stall. Anyway, she told me the hardest part of the purse for her was finding hardcover books with the pretty covers; so many of them just have the title and author. For me, the hard part was finding the purse handles. I have so much more detail on that later.

We took many versions of this picture and,
even with the little one’s hand over her face, this was the best version!
I have seen lots of these purses on Pinterest, but all of them are sewn. These are so awesome because you can just glue in the wallet AND I got the book and the wallet at a thrift shop. So here is my version of the No-Sew Hardcover Book Purse. Ever since I saw them in July I’ve been dreaming of making my own. And now, with all the supplies to hand I get to have this happy adventure. I was shocked at what a quick, straightforward craft it was…and it brought me so much joy!

Supplies:

- Purse handles*
- Hardcover book with an aesthetically pleasing cover
- Wallet
- Utility knife
- Gorilla Glue
- Glue gun and glue
- Scissors
- Ribbon
*I found it extremely difficult to find purse handles. Since making my purse I saw (on Pinterest) one brilliant person who made their own handles from chunky beads. So if you too are having trouble finding handles I would strongly recommend this. Now here a couple little anecdotes about purse handles…feel free to skip this if you’re really just here for the tutorial.
Little Anecdotes About Purse Handles
I checked Michaels first but they didn’t have any (I know, shocking). I thought, “No problem, I’m going to the states in a couple weeks, I’ll just pick some up at Hobby Lobby.” Well, guess what? You got it: they didn’t have any either. Another day on our vacation my Mum and my son were going into a craft store (that I had never heard of) but soon they came back to me and told me I just had to come with them into JOANN Fabrics. I go in and there they were (can you hear the angels singing?) PURSE HANDLES!!! (I accidentally typed purse “Handels” the first time, haha! Get it? Handel, as in, the composer of the Hallelujah Chorus. I must really have had angels singing on my mind, haha!) They were about $8.99 (American – that’s about $50 $12 Canadian) and there were more than ten to choose from!
About two weeks after we came back from Florida, I was with my daughter at a thrift store. And you’ll never guess what we found…okay you probably will…PURSE HANDLES!!! Two sets of gold beaded purse handles for $2.99 (Canadian). So I got those too, just in case my foray into hardcover book purse making was successful. And (spoiler alert) it was😉.
Instructions:
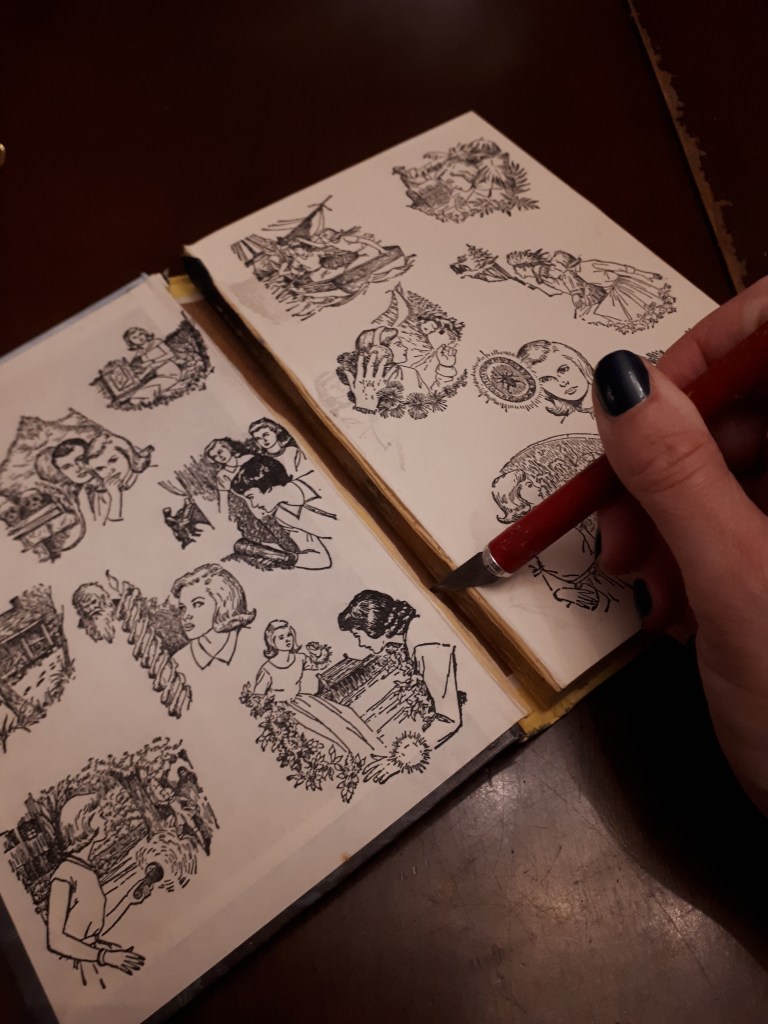
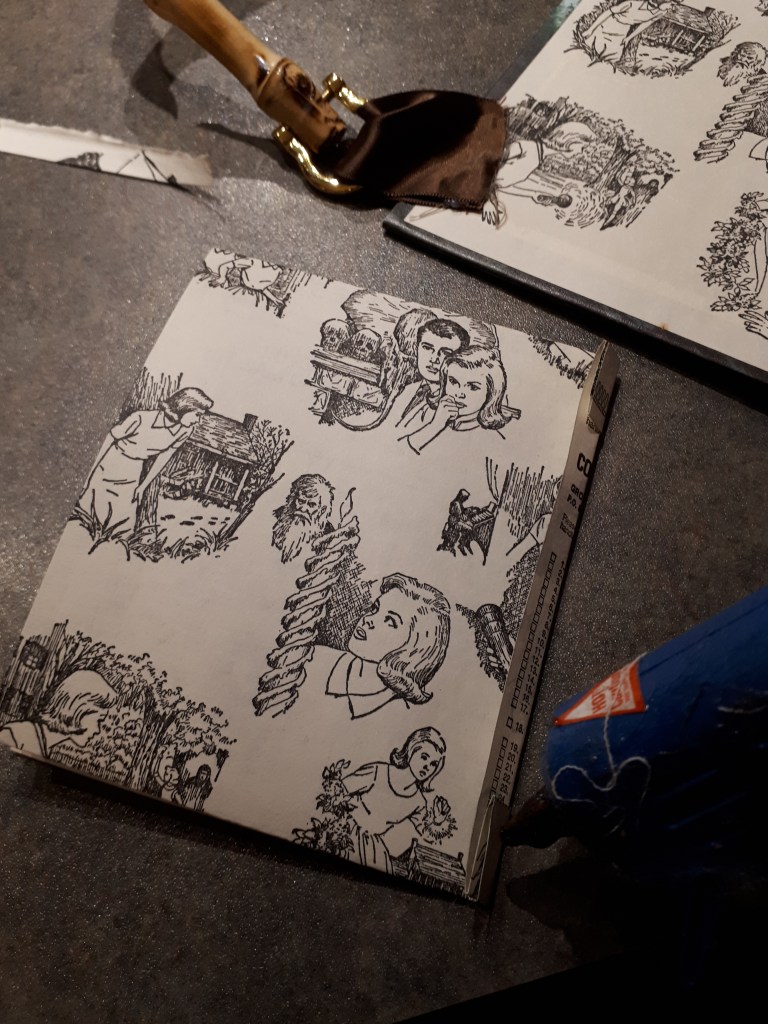
- Cut the pages out of the book. (For more details on this step see our Book Pumpkin Craft.)

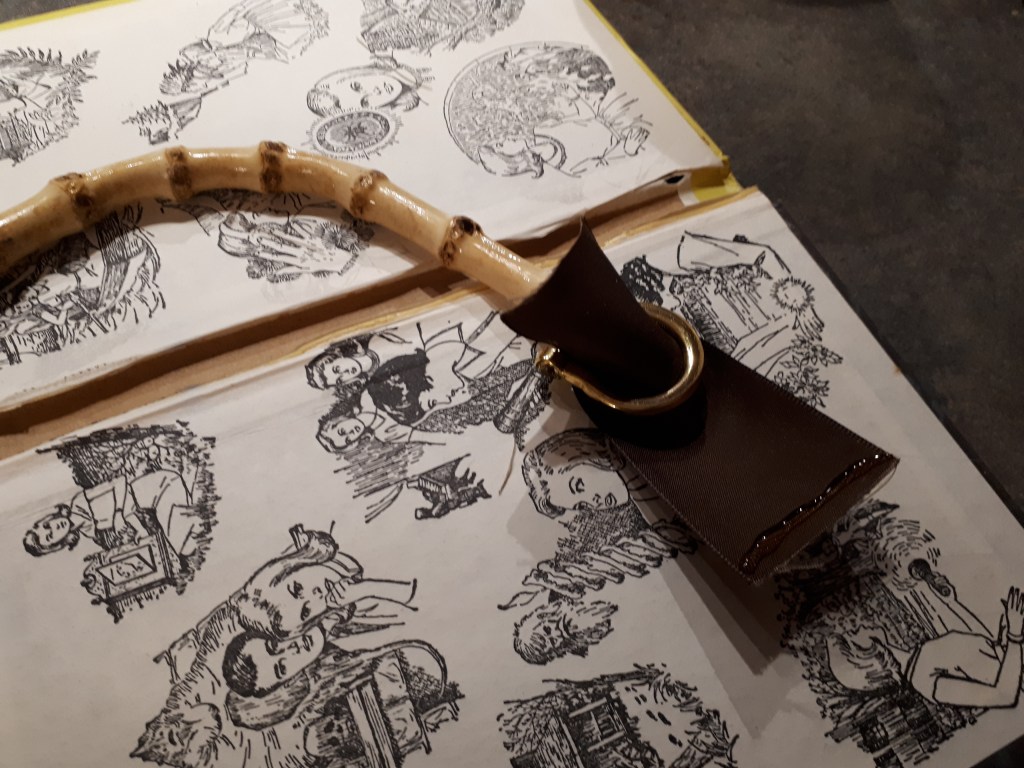
2. Thread your ribbon through your purse handles. My ribbon was about 3 inches long. I wanted it to fit through the handle loop and also have room to adhere it to the book cover. Test out how much ribbon you will need to make this work.
3. Use a glue gun to glue the ribbon onto your cover. Measure how far from the edge your handles need to be symmetrical. Glue on one end of the ribbon, then glue the other end exactly over the first.

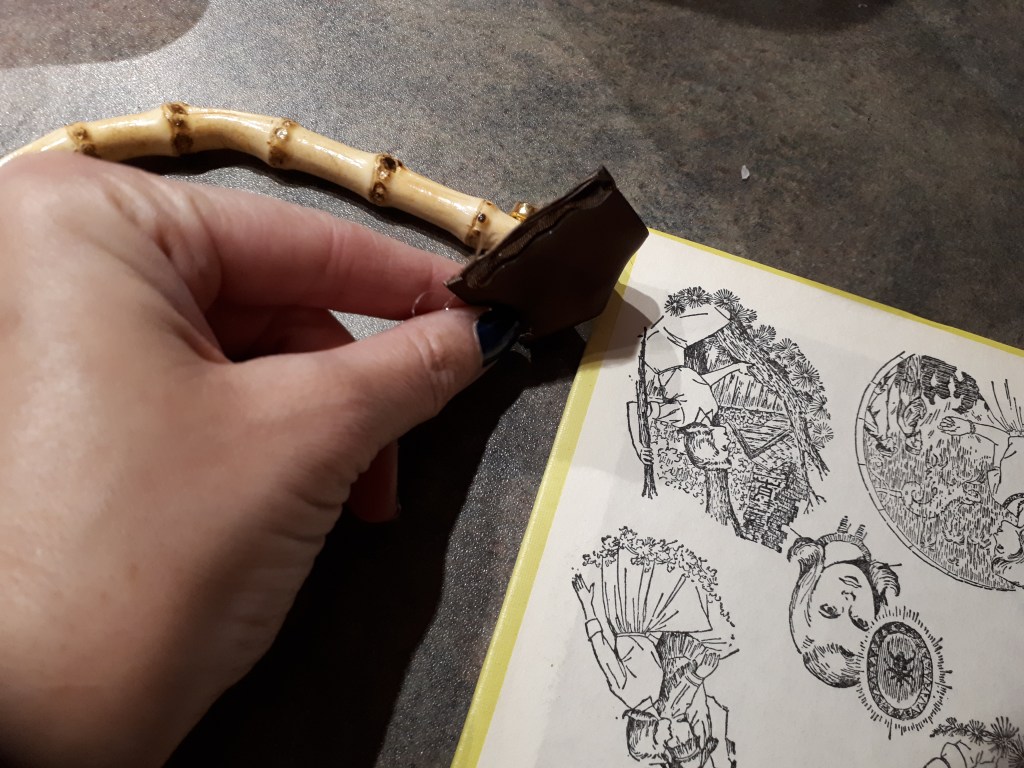
4. As you can see on the picture where I took the pages out of the book, it had the same pattern on another page as the inside cover. I cut that out, trimmed it (as pictured above) and glued it to line up over top of the ribbon. I just thought it made it look more clean and neat. I only did this on one side. On the other, I used the extra page to make a little pocket.

5. Make a little pocket: Trim the page (only at the sides) and put two folds along the edges to make the pocket stick out from the cover.
6. (Little pocket continued) Put a fold across the bottom and glue it with hot glue. The pocket should be open towards the handle.

7. (Little pocket continued) Glue down the sides.
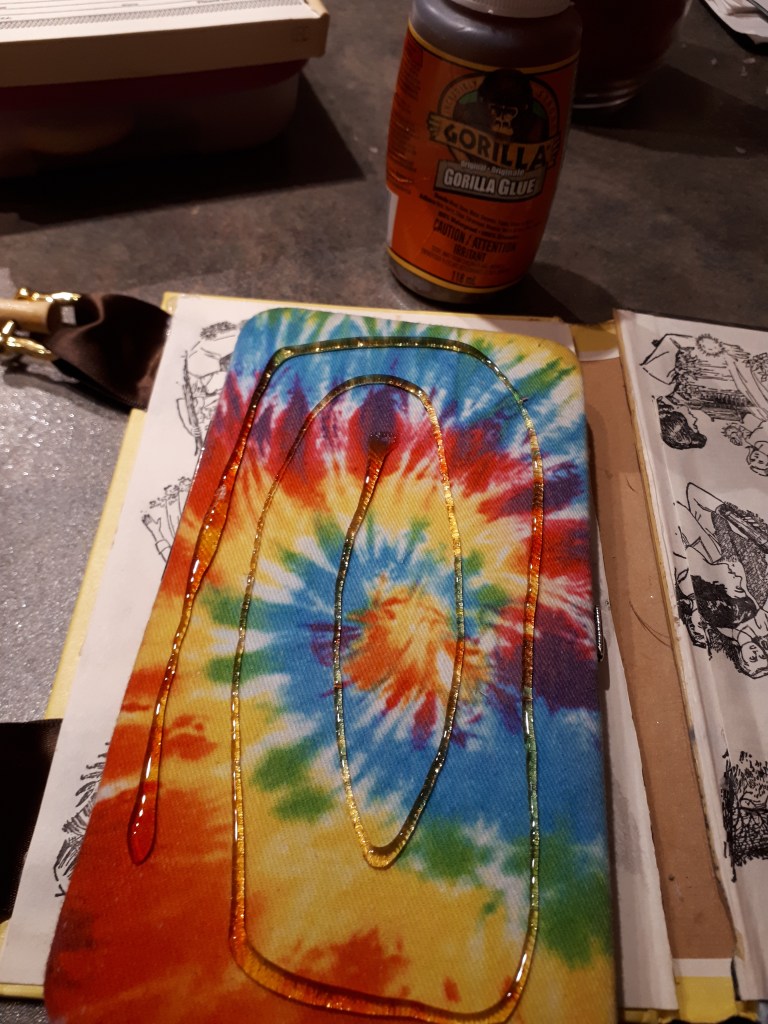
8. Use Gorilla Glue to glue the wallet onto the inside cover of the book. Again, the wallet should open towards the handles.

9. Clamp the wallet on. I left mine clamped for about two hours, then just let it sit for the remaining 24 hours of curing time. I was afraid it would dent the wallet if I left it on too long. Actually, the decision was taken out of my hands because my husband walked by, saw what I did, and took the clamps off because he was sure it would dent the wallet. Look at him looking out for me! #truelove
Finished Inside:
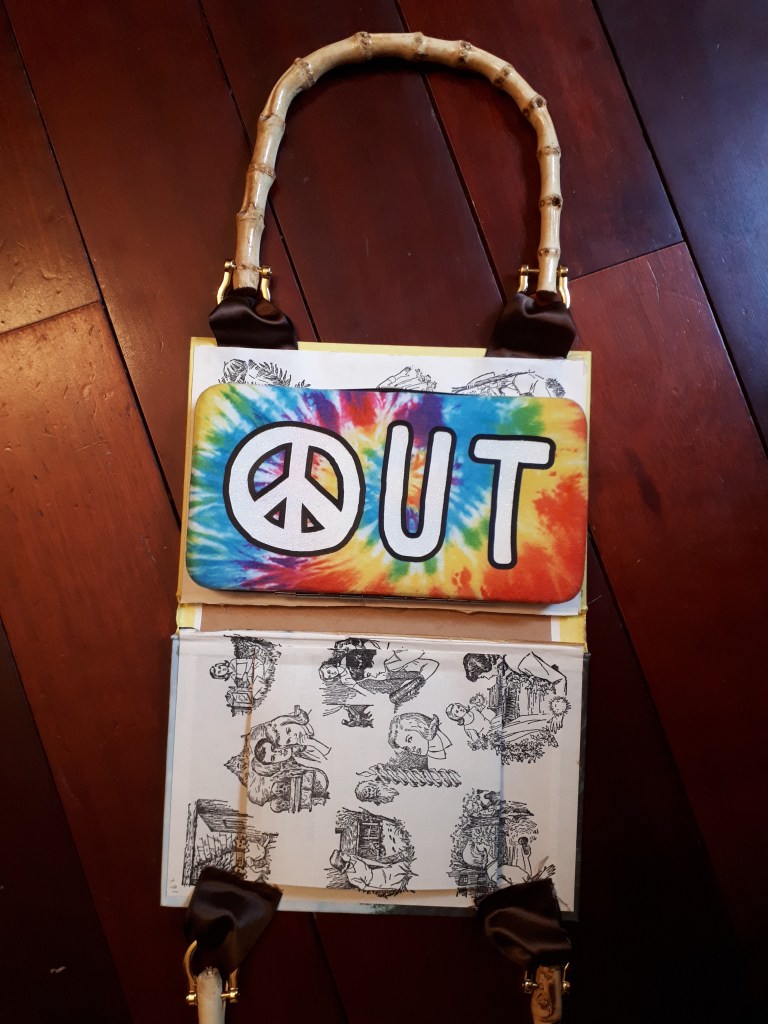
I was so happy with how the making of this purse went. There were no surprises, nothing taking extra time, no mistakes. Just one step after the other. I want to make myself a Harry Potter one now! However, I’m having a terrible time finding hardcover Harry Potter books – but I guess you’d have to be crazy to give away your Harry Potter books, right? If you make a book purse of your very own please show me a picture in the comments. I’d love to see all the pretty purses! If you want to see another craft where we destroyed upcycled books click here.


How creative is this!!! What a great idea.
LikeLike
Super cute idea!
LikeLike
Love it and I am sure the recipient will adore it 😘! Well done xx
LikeLike
Thanks Janet!
LikeLike