

It’s week 5 in our series: Preparing Your Heart and Home for Easter. Today we’re going to learn how to make an Easter wall hanging for your home! You can find links to the other DIYs in this series by scrolling to the bottom of the page.
This DIY is accessible to the beginningest beginner! All of the craft supplies can be acquired at the dollar store, so this is a great craft if you’re looking to make something with a small amount of money and time, without having to sacrifice beauty, or if you’re wanting to dip your toe in the wonderful waters of crafting!
Supplies:
- Canvas
- Paint and brushes
- Ruler
- Burlap ribbon
- Two twist ties (or string)
- Staple gun
- Artificial flowers
- Glue gun and glue
Instructions:
- Paint your canvas and allow to dry. I painted mine with a wood effect by dipping one side of my foam brush into brown paint and the other side of it into white paint. Then I painted strokes all the way across the canvas. I let the colours blend together, and went over it a couple of times so it was all mixed in. I let it dry, then repeated that process again. I then took my brush and added more white where I thought it was too dark and more brown where I thought it was too light, making sure to blend it in. Allow your canvas to dry completely before moving on to step 2.
New Crafter Tip: The nice thing about painting canvases is that if you don’t like it you can totally repaint it after it’s dry. The canvas I used for this craft I had previously painted black and brown, hoping for a dark wood effect, and it did not work out at all. So I repainted it for this craft. So if you’re really disappointed with how your canvas turned out, don’t worry. Let it dry and try again.
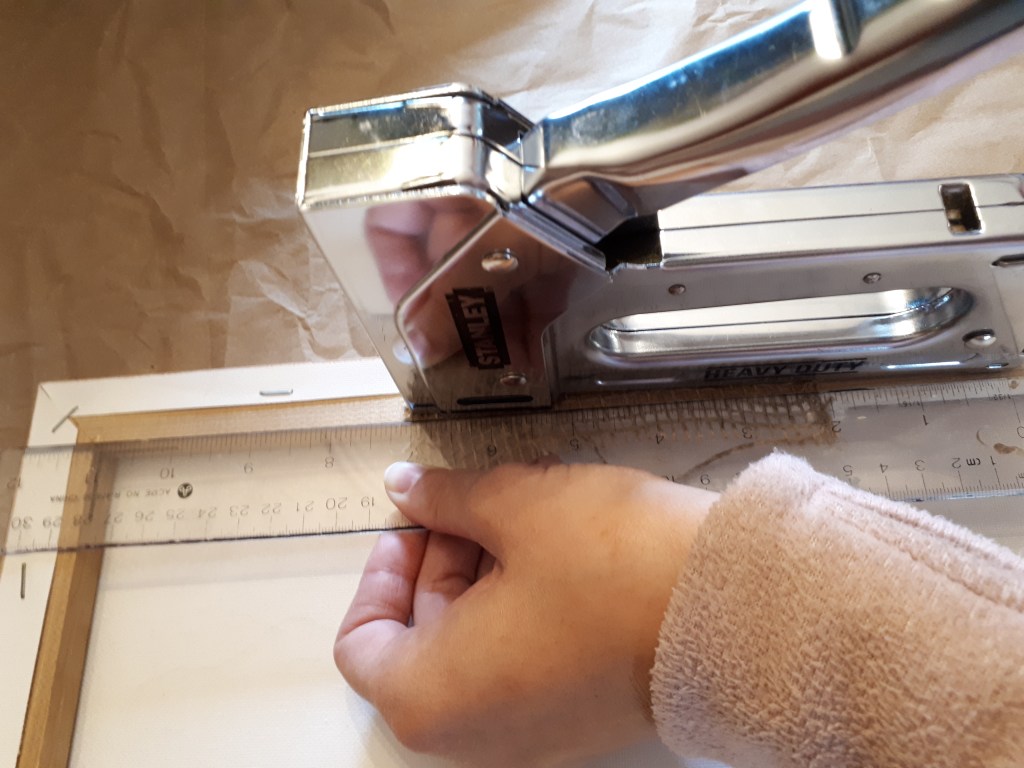
2. Measure where you’d like your cross to go. Stretch your burlap on the back and staple gun it to the canvas’ frame. When you staple it put your staple gun on a big of an angle so you get several threads of the burlap. The burlap ribbon should be tight, but not so tight that you can’t gather it at the front to make the cross.
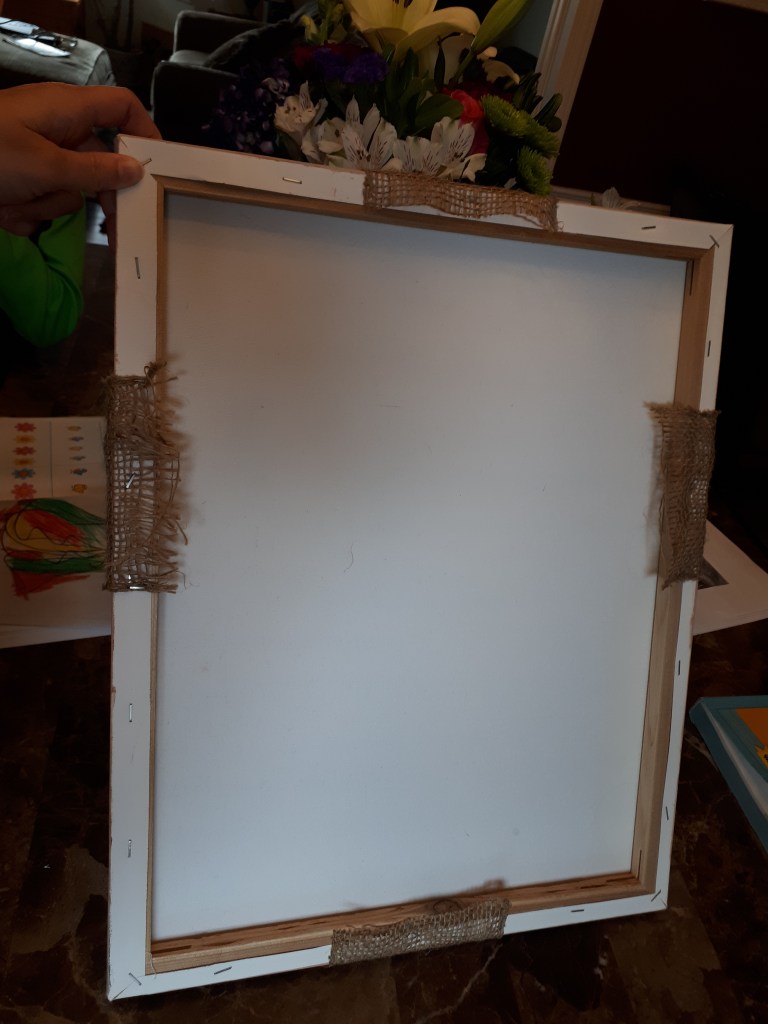
I stapled my burlap ribbon ends at both sides and in the middle.
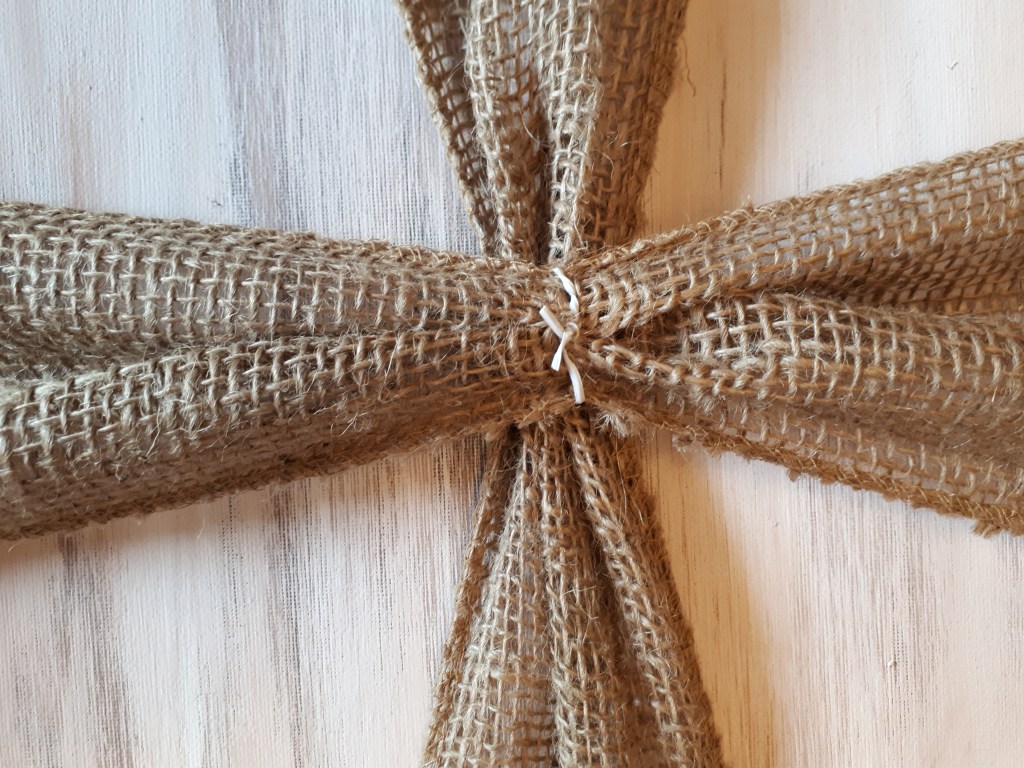
3. Turn your canvas over to make the cross on the front. Take your twist ties and gather your ribbon. I made my ribbon so it had two bumps in it. Wrap the twist tie around firmly. Twist tie each burlap ribbon separately.

4. Lay out your flowers where you think you’d like them to go on your cross. Once you’re happy with their layout attach them to the cross (and the canvas if you can) with hot glue.
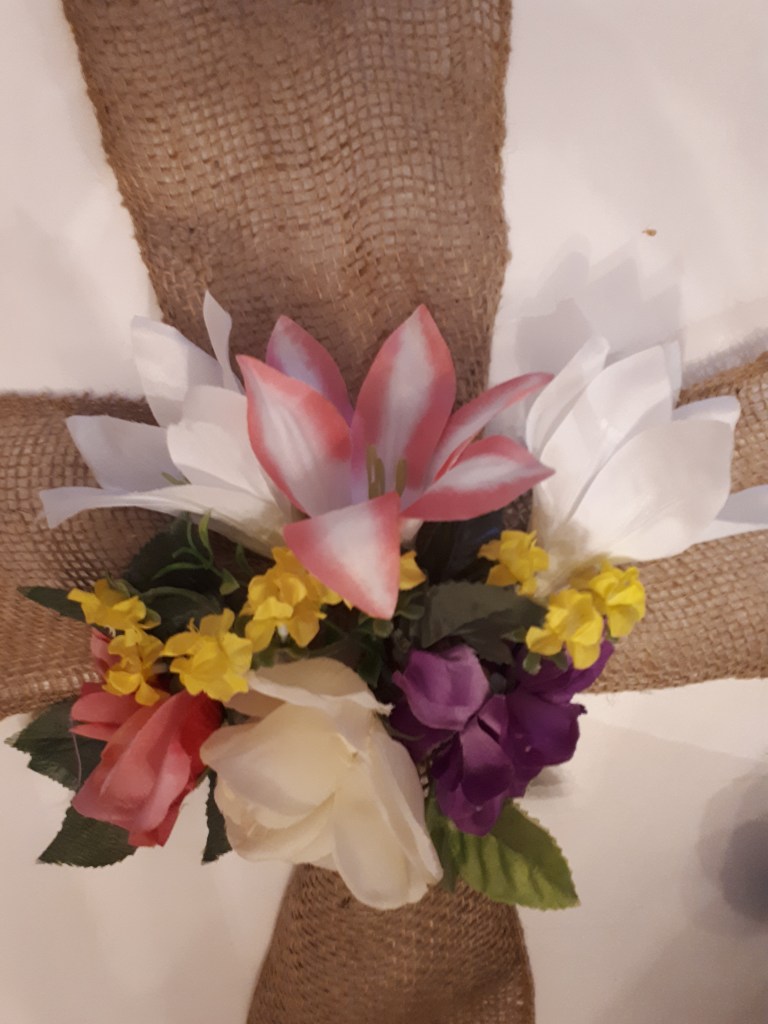
Finished Project!!!
Here are the other posts in our Preparing Your Heart and Home for Easter series:
Free Printable: Easter Colouring!
Another post that ties in with this series (and will help you to use up any leftover artificial flowers) is DIY Easter Bonnets for Boys and Girls.


2 thoughts on “Burlap Cross on Canvas – Easter Wall Hanging”