

Last week, after playing war, we made shields here at But First We Craft. If you want to check out that super simple, but sturdy, craft tutorial click on this: How to Make a Shield. Of course, the weapon we need now is a sword. This is a bit of a tricky DIY weapon because you want it to be sturdy enough to be durable, but soft enough that you aren’t injuring your enemy in the real world, as well as in your imagination. We put a thin piece of wood inside bristol board (we used a spacer, but a paint stir stick would work super well), so it’s a bit on the hard side, though the bristol board dulls the pain a bit. If you have an only child who is going to use their sword against trees or couches you’ll be just fine. If your child is using it against their sibling you may need to establish ground rules! If you’re really interested in softening the blow a little bit you can wrap the blade in tissue paper or newsprint, then secure it with duct tape or aluminum foil tape. This will keep the metallic look while making it a bit more victim-friendly. Let’s get started!
Supplies:

- Bristol board (I reused a sign from our Ninja Party.)
- Wooden stick (a paint stir stick would work great here!)
- Scissors
- Toilet paper roll (not pictured here)
- Duct tape, aluminum foil tape or spray paint
- Stapler
- Pen (optional)
Instructions:
Wow! Does her head ever look freaky in this picture! Like she’s part owl!
- Fold the bristol board over the wood to see how wide it should be. You only need room to staple one edge.

2. Draw a line to cut.

3. Cut along the line. This is a good job for kids, though it gets a little tough the deeper into the cut you get. If they do a bad job of it, you can just trim the edges and it’ll be great.
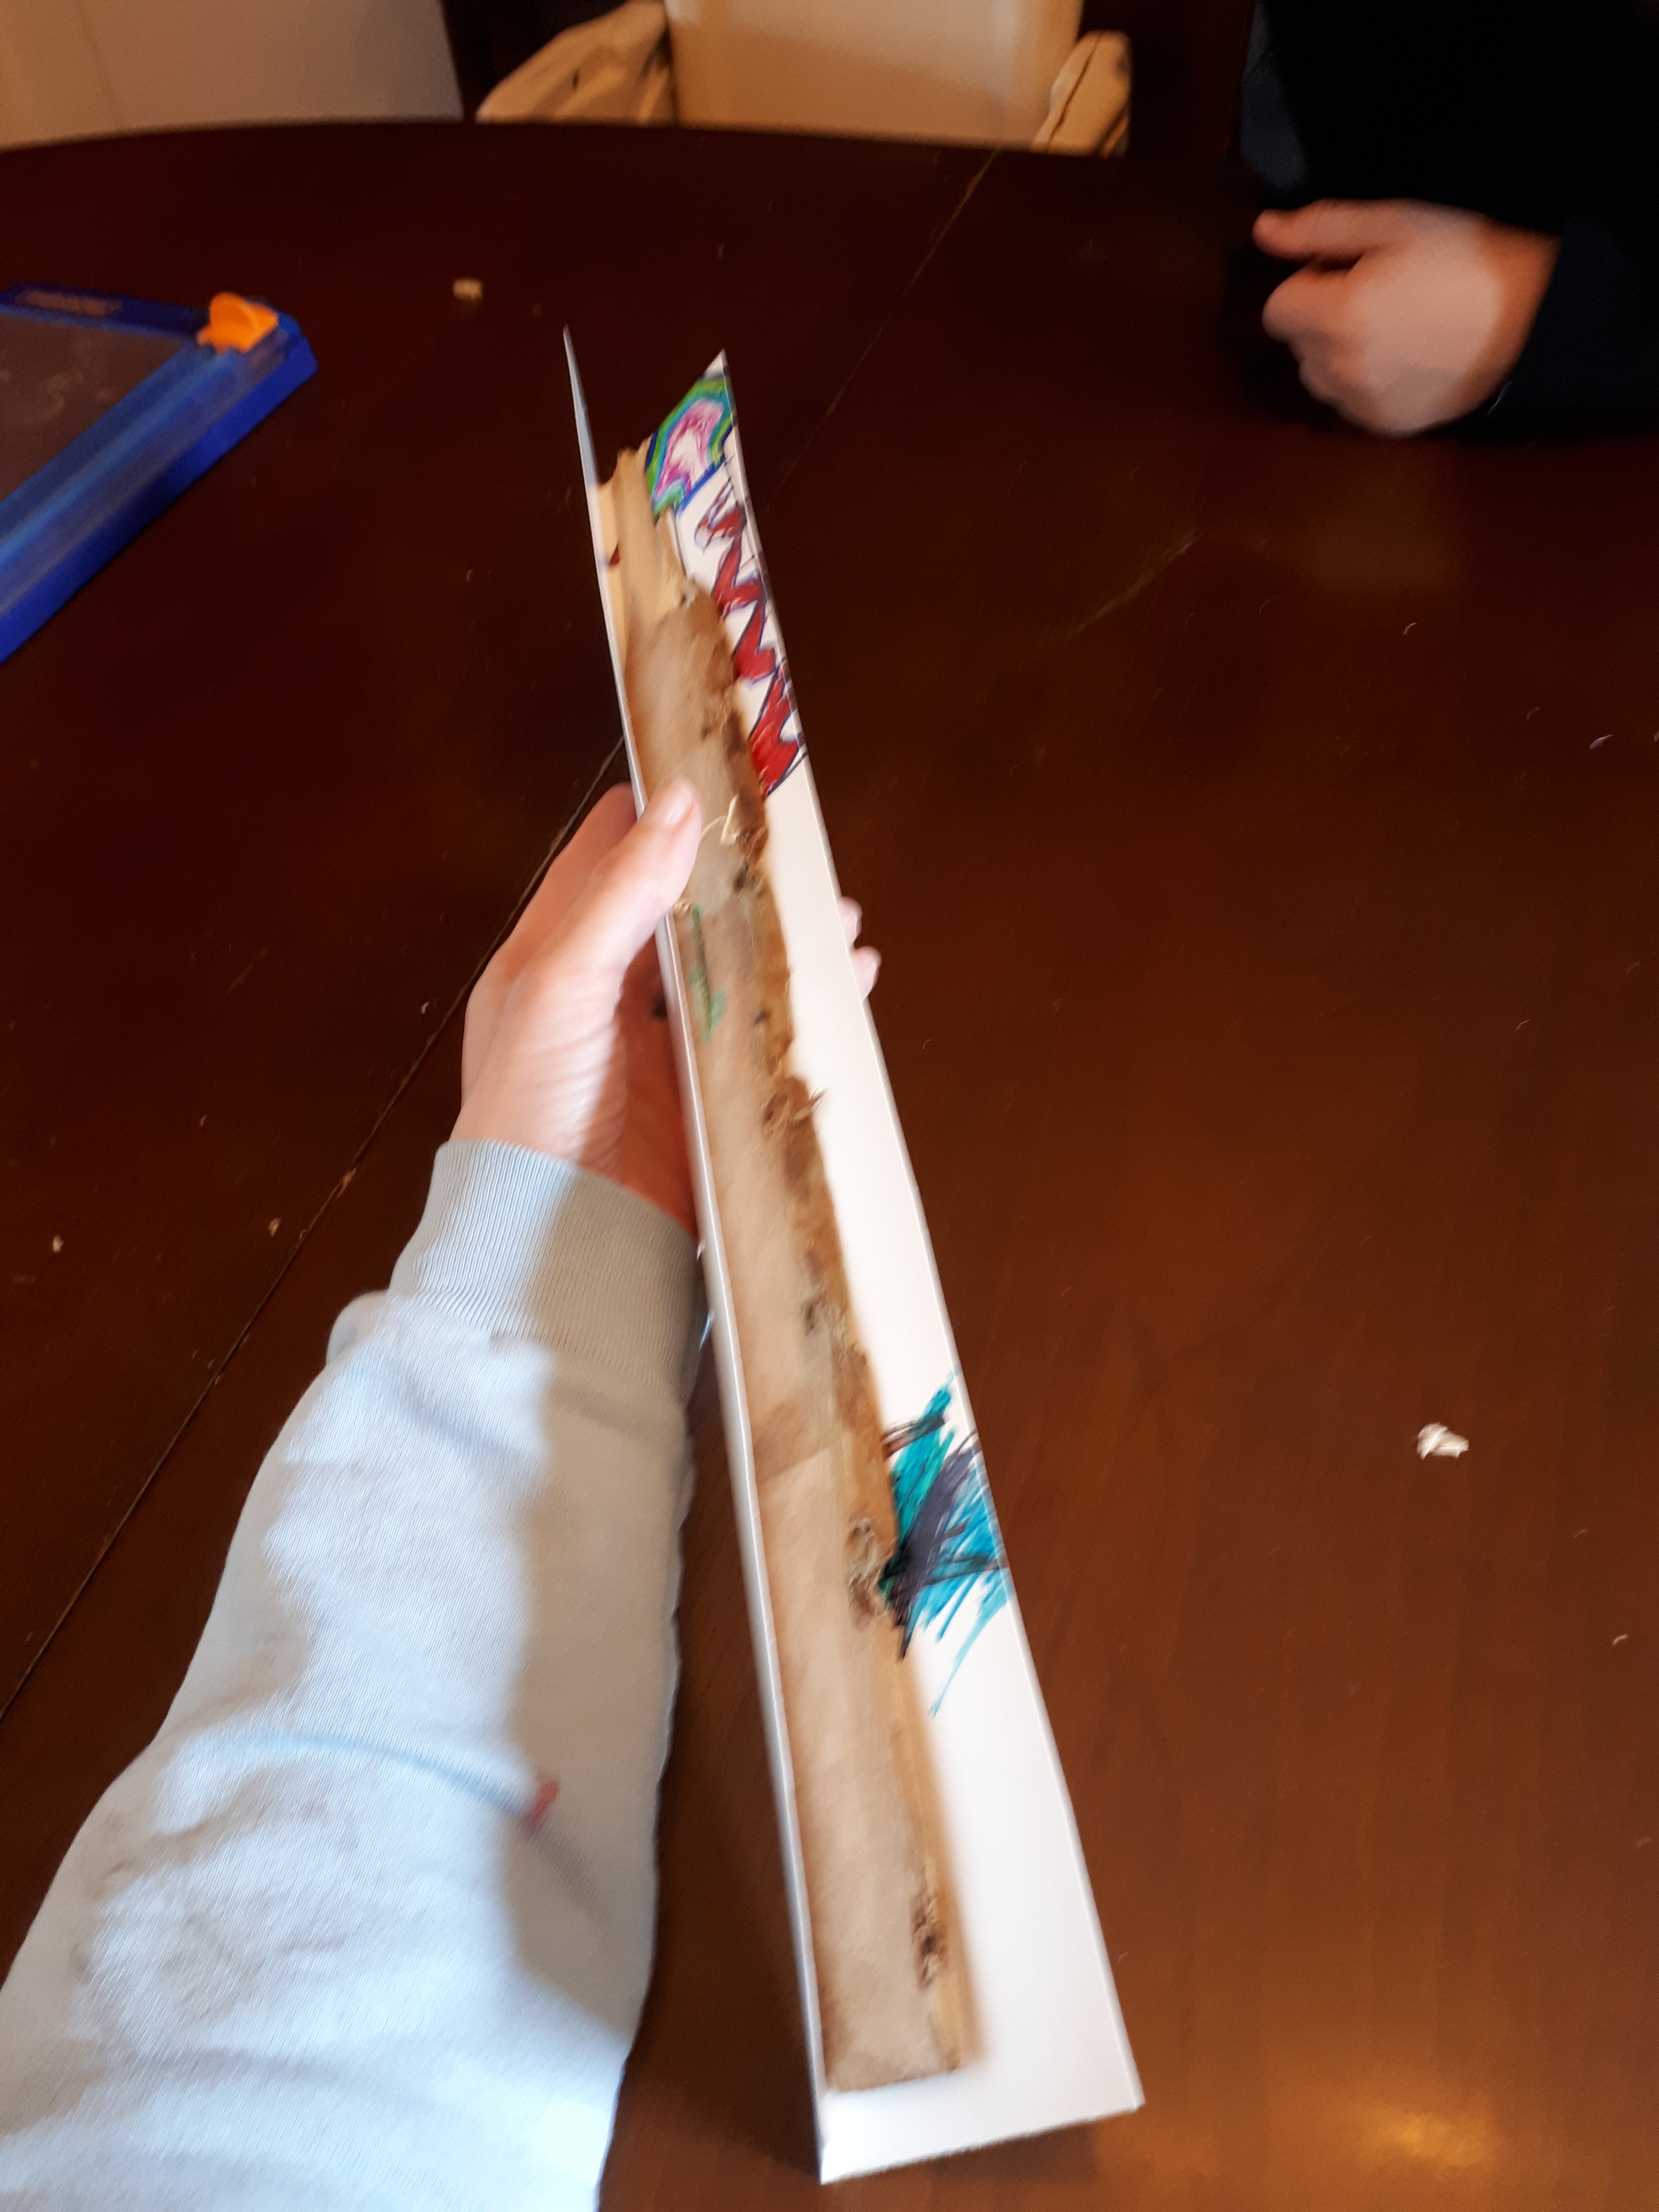
4. Insert the wood, and fold down the bristol board around it, making a fairly crisp fold.
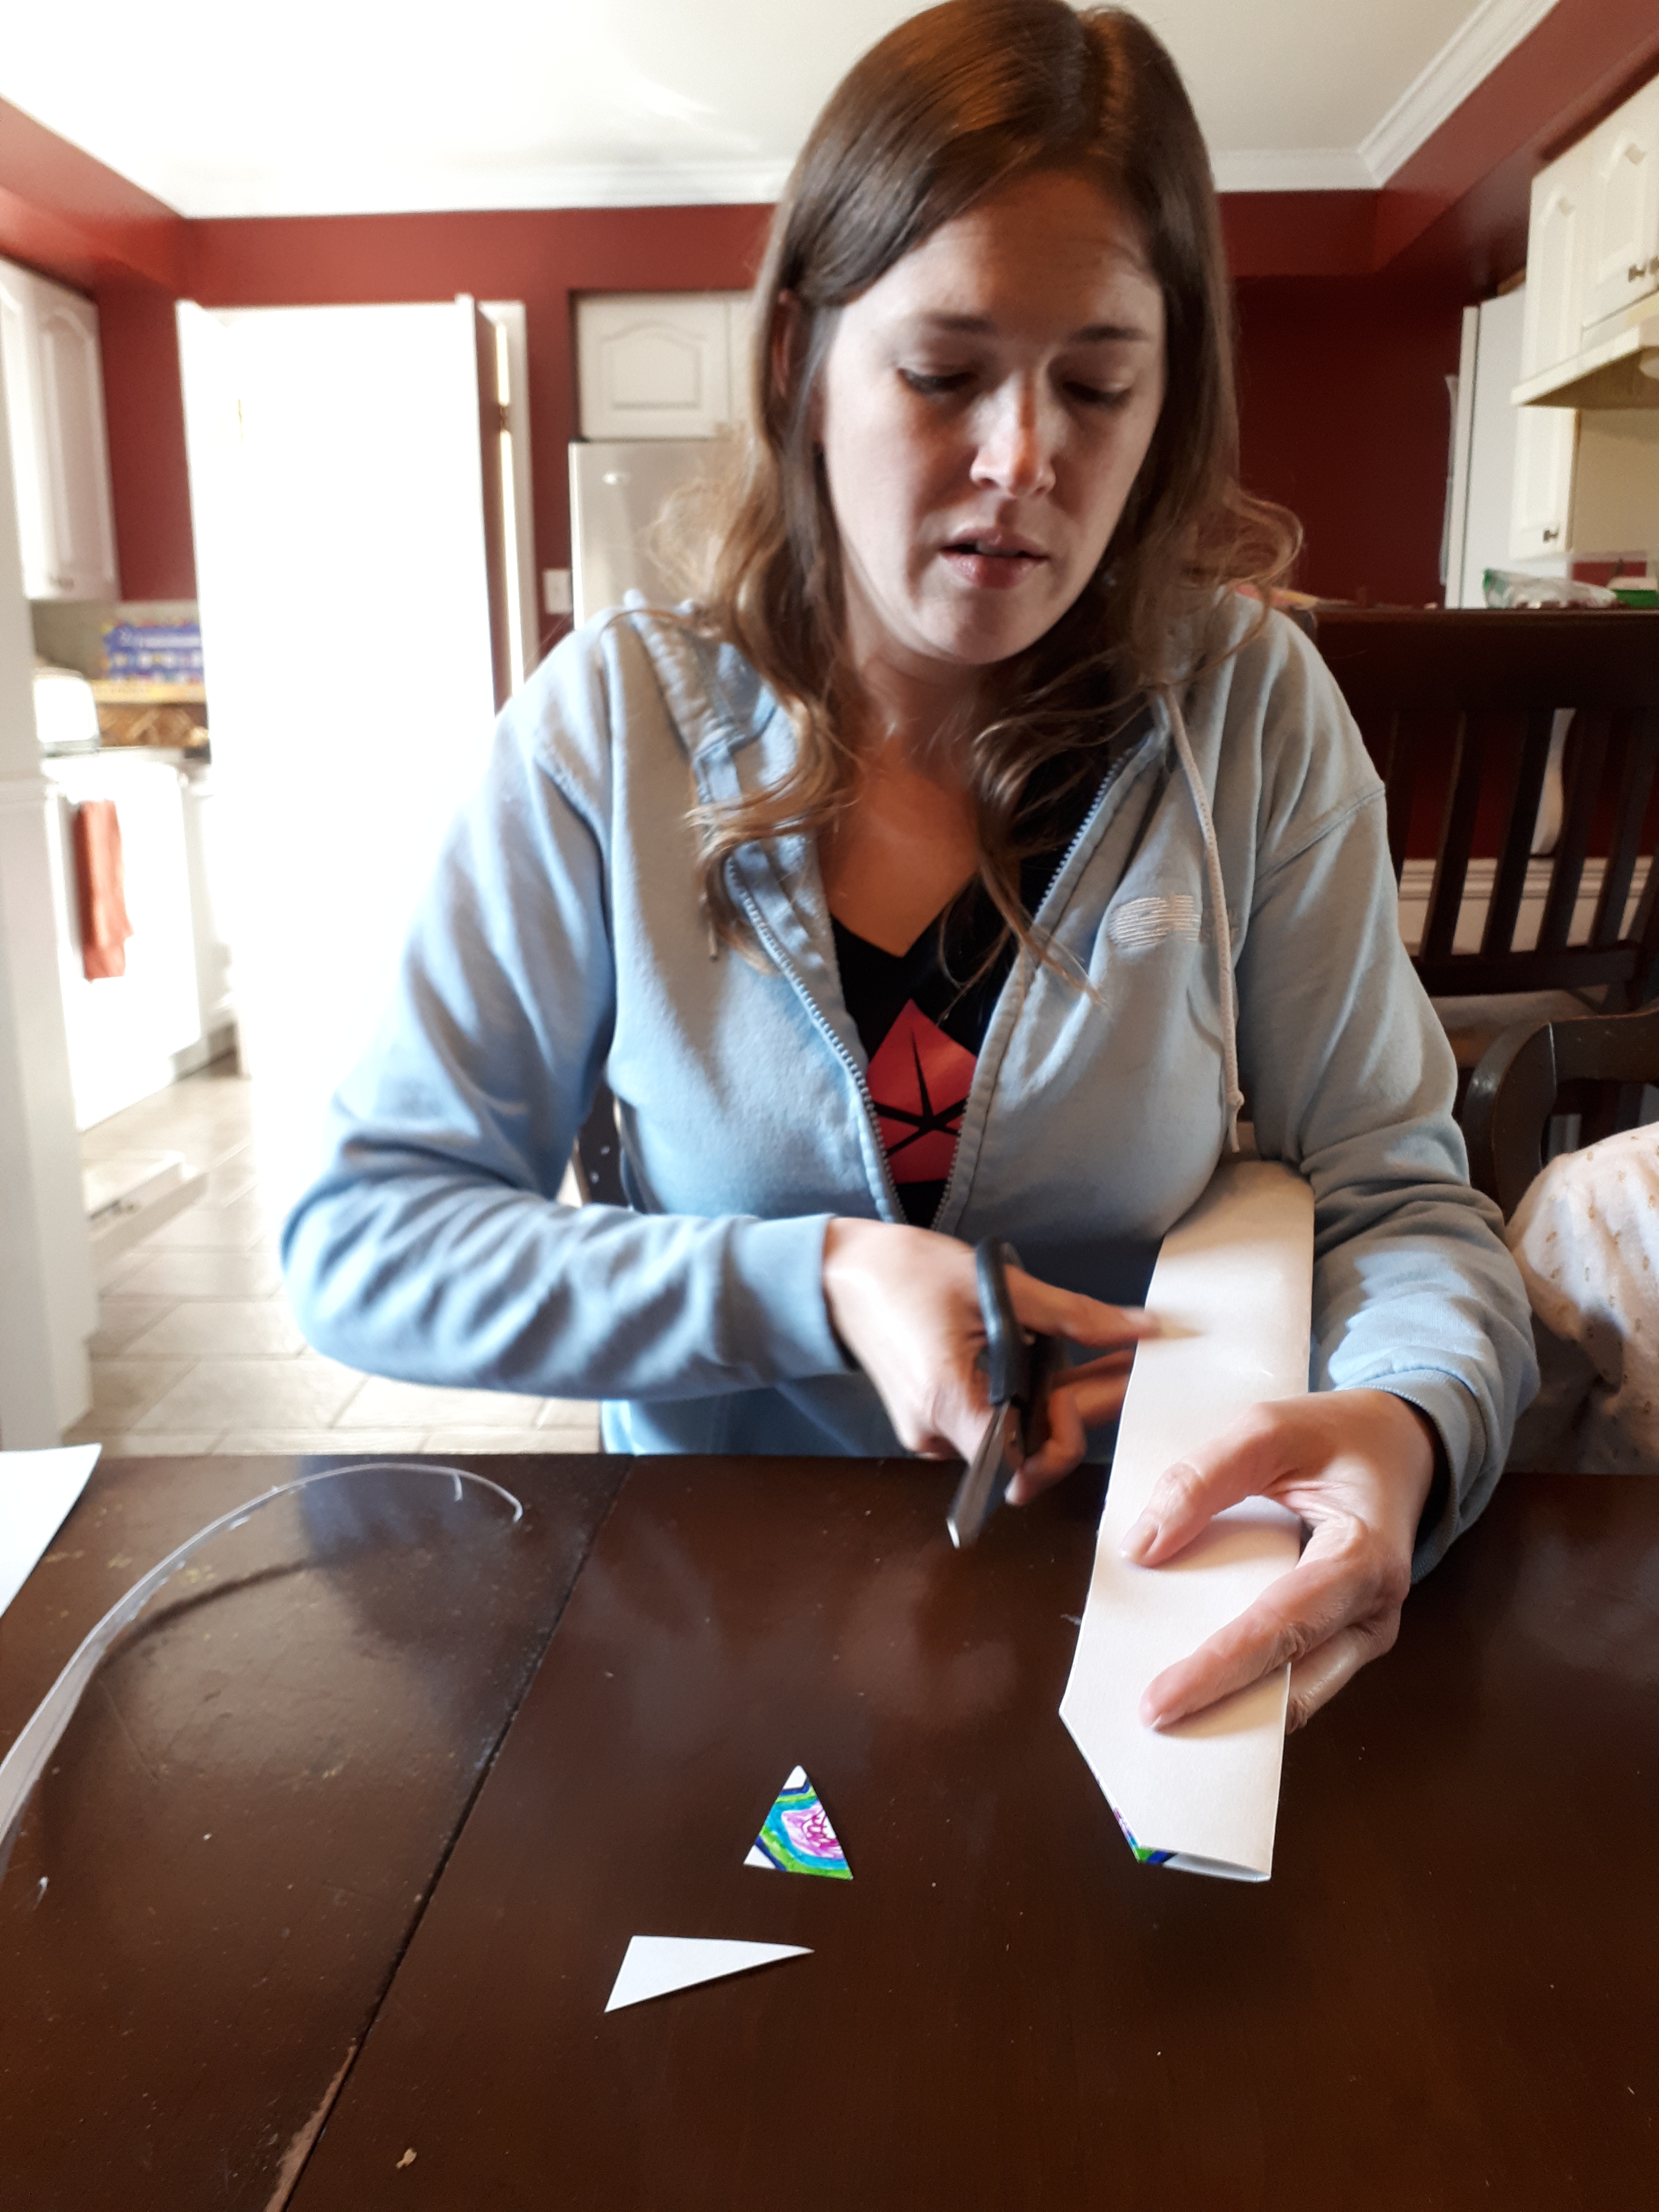
5. To cut the point cut one edge, flip it over onto the other side and cut along that edge so the point is symmetrical.

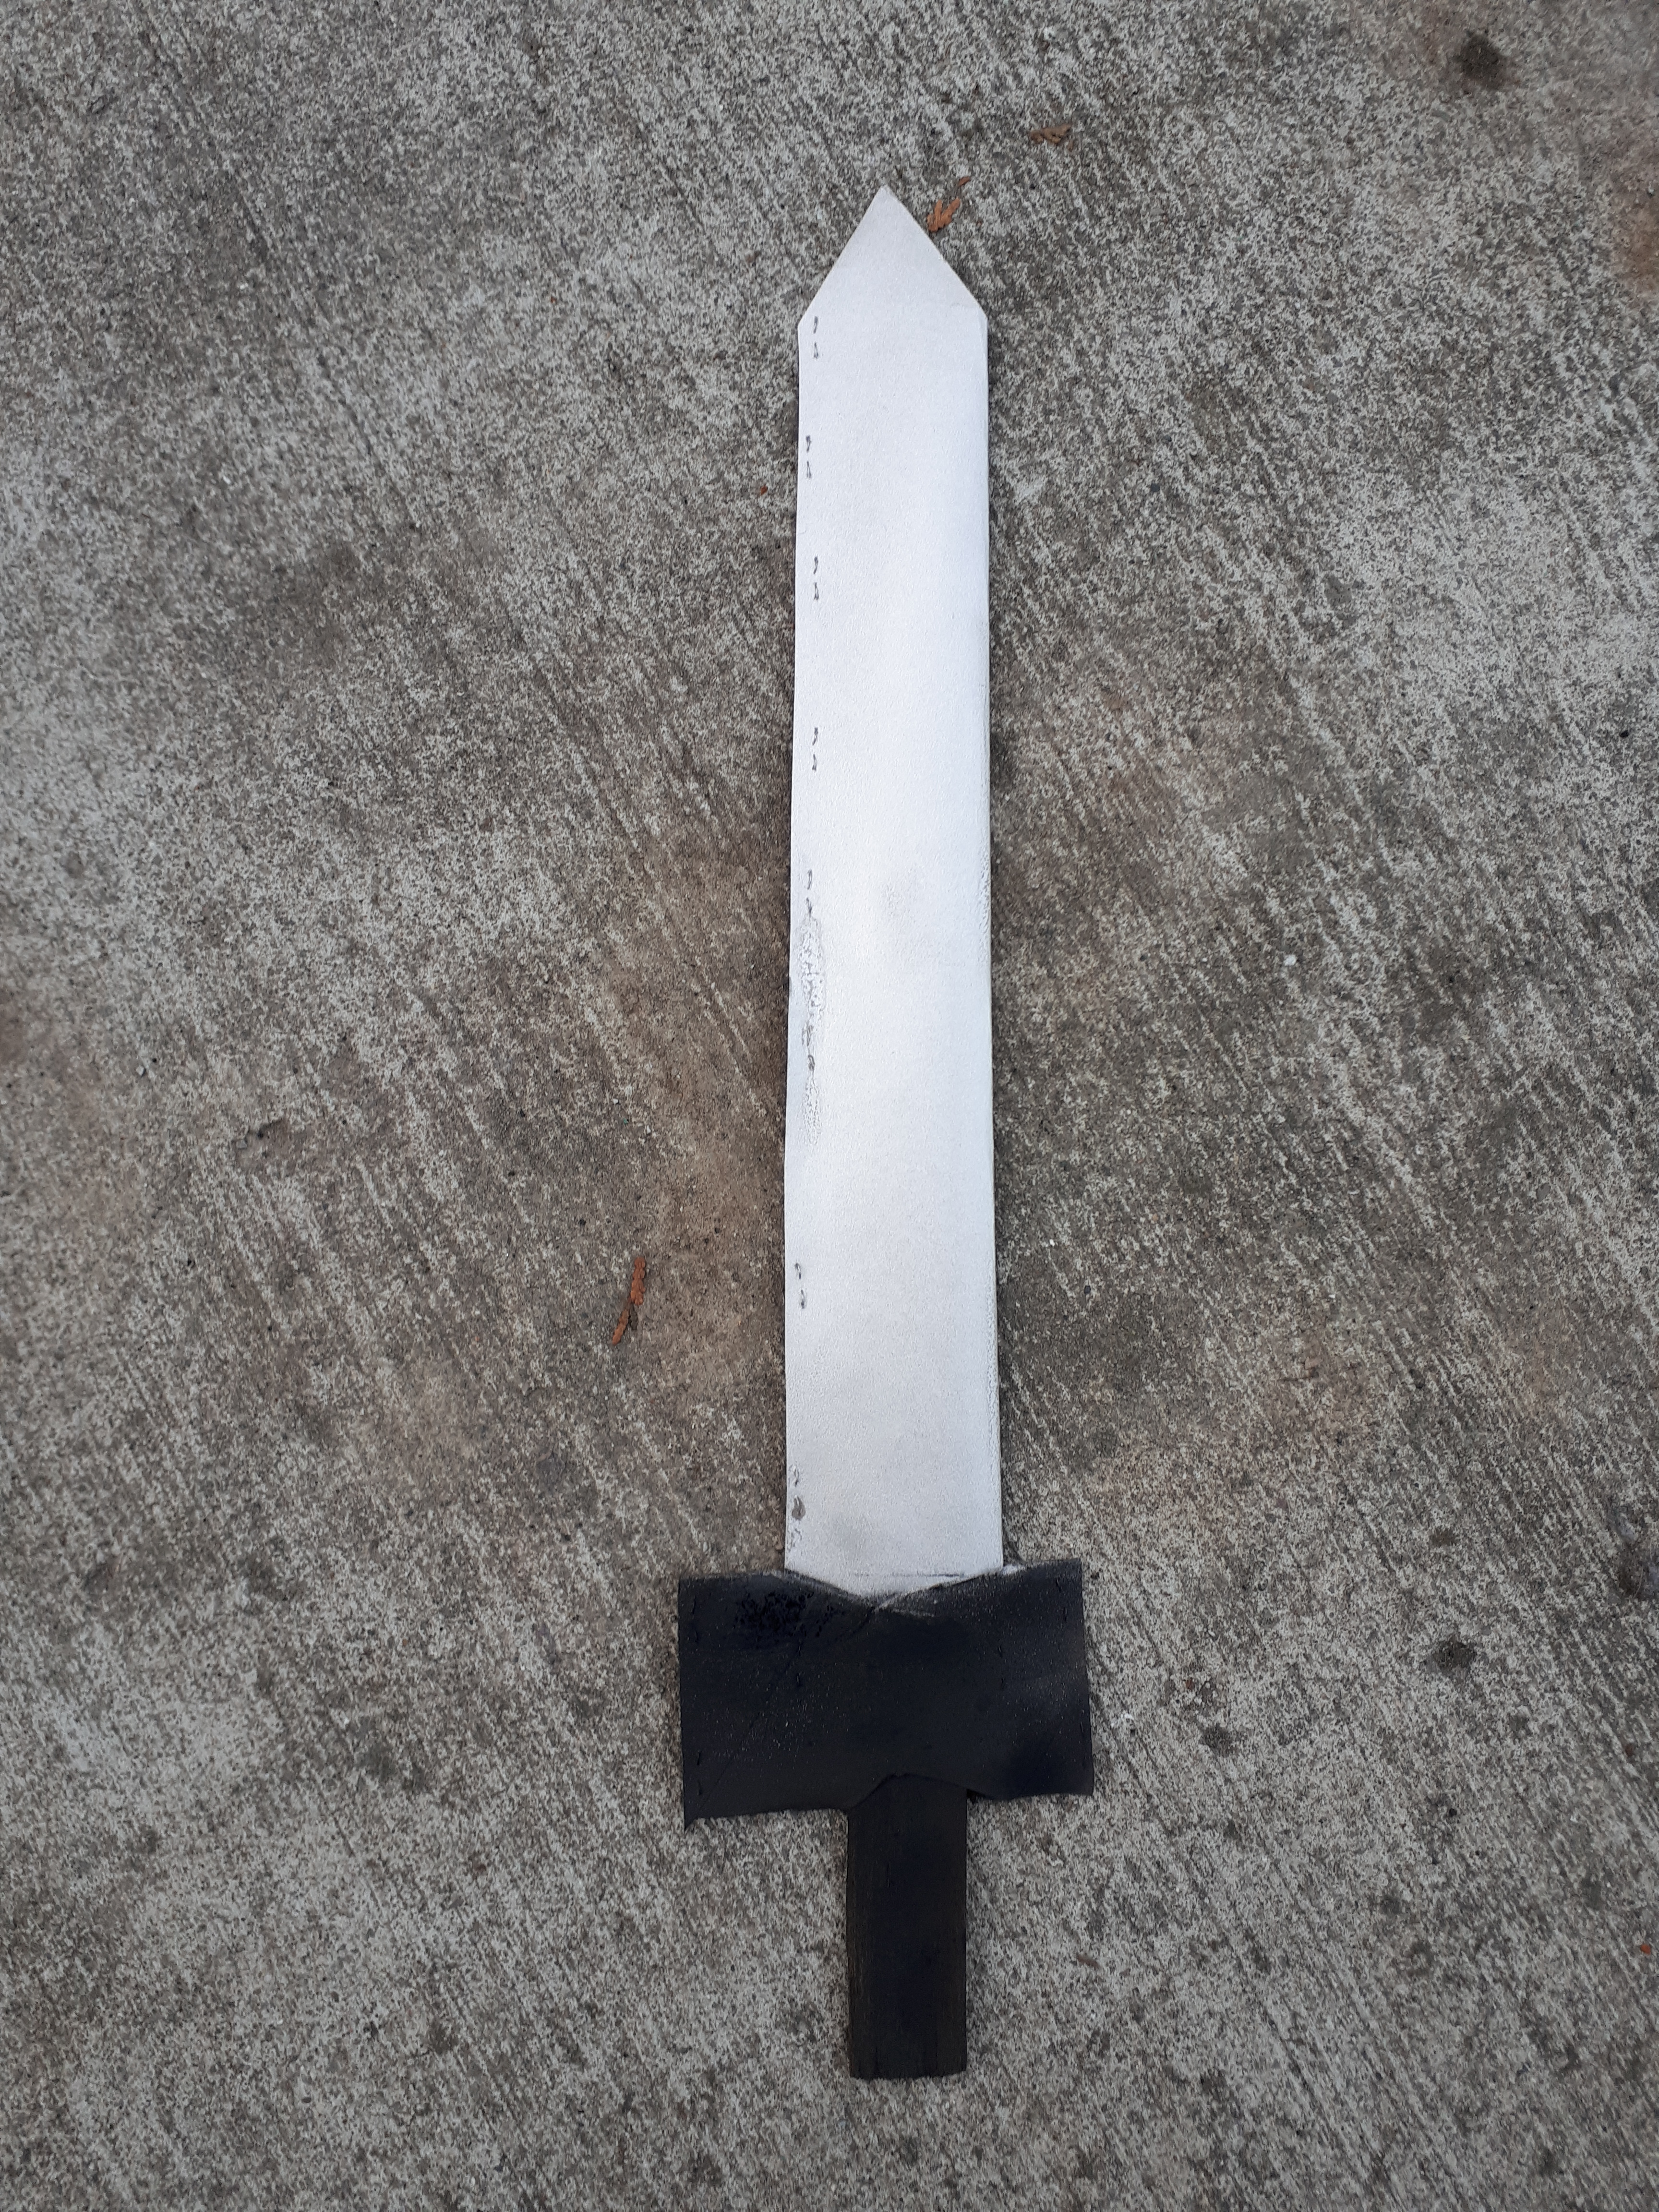
6. Pull the end of the wood out of the bristol board opposite the point. Ask your child to hold the end so you can measure how much they’ll need sticking out to be the handle. You’ll also need to leave a little room for the cross-guard. Staple the edge shut, about an inch and a half apart.

7. Now we make the cross-guard (the part the separates the blade from the handle). Take the toilet paper roll and cut slits in it wide enough to fit the wooden handle on one side, and the wooden handle and the blade on the other.

8. Slide it onto the sword.

9. Staple the edges of the toilet paper roll shut. Then staple the blade to the cross-guard.


10. Spray paint one side. We did black for the cross-guard and handle and gold for the blade. (These pictures were taken by my 7-year-old son. 😊👩👦 ) Let the first side dry, then flip it over and paint the other side. I used an old cardboard box to guard the part I painted while I painted the other colour.
Have fun storming the castle! What do you think? Are you going to give it a try? Excellent! Don’t forget to check out our How to Make a Shield tutorial – there’s even a video to go with it! If you want to make another weapon take a look at our Nunchucks tutorial. Now go play – but be safe! 💖


One thought on “How to Make a Toy Sword”