
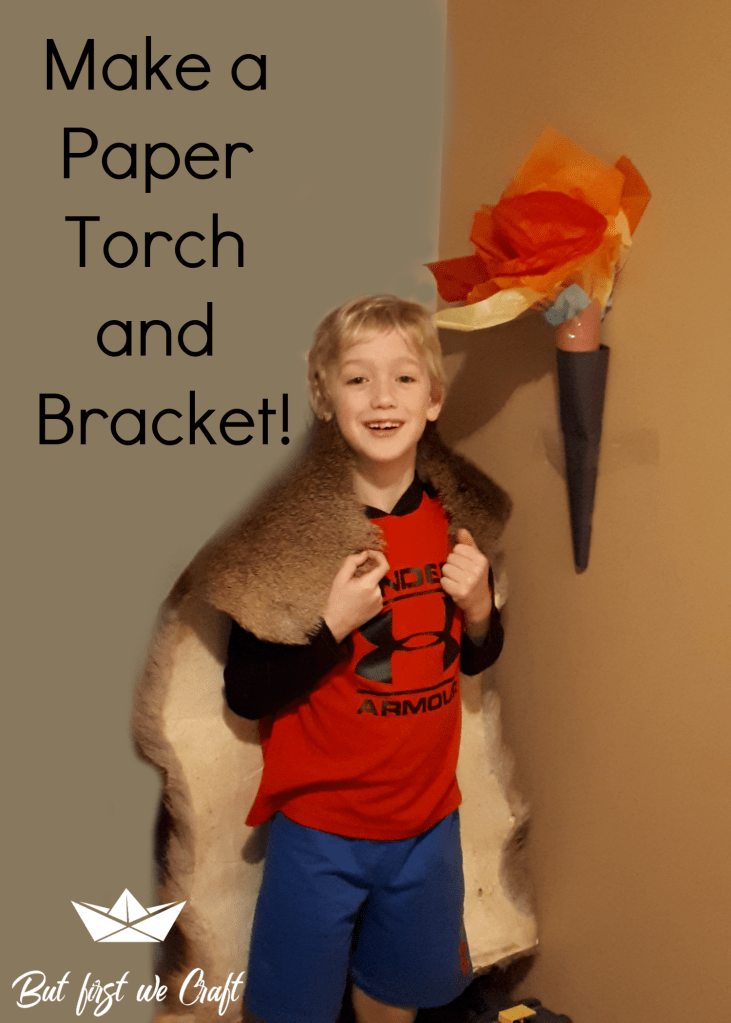
Guest Post by My Son!
This week my son sat for hours making paper torches in our living room. He got out all the supplies and worked quietly, not asking for any help or advice. He doesn’t usually craft without my help or ideas. He’s more like, “I want to make a gennet. Can you help me?” and then I come up with something. So it was really cute to see him just sit and start working! I told him how much I loved it, and how clever he was to have come up with it, and how diligent he was in working on all those torches for so long.
“You should do a blog post on it,” he said.
“Why don’t you do one for me?” I replied.
He looked so excited! So, without further ado, here is my son (with help from me), teaching you how to make a torch from paper.
Supplies:

- Brown construction paper (or any sheet of paper will do)
- Black construction paper
- Red tissue paper (blue, orange or yellow would work too)
- Tape
- Scissors to cut the flame (optional)
Instructions:
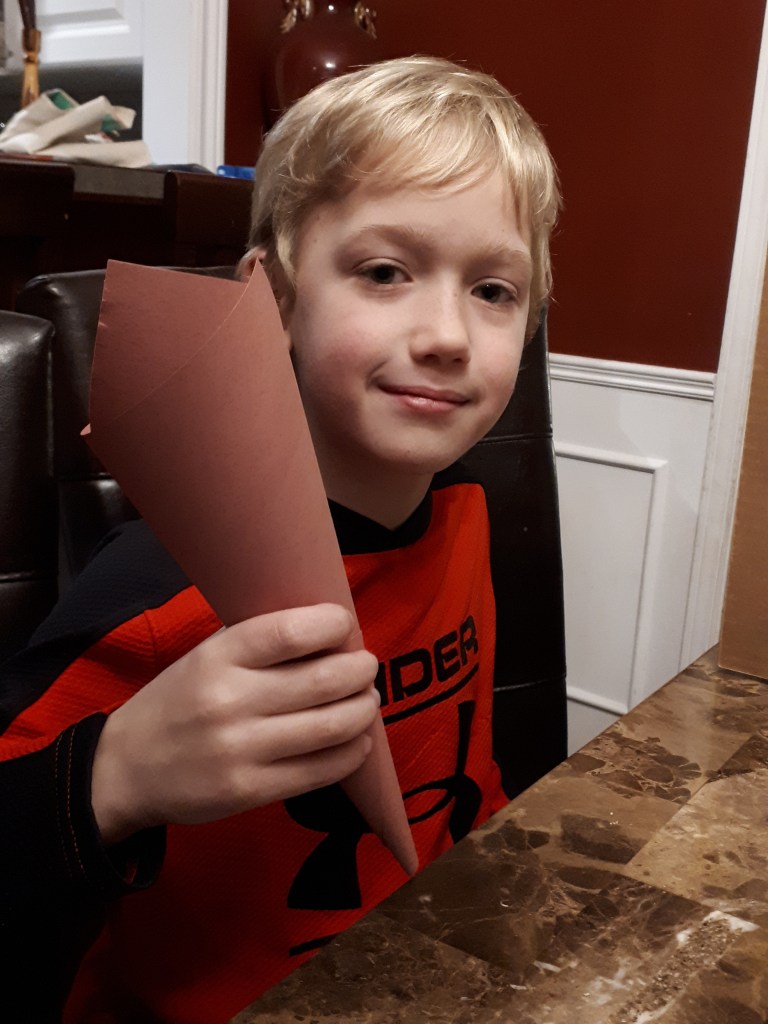
- Roll up the paper. Make it into a cone. If you’re not happy with the shape of your cylinder just unroll it and try again. Tape it so it stays in a cone.
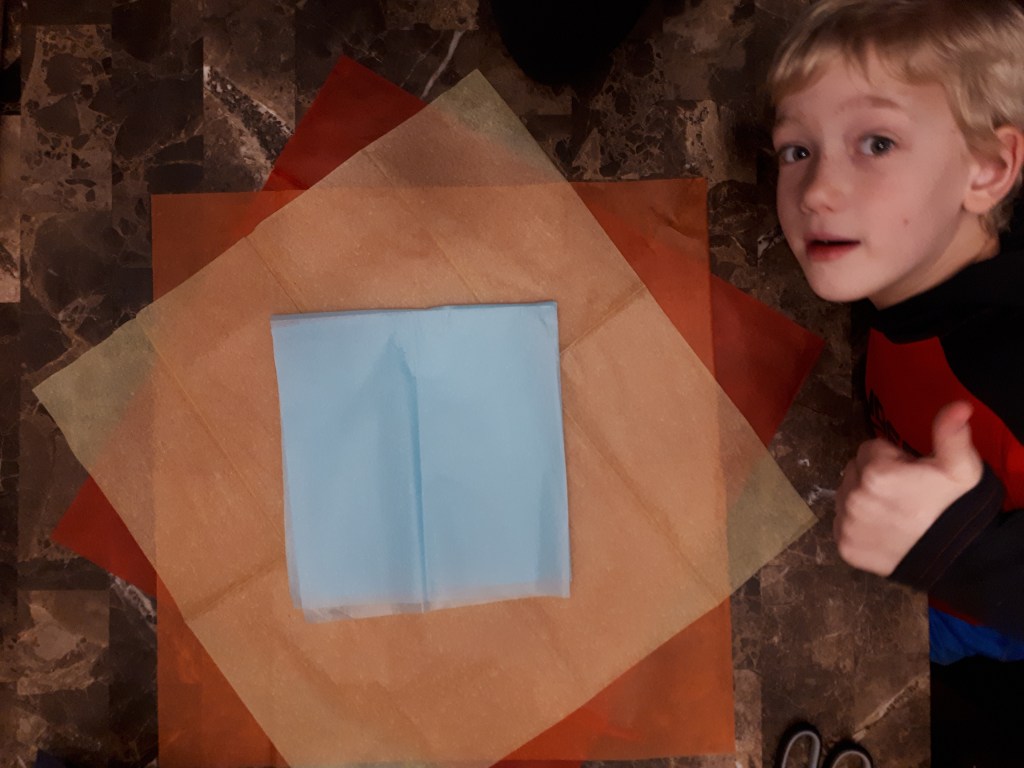
To make the flame like we did, put red tissue paper on the bottom, then orange, then yellow, with the corners all facing a different direction. Then fold the blue in half twice (making it four layers thick) and put it in the very centre at the top.

2. Get your tissue paper, hold the very centre, and pull it through your circled hand. This will be your flame. If you want to cut the edges into points you can. This will make it look more like fire. Oh! And you can put more and more and more, together, together, together tissue paper to make a really, really long flame!
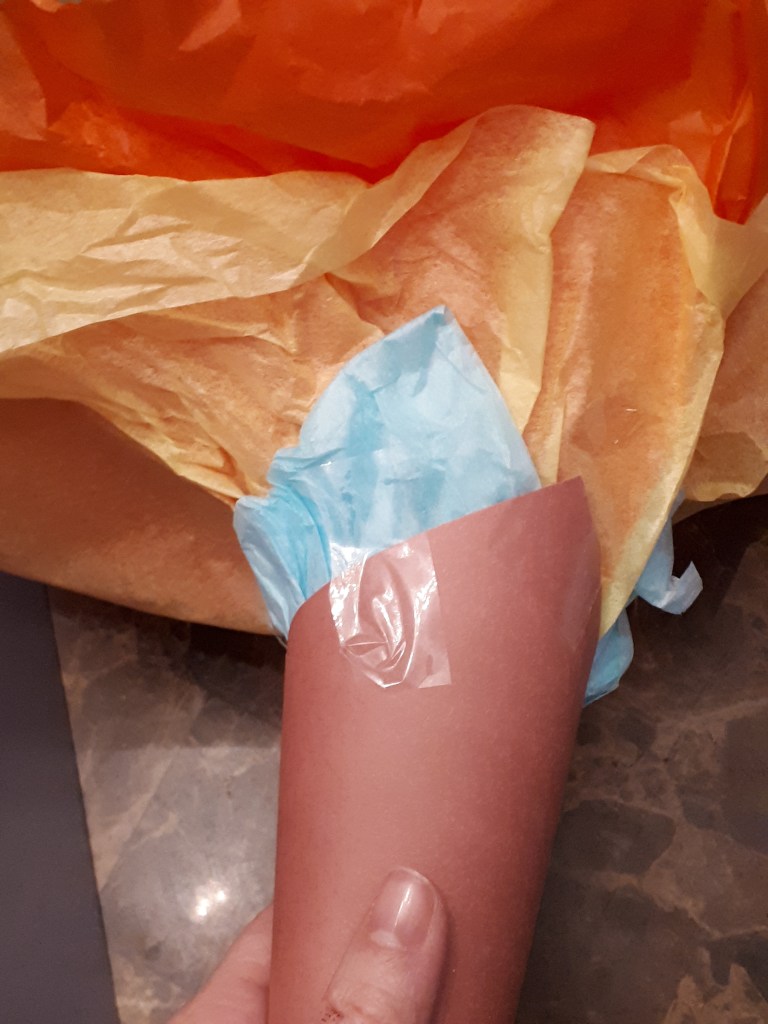
3. Take your tissue paper and put the pointy end into the cone, and tape the cone and the paper together. Now your torch is complete!
Bonus Idea:
How to make a torch bracket

- Get a black piece of paper (to make it look like wrought iron) and roll it into a cylinder and tape it together.

2. Then get another, longer, piece of tape and put it in the middle of your cylinder and tape it to your wall. This way you can put your torch on your wall, but you can take it out of your bracket so you can play with it! Then when you’re done you can put it back in the bracket on your wall. This is especially good for me because I like playing torches. Having torch brackets can also keep your torches safe from getting destroyed on your floor or in your closet, or by your sisters! If it does get destroyed put tape around it (wherever it’s slack) and pop it out into a cone again.
We use torches to play “Skeletons.” It is an imagination game where you use your torches to find the enemy skeletons and you can use your torch to fight, too. We go into our basement and climb around on the furniture, like coffee table and couches (not upstairs because your parents will get you in so much trouble – dum, dum, dum). We pretend we’re in tunnels and caves and that’s why we need our torches. My name in the game is Burke and my Mum’s is Ogden.

We would love to hear what you use your torches for! Maybe in the jungle, or natives, or forest, or castle, or Bible times! There are so many places to use torches! How to Make a Toy Sword is great craft that you should make to go with your torch. How to Make a Toy Shield would go well too. Thanks for reading my post!

One thought on “How to Make a Paper Torch”