
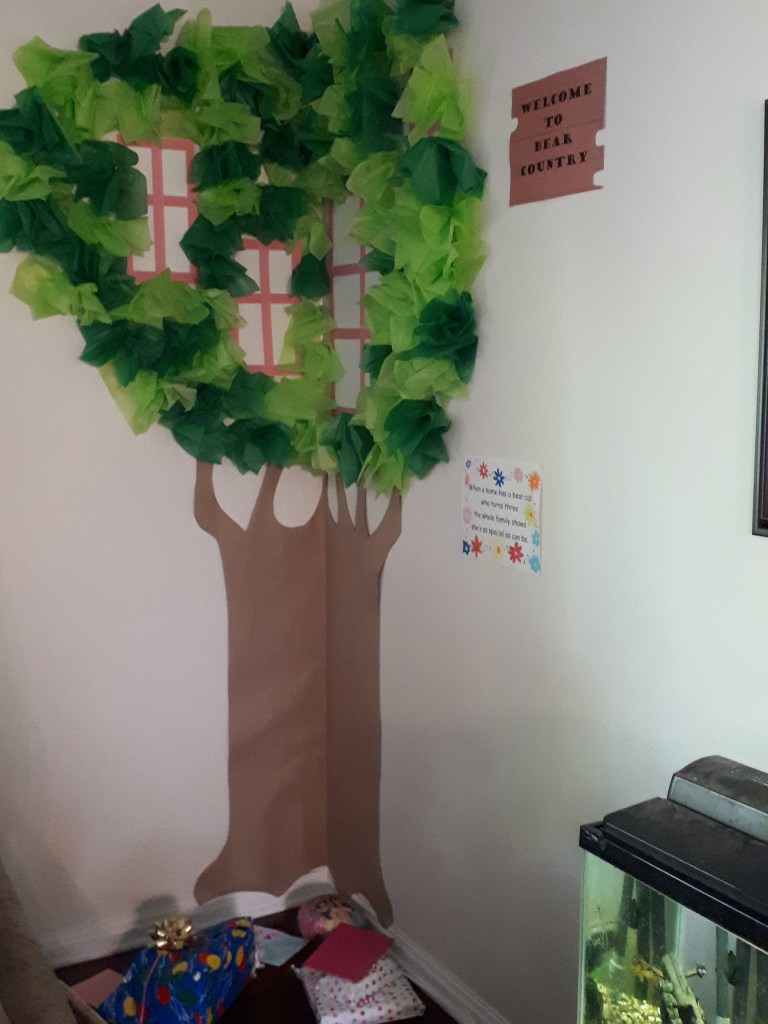
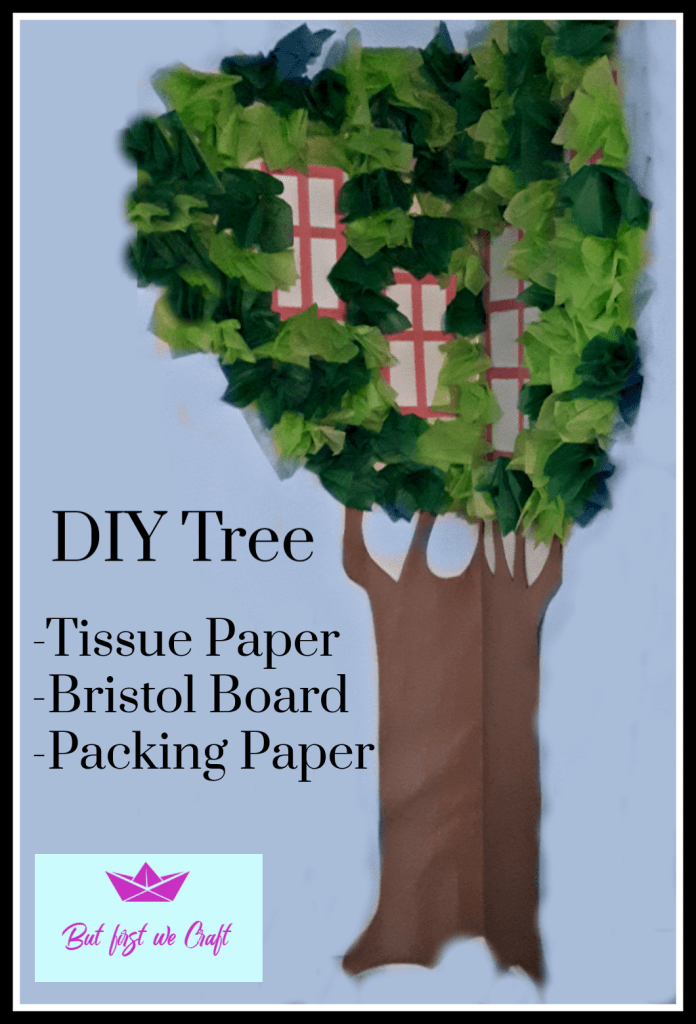
For my daughter’s third birthday we had a Berenstain Bears themed party (details to come!). Today I’m going to show you how I made the Berenstain Bears Treehouse. I used tissue paper, bristol board, construction paper and brown packing paper to make it. We made a palm tree in the summer. If you want to see that tutorial click here. While this Berenstain Bears decoration was time consuming, it was very basic and methodical. I was not having a good day that day, so having something creative, but easy was just the ticket. I had locked myself in my bedroom when I thought of starting to work on it. After I texted him my crafting needs, my husband slid the supplies to make the windows under our bedroom door. God bless him.
Supplies:
- White bristol board
- Green tissue paper (I used 30 sheets each of two different shades of green)
- Pink construction paper
- Brown packing paper
- Scissors
- Ruler
- Tape
- Glue stick
Instructions:
First Things First
Before you can do anything you need to figure out how big you want your tree. I made mine to fill the corner of the living room. It’s about 8 feet tall and 6 feet wide at the widest point. Once you know how big your tree is you can make your windows.
The Windows
1. I made 4 windows. One window was half of the sheet of bristol board, the other three were evenly divided and cut out from the rest of the bristol board.
2. To make the frames, just cut many strips of one inch wide construction paper. Glue them around the edges of the bristol board with a glue stick, and then stick more in a grid inside the window to make panes, like this:

My big window had 6 panes of glass, my little windows had 4. You can go stick these on the wall now. I used moving tape, but I didn’t need much because they’re not very heavy, just one on the top middle and one on the bottom middle. I had to move my windows several times, even when the tree was 50% made, until I got them where I wanted them, so the less tape the better.
The Trunk
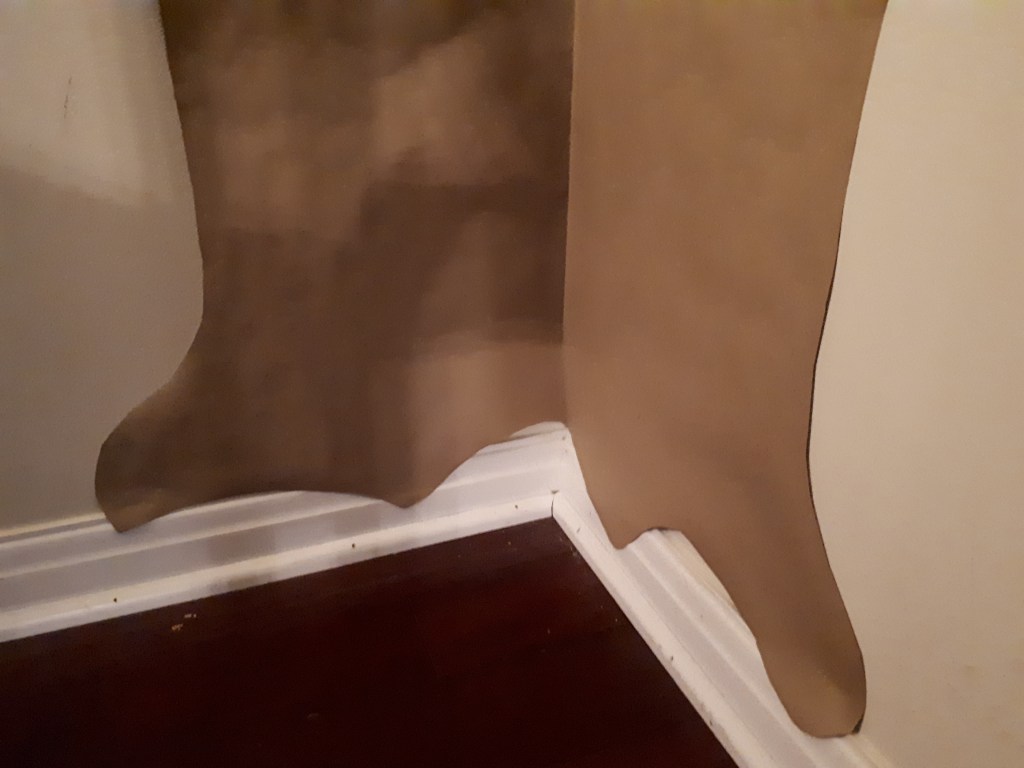
Measure how tall of a trunk you want. Mine is about 4 feet tall. Take your packing paper and lay it on the floor or a big table. Make your trunk almost the width of the packing paper, cutting it so it tapers out at the top and bottom to form roots and branches. At the bottom of the trunk (the roots) just do little humps:
at the top (the branches) just cut out funny triangles and scoops:
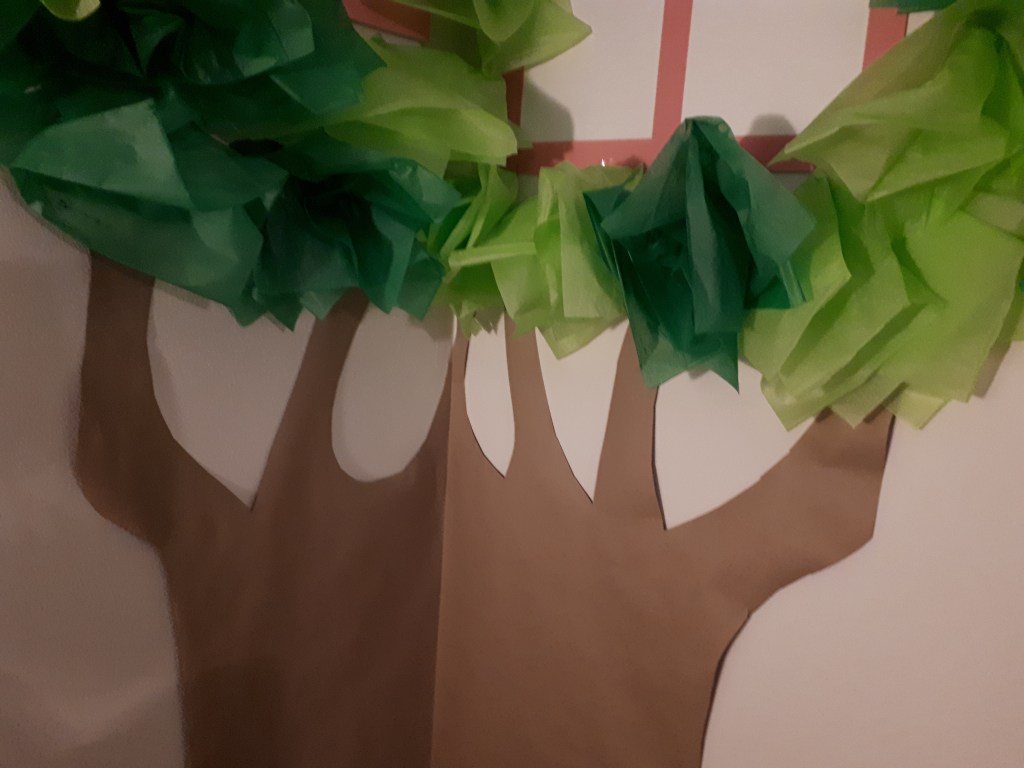
My treehouse was supposed to be the Berenstain Bears house, and I realized after I made the branches that they don’t have branches like that. I also left out the door and stairs because I thought it would be too much work without enough benefit- but if that’s jarring for you, by all means, make a door and stairs.
The Leaves
Take your sheets of tissue paper and cut them into 8 squares. Fluff two squares and stick them to the opposite ends of one piece of tape:
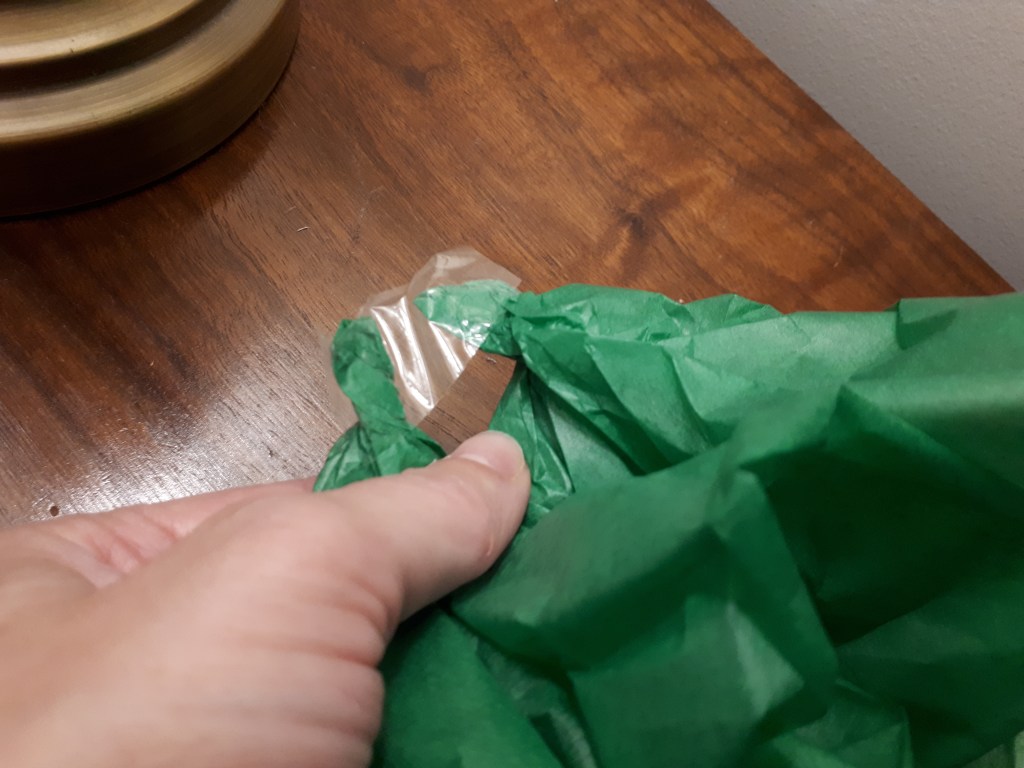
Then stick the tape to the wall:
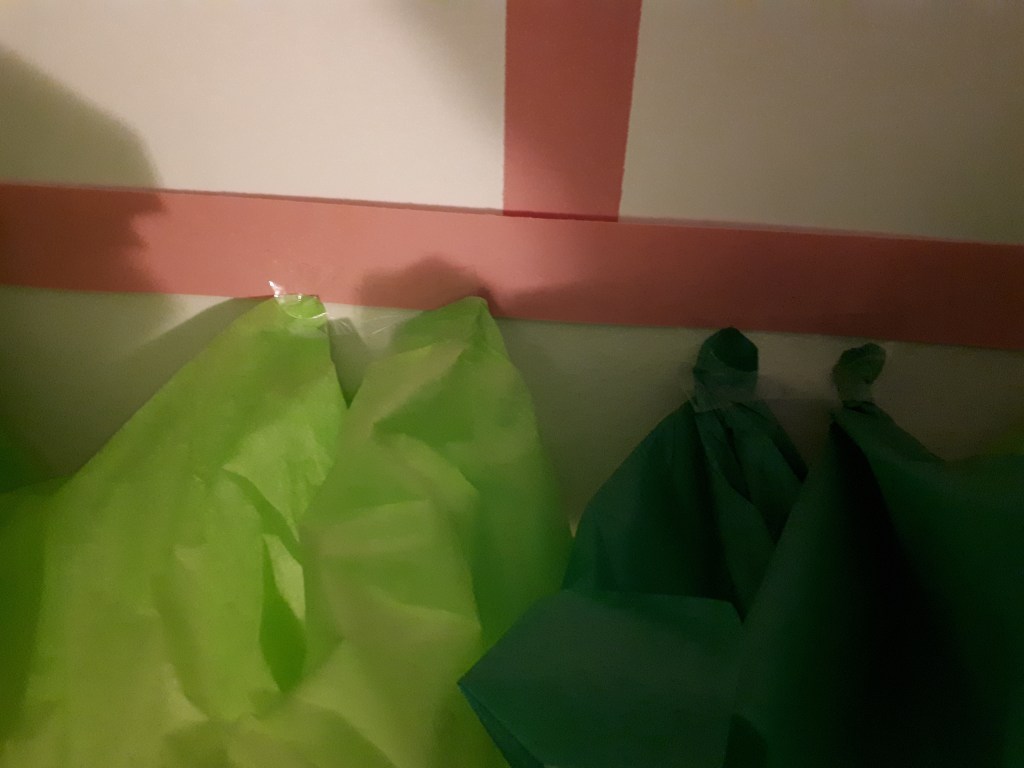
You can space the tissue paper fairly far apart and still make convincing leaves. Arrange the different colours of tissue paper so they look natural (don’t make a pattern).

When I made mine, I stuck on a bunch of “leaves,” then took a step back to see it, made some adjustments and took a step back again. When I adjusted it, I moved leaves, and sometimes the windows. I did this repeatedly until I liked my layout.
Finished Project!
Isn’t it awesome? We put all the presents under the tree, and then I put signs on the walls to try to make it look like the opening pages of the Berenstain Bears, you know, how they have the little poem. Mine says, “When a home has a bear cub who turns three, the whole family shows she’s as special as can be.” Like I said, I’ll give you the full party details in a bit, but I hope you’ve enjoyed this little bit of it! And, if you want to use up any leftover green tissue paper click here: Tissue Paper Craft. Happy Crafting!

One thought on “Tissue Paper Treehouse”