
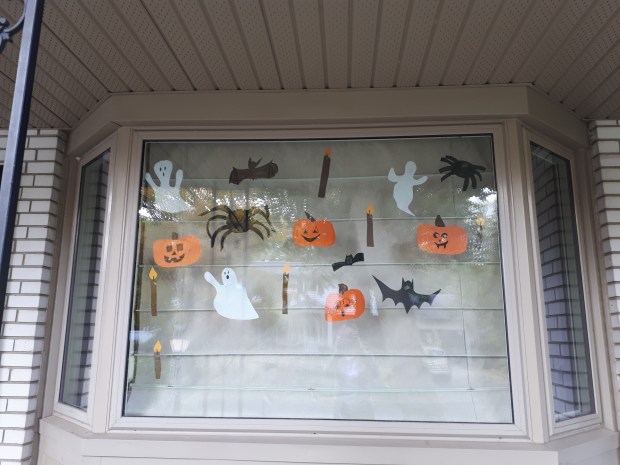
So, it’s 5 days before Halloween and your kids are getting so excited! But you…you’re not…you’re stressed. “How is it possibly 5 days before Halloween??? How can I get into the spirit (pun intended) of things????” But First We Craft to the rescue with quick, easy, fun, child-friendly Halloween Decorations! This Halloween Display is made from the most common of craft supplies. You can make a couple things super quick, or you can spend time crafting together. This Halloween window display is very nice to look at, and my kids are so proud of it. They ask all our neighbours if they’ve seen our Halloween Window Decorations yet!
Also, be sure to check out our Last-Minute Halloween Costumes!
Window Display
Supplies:
- Construction Paper (black, yellow, white and brown) You can use white printer paper and colour it with markers or crayons if you don’t have construction paper.
- Black Marker
- White Crayon
- Tape
- Glue Stick
- Scissors
Instructions:
Pumpkins:
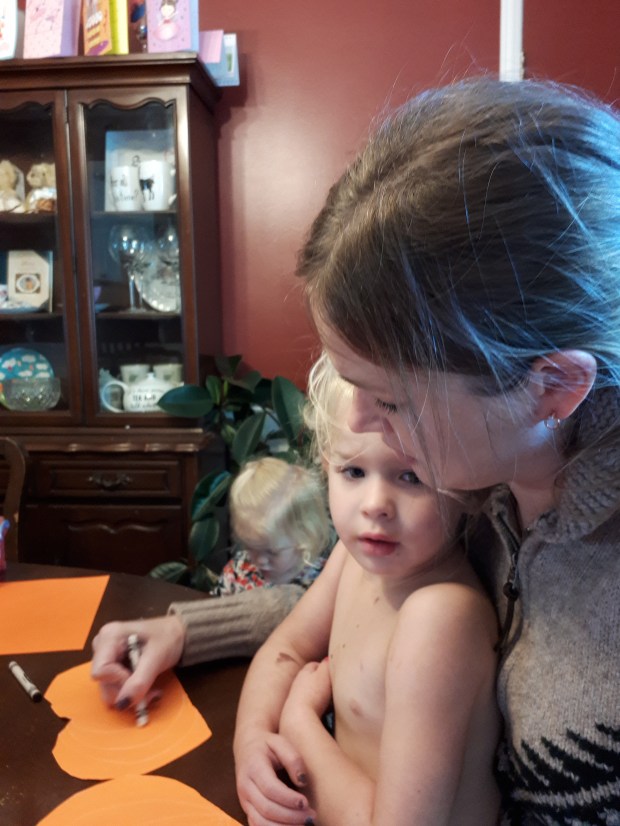
- Draw the rough shape of a pumpkin on the orange paper. Depending on the age of your children they can draw it.
- Cut it out.
- Draw the ribs on the pumpkin by starting at where the stem is and following the curve of the pumpkin around to the bottom of the pumpkin.
- Cut a stem out of brown construction paper. Because almost anything can look like a stem, this was the job for the three-year-old!
- Tape the stem onto the pumpkin.
- Draw a carved-looking face with black marker, or cut and paste black construction paper.
- Tape your Pumpkins onto your Halloween Window Display!
Ghosts:
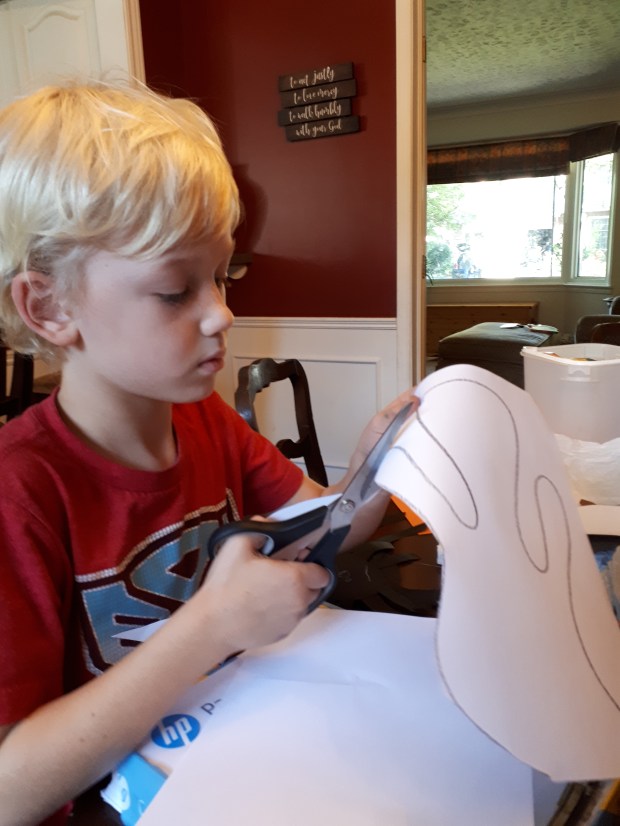
- Draw a ghost on the white paper. I tried to put their hands in different positions to give it some variety (“Wow, Mummy. You’re really good at that!” Lol).
- Cut it out.
- Draw ovals for the eyes and mouth with black marker.
- Tape your Ghosts onto your Halloween Window Display!
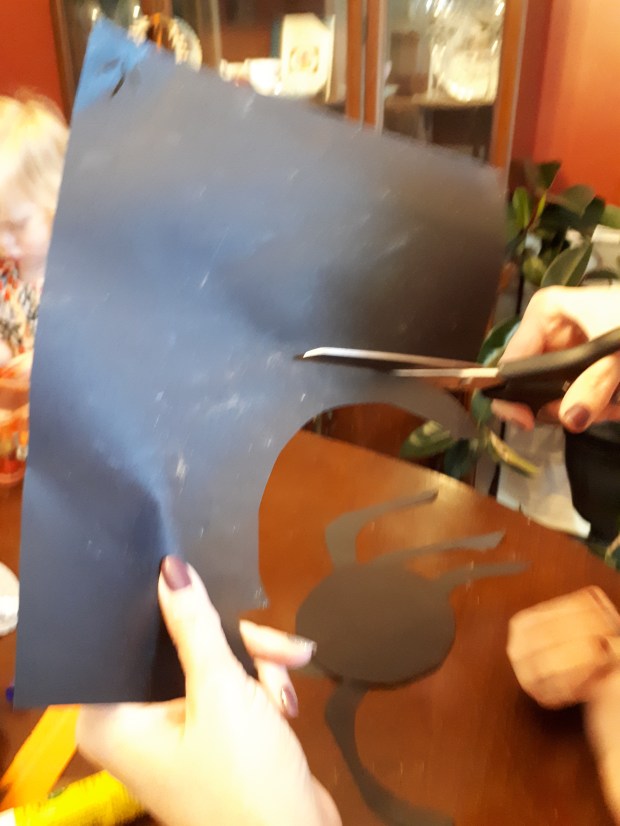
Bats: For this I had to look up a picture on google to remember what a bat looked like in silhouette (weird, I know). My son looked up a “How to draw a bat” video on YouTube that was really cute. You can find the video we used here.
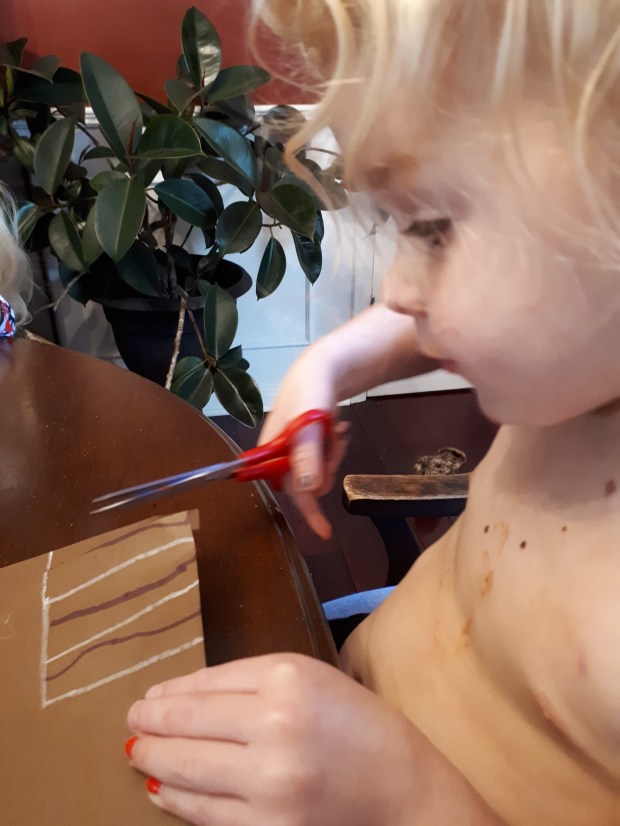
- Draw a bat on black or brown paper. We drew the bat with white crayon so the lines we were supposed to cut on would be easy to see. For the bones (or whatever those supports on the wings are) and face we also used white crayon so they
 would stand out.
 - Cut it out.
- Tape your Bats onto your Halloween Window Display!
Spiders:
- Draw a circle or oval. This doesn’t have to be perfect. Cut out eight legs. We made ours curved, but it doesn’t really matter.
 (Photo credit to my son. Hence the blur!)
 - Glue 4 legs to each side of the oval.

- Use a white crayon to draw on the eyes.
- Tape your Spiders onto your Halloween Window Display!
Candles: We made (8) brown candles because they looked spookier.
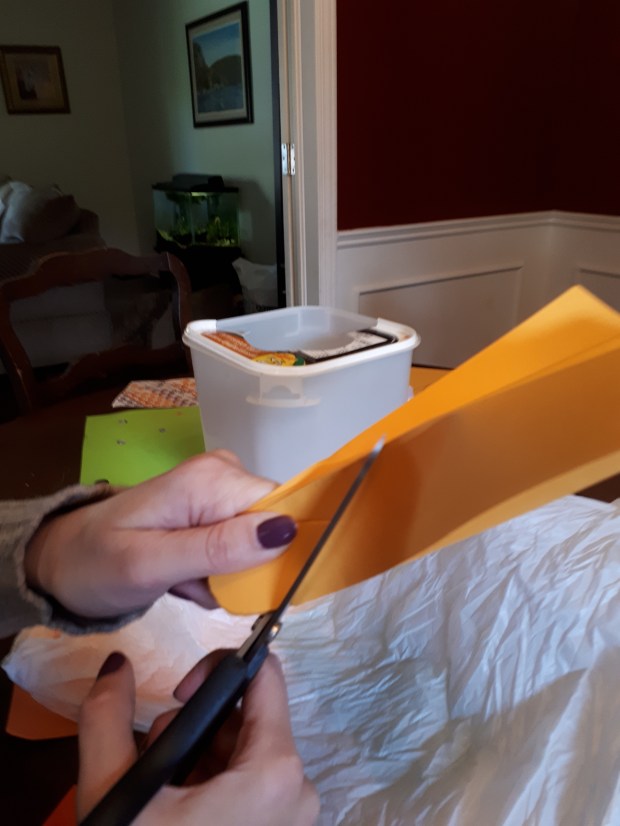
- Cut out 8 strips of brown construction paper. We accidentally cut them with crazy, not-straight sides because our paper cutter is 3. But it kind of added to the spooky.
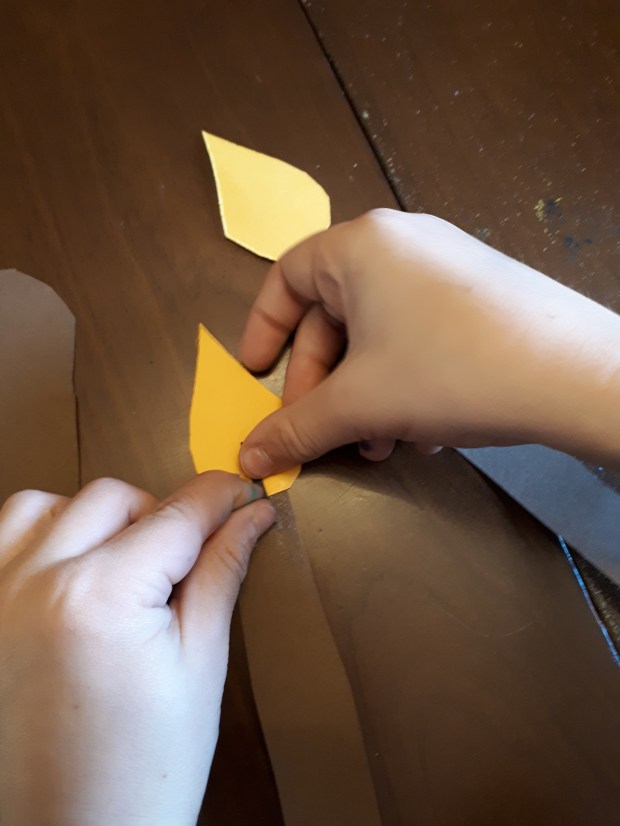
- Fold a piece of yellow or orange construction paper accordion style and cut out a flame.
- Cut out small pieces of black construction paper to be the wick.

- Glue the wick onto the candle, and the flame onto the wick.
- Tape your candles onto your Halloween Window Display!
**WARNING: WATCH YOUR TODDLER! At one point our two-year-old started ripping all our completed decorations apart. After that her job became, “Here, glue all this together.” Which she very happily did. 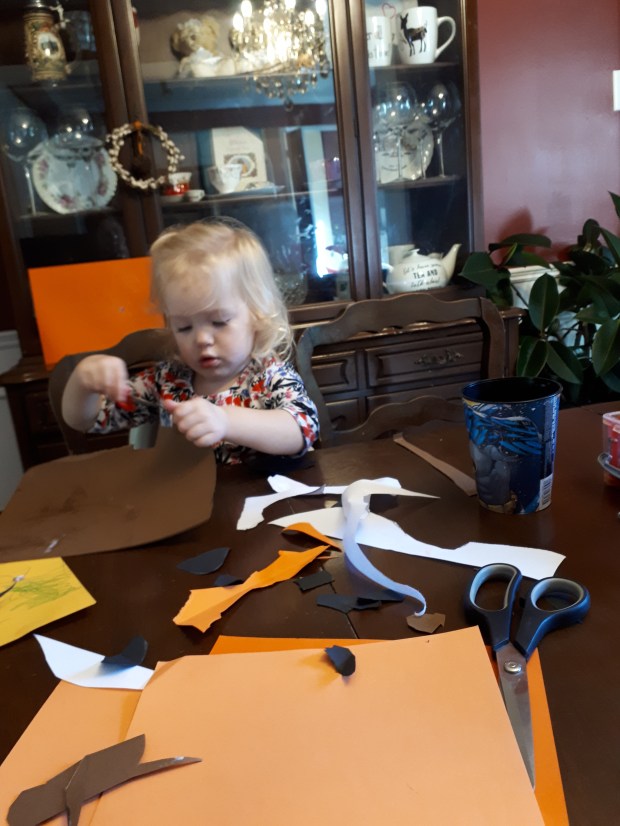
Wasn’t that fun!? The best part is you can put them all over your walls and ceiling too! Let me know where you put yours! Happy Halloween!
Remember to visit our Last Minute Halloween Costumes!

2 thoughts on “Last-Minute Halloween Decorations”