
This Burlap Banner is so easy to make and looks so good. My paint dried quickly too, so it was a pretty quick decoration to make. I used this banner for my nautical baby shower. This style of banner would also go well with a spring theme or a vintage theme. It’s very versatile. 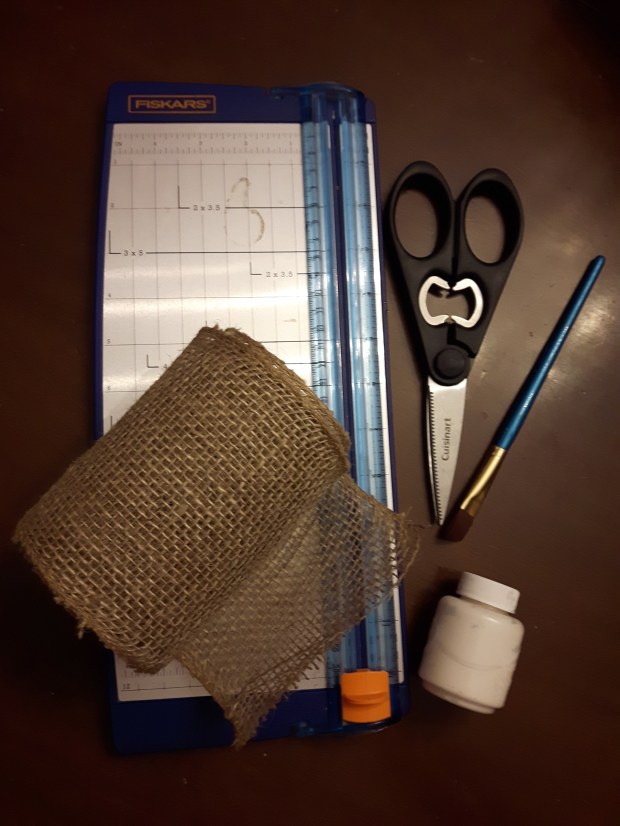
Supplies:
- Burlap (I used a roll so I only had to cut each piece once) (From Dollarama)
- Paint (I used my kids’ white Crayola paint)
- Paint brush (also my kids!)
- Ruler (optional- I actually just measure each piece of burlap against the first one I cut)
- Twine (not pictured here) (from TSC)
- Scissors
- Newspaper, or something on which to put the burlap to dry
Instructions:
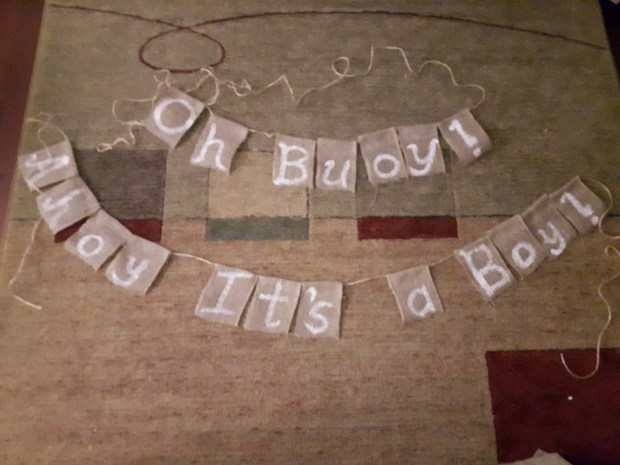
Cut your burlap into enough pieces to fit your slogan. I made “Oh Buoy!” and “Ahoy it’s a Boy!” If you get frustrated at how burlap frays, or if you struggle to cut it straight then check out my post “How to Easily Cut Burlap!” You’ll never have trouble again!


To get consistent letter sizes make a template. Paint one letter on your burlap, then line it up on a piece of cardboard. Place the letter on the box and draw lines through the burlap to correspond with the top, middle and bottom of the letter. My template ended up looking like the lines that primary kids use to learn their letters.
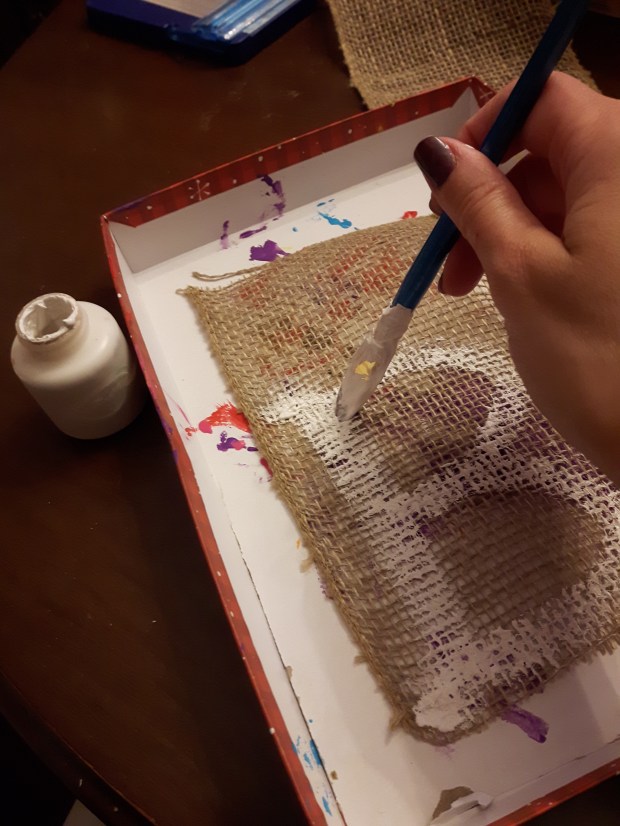 Think about what font you want use. I tried to make mine a bit flouncy and airy. Perhaps you prefer something more old fashioned. If you’re nervous about this part it’s totally okay to just make normal block letters! Paint the rest of the letters onto the burlap pieces using the template.
If your burlap has large holes like mine the paint will soak through. This is totally okay and won’t effect the front of the burlap pieces. The back doesn’t matter. Have your newsprint ready to place the letters on to dry.


After your letters are dry it’ll be time to attach them to the twine. Don’t cut the twine until all your letters are on. I left lots of space on each end because I didn’t know where I was going to hang them. I ended up taping it to the wall (actually my Dad did. He was generously helping me set up. You can see where he taped it in the top picture- I didn’t have the heart to fix it so the tape was invisible!), so the extra twine was unnecessary. It’s also possible that I’ll use it again for another event, so it’s best to keep my options open.
Line up each word on the twine (on something like newspaper to protect your surface) with the paint side down, leaving a couple of inches to fold over. Use a hot glue gun to glue the inches of flap to the main burlap. Because my burlap had such huge holes I used a plastic spoon to push down the burlap so I wouldn’t burn myself. I didn’t glue the twine, just the burlap. Theoretically this could allow the letters to slide on the twine if the arc is too deep, but this wasn’t an issue for me, probably because twine is fairly abrasive. If you’re worried about that just be sure that your twine is glued onto each letter. Don’t forget to leave spaces between the words!
I used this decoration for my cousin’s Nautical Baby Shower. You can find the full party details here.
Did you try it? What did you use it for? Let me know in the comments! Happy Crafting!

One thought on “Burlap Banner”