
Native Studies: Inuit of the Arctic

First, let me tell you that you are joining us on week two of our series, “Canada’s Natives Long Ago.” For more information on this series you can check out my previous post, “DIY Wigwam Craft.” Last week I showed you our conical Wigwam that we made when we studied the Eastern Woodland Hunters. This week I’m going to show you how we made our Soap Carvings when learning about the Inuit of the Arctic. This series is named after the homeschool curriculum, of the same name, that we’re using. It was written by Donna Ward. You can find it at the homeschool store I use by clicking here, or at Amazon by clicking here.
Supplies:
Nice try, but he didn’t (quite😉) win!
- Bar of Soap (I read elsewhere that Ivory soap is the softest, and it certainly worked well for us.)
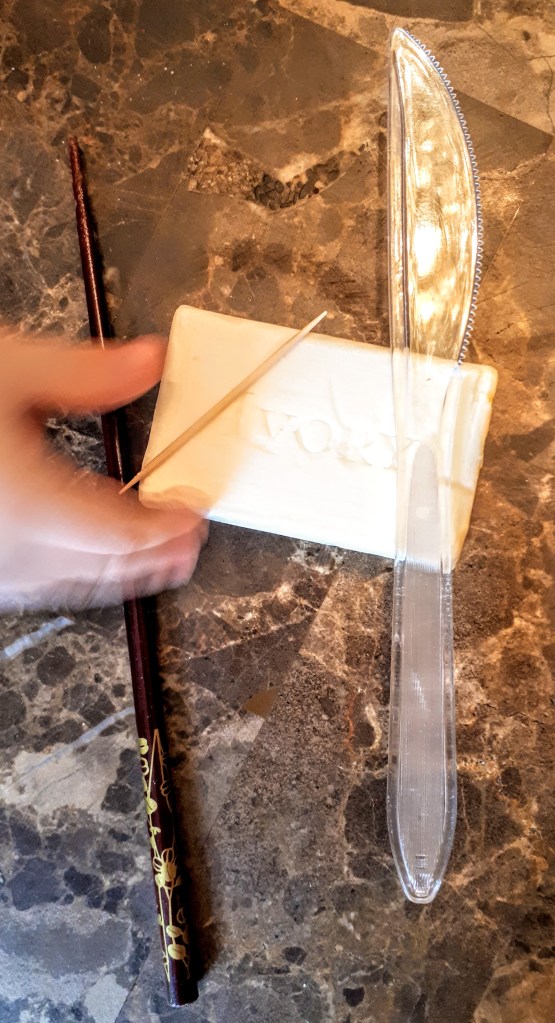
- Tools for carving. We used plastic serrated knives, chop sticks and toothpicks, for varying sizes. You could use skewers, knitting needles, nails, table knives, etc.
Instructions:
- Choose your shape. The Inuit of the Arctic mostly used natural shapes, like trees and animals in their carvings. You can take a look at some authentic Canadian Inuit carvings at this site, “Made in Canada Gifts.” You probably want to choose a fairly simple shape for your first carving, unless you’re super duper artistic, which I’m 100% not. Also, the bigger your shape, the less you have to carve off, and, therefore, the sooner you’ll be done. This might be the most valuable tip for crafting with little ones! Here are some ideas:
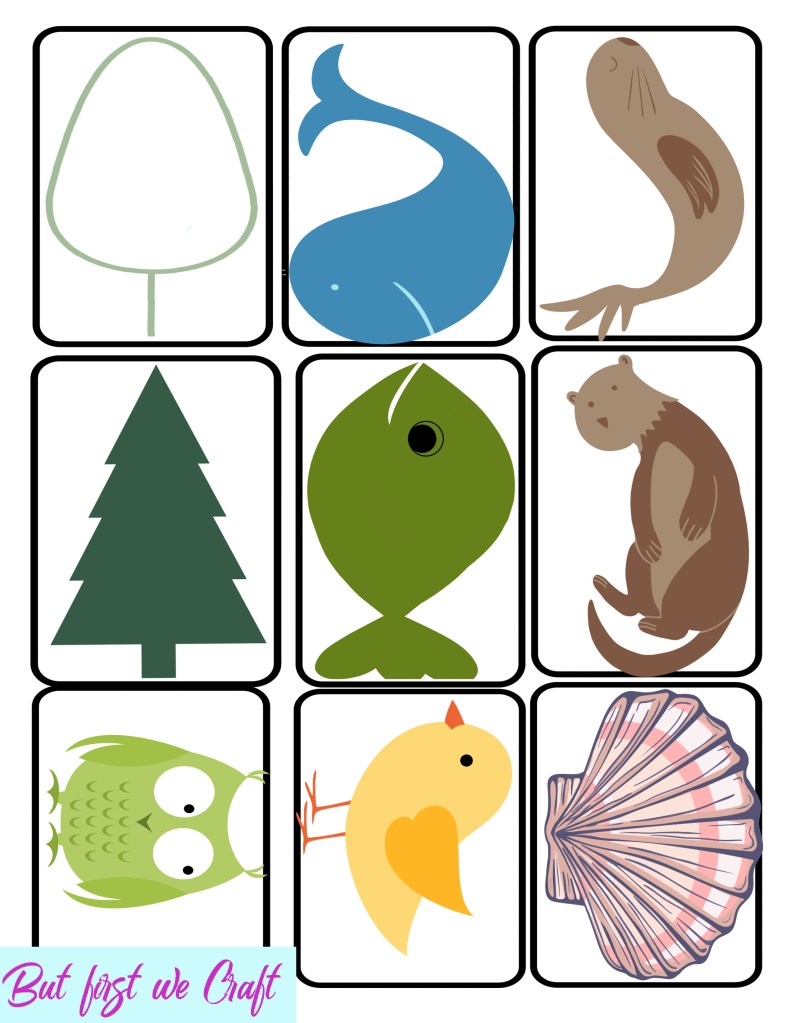
To print this Soap Carving Template, just click “Download” below. They are the approximate size of an average bar of soap. Once the template is printed simply cut out the image, place it on the bar of soap, and trace it with a toothpick or something similar. Once the image is etched into the soap, use your knife to scrape away the edges so only the shape is left. Any of these images can be adapted into the look you want. There are some places on the template where the image is a bit thin, the tree trunk, for example. When you’re tracing it, just make it thicker.

2. When you’ve decided on what image you want, use a toothpick to draw (or trace, if you’re using my Inuit Soap Carving template) the image onto your bar of soap.
3. Use the various tools to carve out your basic shape, then you can draw details on it!
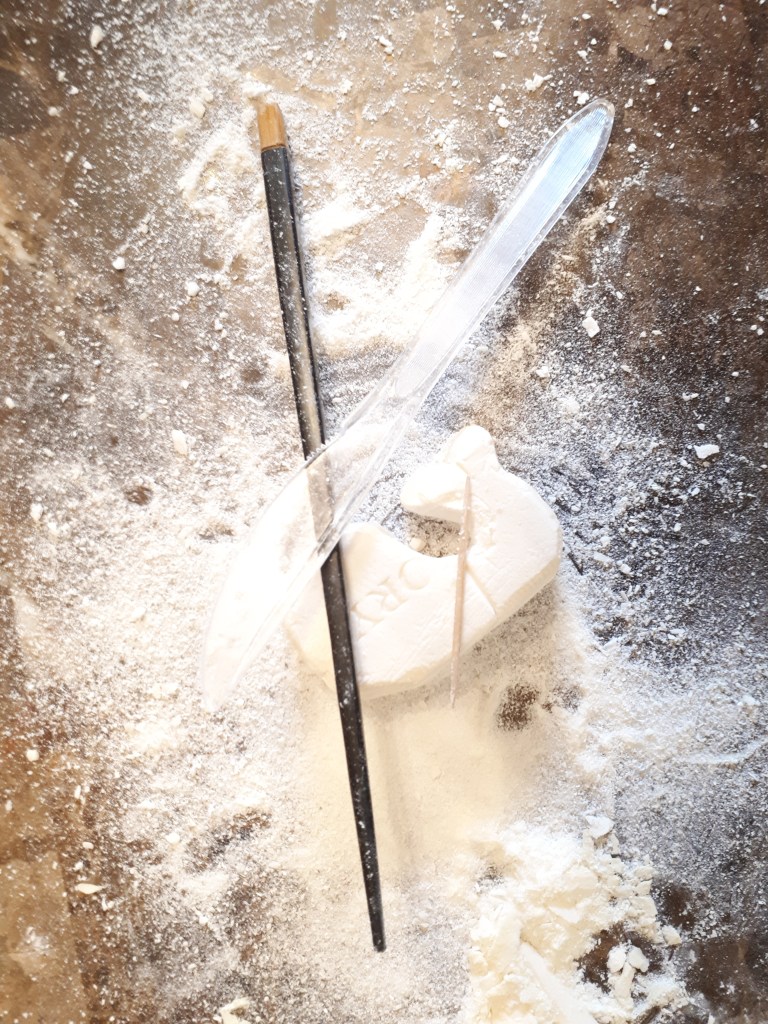
*** Warning! ***
This is a very dusty craft! You may want to stop periodically to sweep up all the soap dust. If it’s a nice day outside, I highly recommend doing this out of doors.
BUT FIRST WE CRAFT
Some finished carvings!

Bonus: The house smells clean for, like, DAYS🤣!! Stay tuned next week for the Natives of the Plains and making a parfleche!


so fun
LikeLike
Aww, thank you!
LikeLike
Hello! About how long did this activity take?
LikeLike
Oh man, this was quite a while ago, so I don’t exactly remember. It really depends on how old and engaged the cold is. If it’s an older student who’s trying to do a really good job it can take hours. If you’re doing something more simple it could be done in 30 minutes.
LikeLike
This is awesome!!!!
LikeLike
Thank you! So glad you like it!
LikeLike
I can’t wait for the parfleche! I remember trying to carve soap as a kid. I quite frankly was terrible at it! This is a great craft. I think I’ve heard of people doing plastic scrimshaw – probably better for older kids though.
LikeLike
Plastic scrimshaw! That’s a great idea for older kids. I’ll definitely keep that in mind!
LikeLiked by 1 person