
With the end of school comes the classic End-of-School-Pictures. I have pictures of my son on his last day of JK and SK posed at the door with his teachers. But since we started homeschooling him we no longer do that. With Covid-19 school closures many parents weren’t able to get the pictures of their children that they wanted to, and would have taken under normal circumstances. My sister had a great idea, while scrolling through Instagram I saw these amazing pictures of her and her children:

Oh, my goodness, did I ever think that was such a great idea! So, on a day when we were able to all be clean and look nice on the same day… which took until July 2nd…we made End-of-School-Pictures of our own!

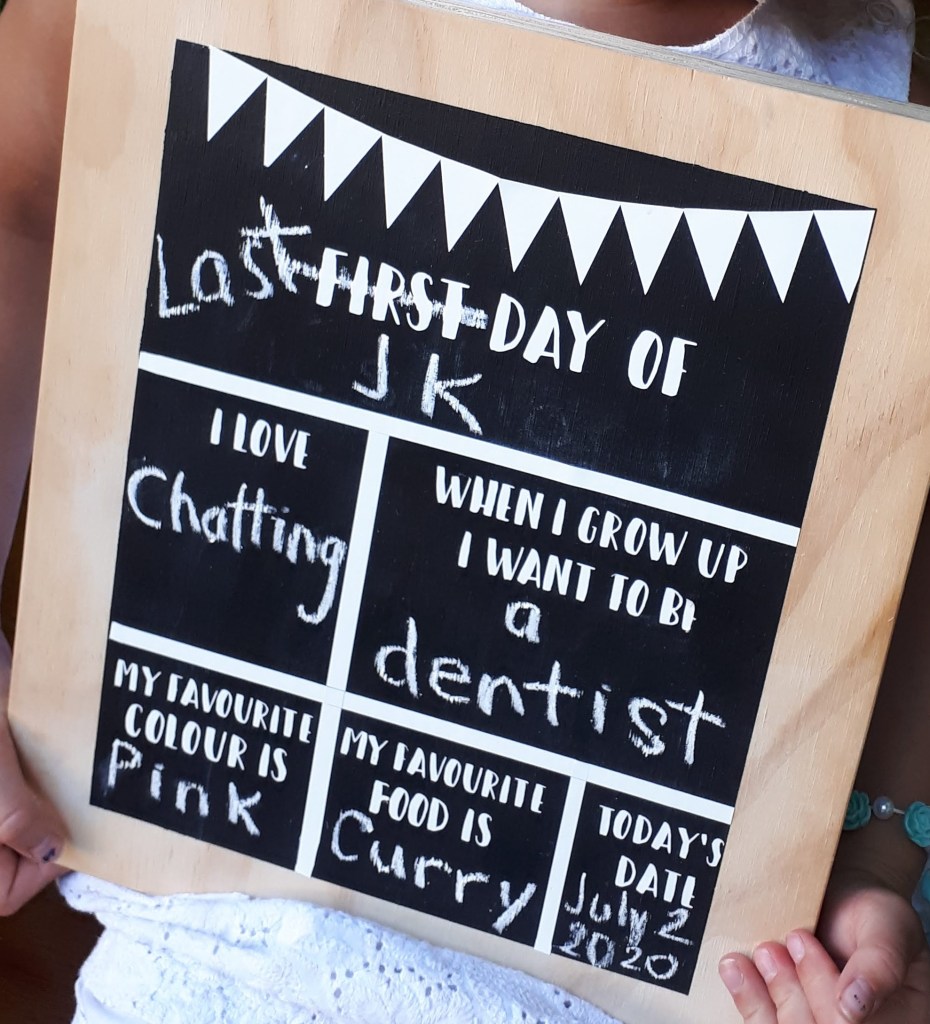
Here’s a close up of this sign:
Every family is going to be different with what they put in their set. You can see my sister used library books and an apple, so cute. She also had a nice little table to set the things on in front of their house. My kids and I put the piano bench in our backyard in front of our hedge for us all to squish onto. Beside the bench my son put a log on end on which to stack some books. We chose books that were important to us for our homeschool year:
- The Famous Five by Enid Blyton, collection of books 6-9
- Black Beauty by Anna Sewell
- Peter Pan by J.M. Barry
- The Bible (funny story: every morning the kids listen to a portion of the audio Bible on Bible Gateway while colouring a corresponding picture. When I chose the Bible for this stack of books one of the kids said, “But we didn’t read the Bible this year.” 🤦♀️ #homeschoolfail)
- Call of the Wild by Jack London
- Go In and Out the Window: An Illustrated Songbook for Young People by The Metropolitan Museum of Art
- A Light in the Attic by Shel Silverstein
We also needed some sort of board on which to write “Class of 2020.” You can see above that my sister used a letter board. You could make your own sign, get your children to make a sign, make a DIY Dry-Erase Board, or (as we did) make your own chalkboard. This is so simple and worked so well! Here’s a quick tutorial:
Supplies:
- Wooden board, mine was already painted white. The size is 12″ by 12″
- Wide tape. I used moving tape, but painting tape would work
- Chalkboard paint (you can see the brand I used in the second picture below)
- Paint brush
Instructions:
- Evenly tape each edge of your board. This unpainted edge will give the illusion of a frame for your chalk board. You can see above, in the picture of the “First/Last Day of School” sign, that I had a rough wood frame instead of white like this one. Both look great and work well, so don’t feel like you have to paint your board white before moving on to the chalkboard paint. You could also choose a different colour for your frame.
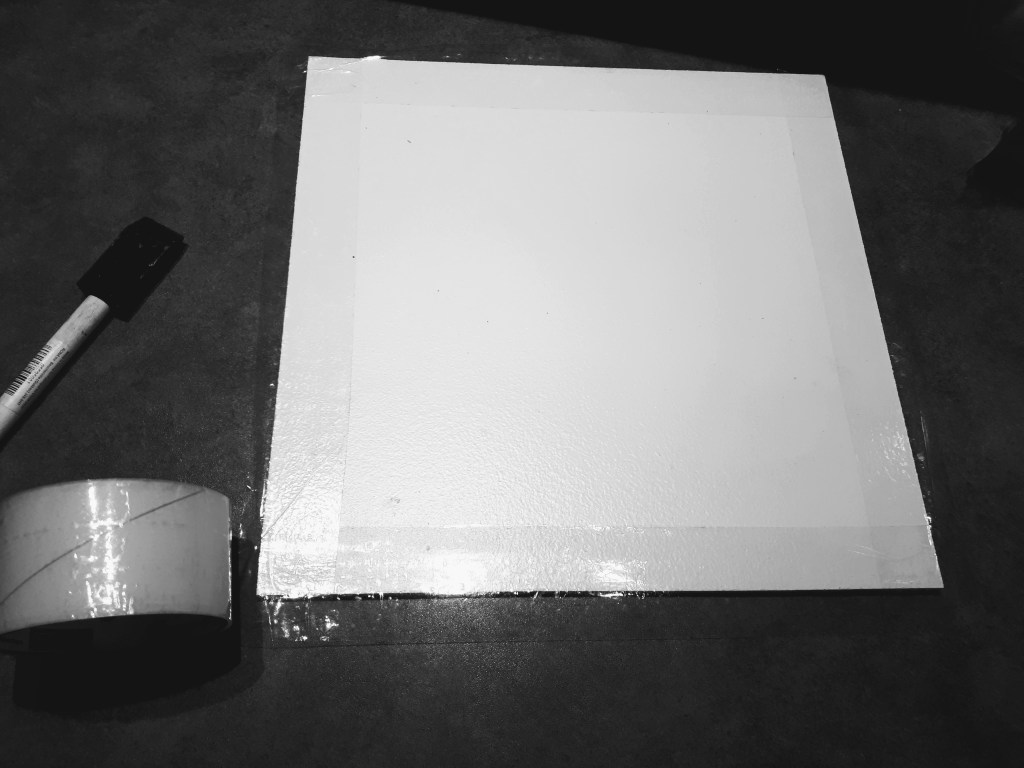
2. Paint your board with chalkboard paint. You’ll need a couple of coats. Allow the coats to dry in between or they can clump or peel. You can see how rough the edges are here, because it doesn’t matter if you paint on the tape.

3. After paint is completely dry peel off paint. I used the same chalkboard paint for the “First/Last Day of School” sign above. Once the chalkboard paint was dry I applied the adhesive vinyl words and chart with transfer paper. Now look at those nice clean “frame” edges!

Here are the kids’ individual pictures:

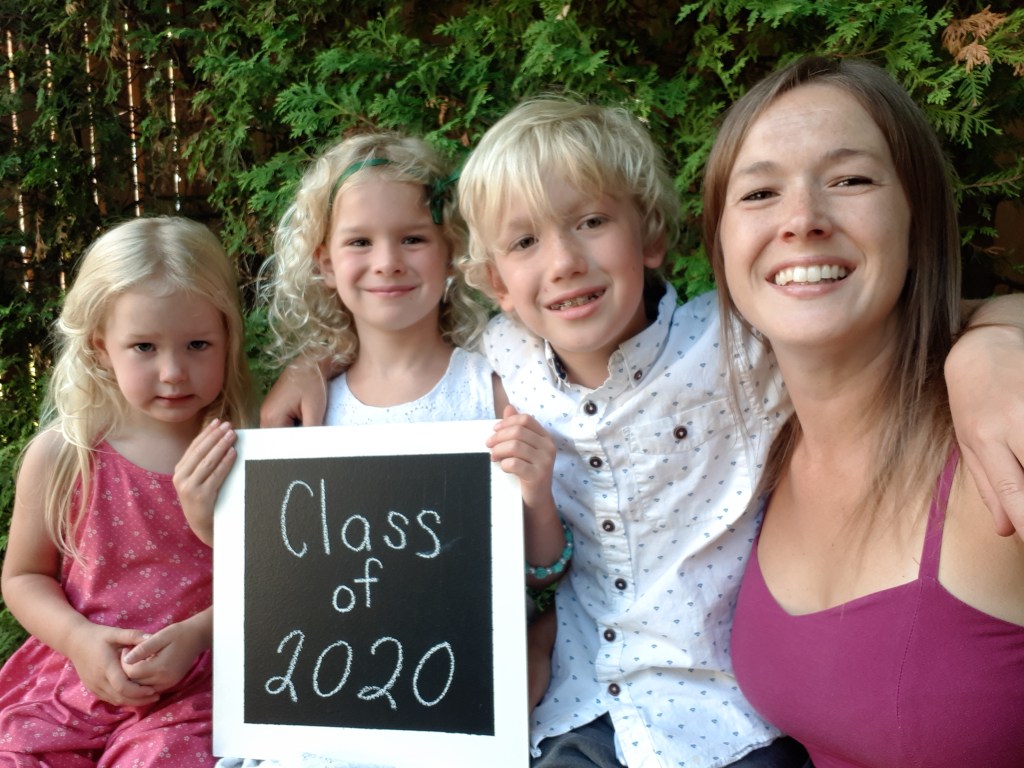
And here’s our “class” picture:
Thank you, dear sister, for this amazing idea. We had a great time doing this, and they will be appreciated for years to come! I hope you all had an enjoyable end of the school year. It’s definitely one we’ll never forget. It’s not too late to take these pictures, and if you do, please send me a copy or post one in the comments. I’d love to see! Happy Summer!


Love these kiddos! I chuckled that your daughter’s favorite thing was “chatting”!!! Great work, mom, and here’s to no more school!!!
LikeLike
I know! Isn’t that perfect? We love you too!
LikeLike
Love the pictures! Great idea!
LikeLike
I’ll pass on your encouragement to my sister! 💕
LikeLike