…or any furry animal with four legs and a tail!
If you’re a parent you know how weird and impressive it is when your kids start teaching you things. I’m not talking about, “I learned to be patient because I have kids.” I’m talking, “There are fish that stick to the bottom of sharks.” Or (now this is the impetus for this post) when my son brought me this huge book of animals in Africa and had zeroed in on the genet. He asked me to tell him all about this amazing looking animal. But I had no idea. I had never heard of a genet. So we read all about it, and then we made one, which now sits proudly on his dresser. These are the instructions to make a genet, but, by changing the colours you could make any furry animal with four legs and a tail. Wanna make a monkey? Wanna make a lemur? Wanna make a nice, old-fashioned cat or dog? This tutorial will help you – just shorten the neck – or put no neck- accordingly!
Supplies:
- Kleenex box
- Three toilet paper rolls
- Two paper towel rolls
- Lots and lots of yarn the colour you want your animal’s fur
- Two small elastics
- One average elastic
- Hot glue gun and lots and lots of hot glue sticks
- Scissors
- Vacuum (to collect the bits of yarn you’ll find around for the next three weeks 😬)
- Two large googly eyes
- Felt
Instructions:
If you want it to look more authentic, first paint the Kleenex box a light colour (as close to your light coloured yarn as you can) and allow it to dry. That way, if you don’t fill in every hole with yarn you won’t have pink flowers with a purple background showing through. I’m pretty sure my son doesn’t even notice that there’s any pink showing through, though. He just loves his genet!
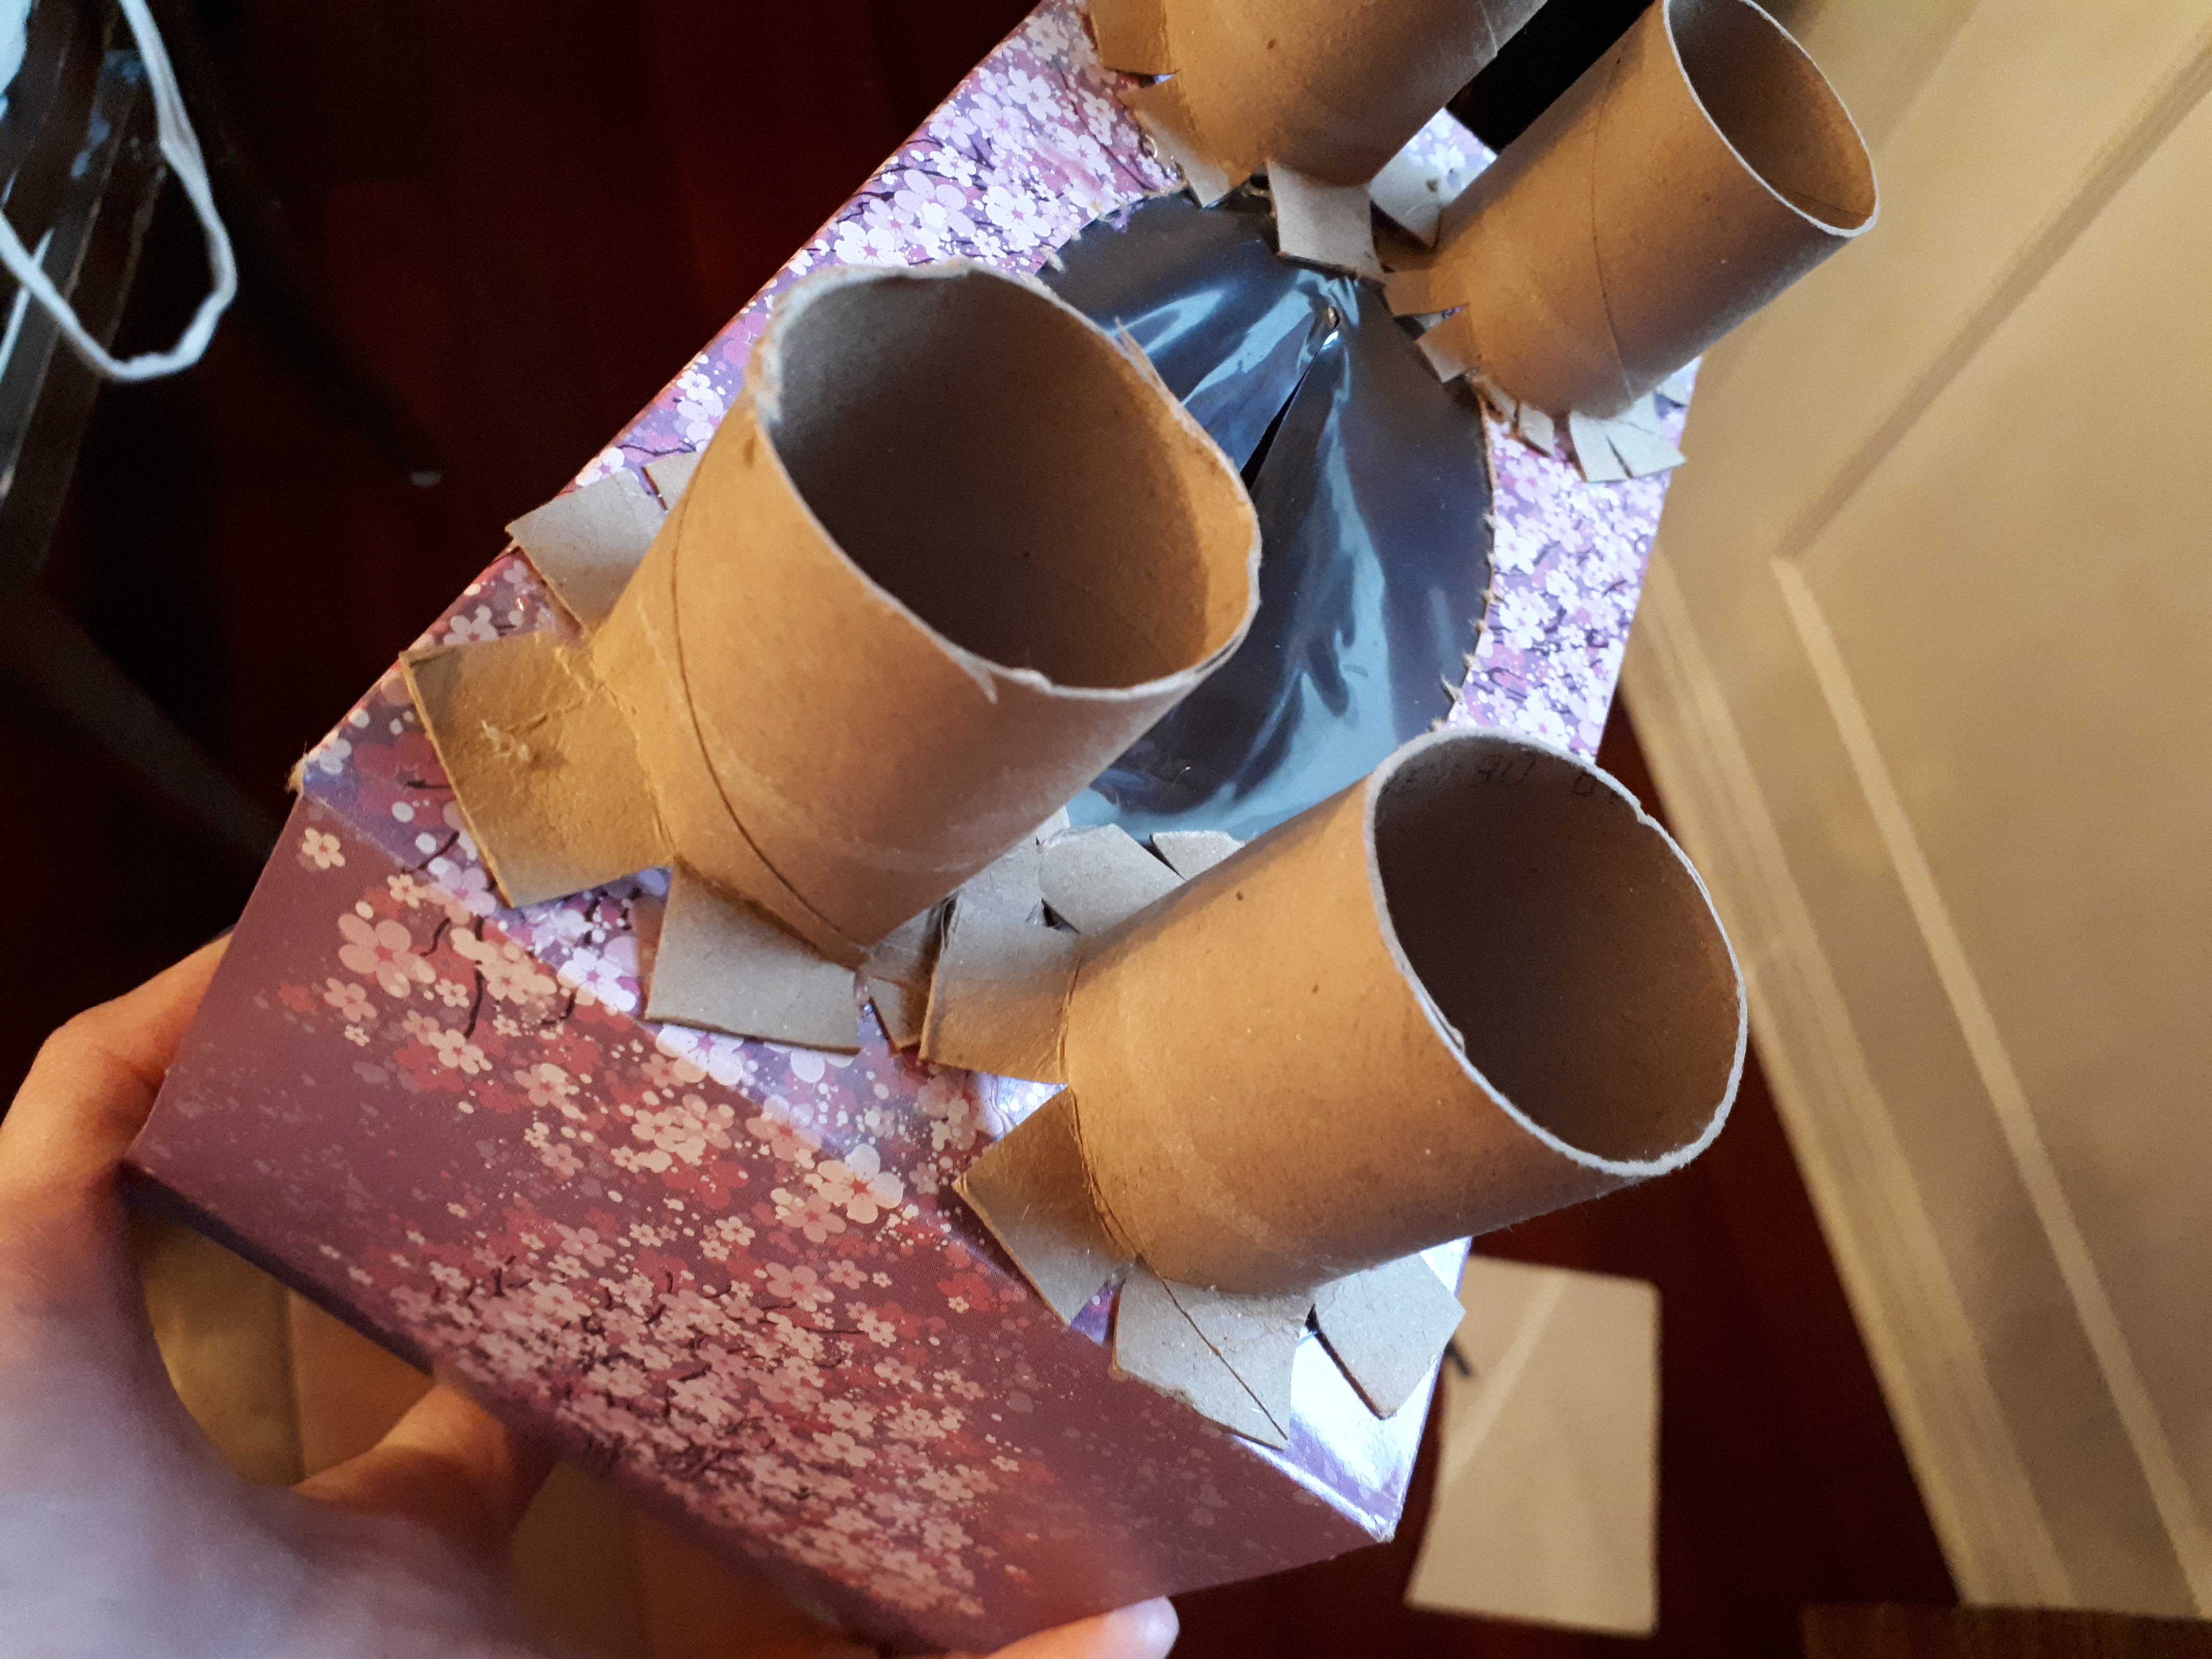
- Cut two of the toilet paper rolls in half. At one end of each cut 1/2 inch slits all around. Fold these down, and hot glue them into each corner of the top of your Kleenex box. These are the genet’s legs.
2. Take one of the paper towel rolls and cut it in the same manner. Hot glue it in the centre of one of the ends of the Kleenex box bottom. This is the genet’s neck.
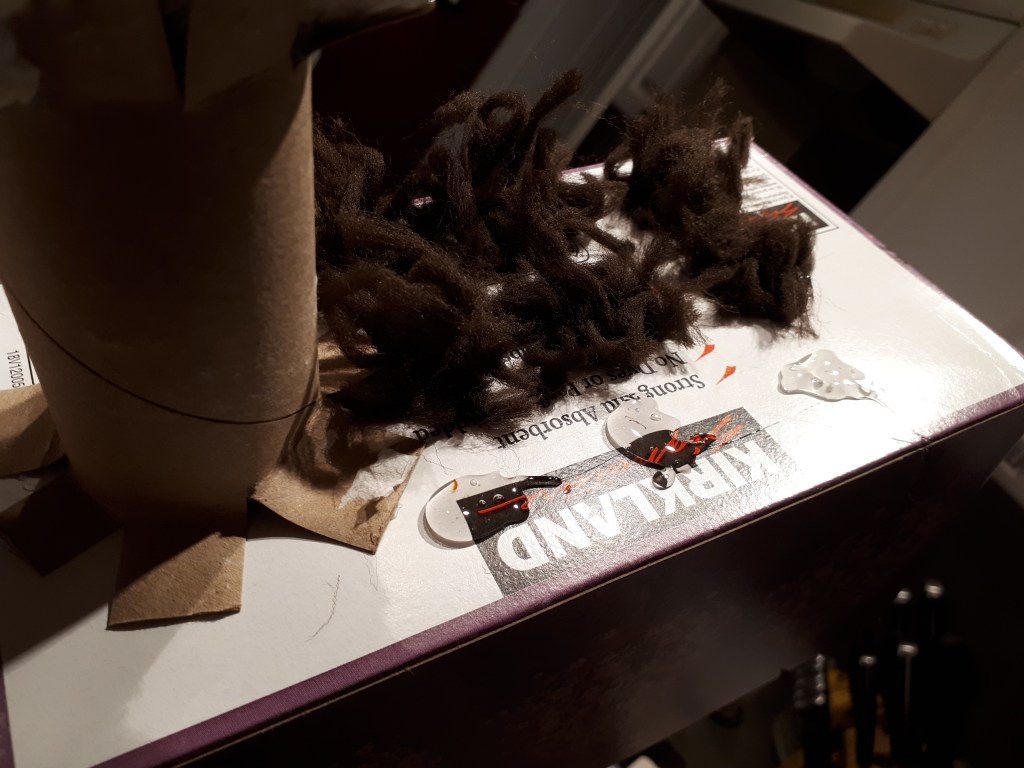
3. Cut about a million one-inch pieces of dark brown fur from your yarn. Genets have light brown fur with dark brown spots on their backs. We’ll start by gluing on the spots. Put large globs of hot glue down the bottom of the Kleenex box (the back of the genet) and adhere as much dark brown yarn as you can. Allow to dry (this should only take a couple minutes).
4. Spread hot glue in between all the spots and stick about a million pieces of light coloured yarn all over. Now do the same with the sides (for now, leave the back side where the tail will go empty), legs, head and neck, except they all get light yarn, not spots.
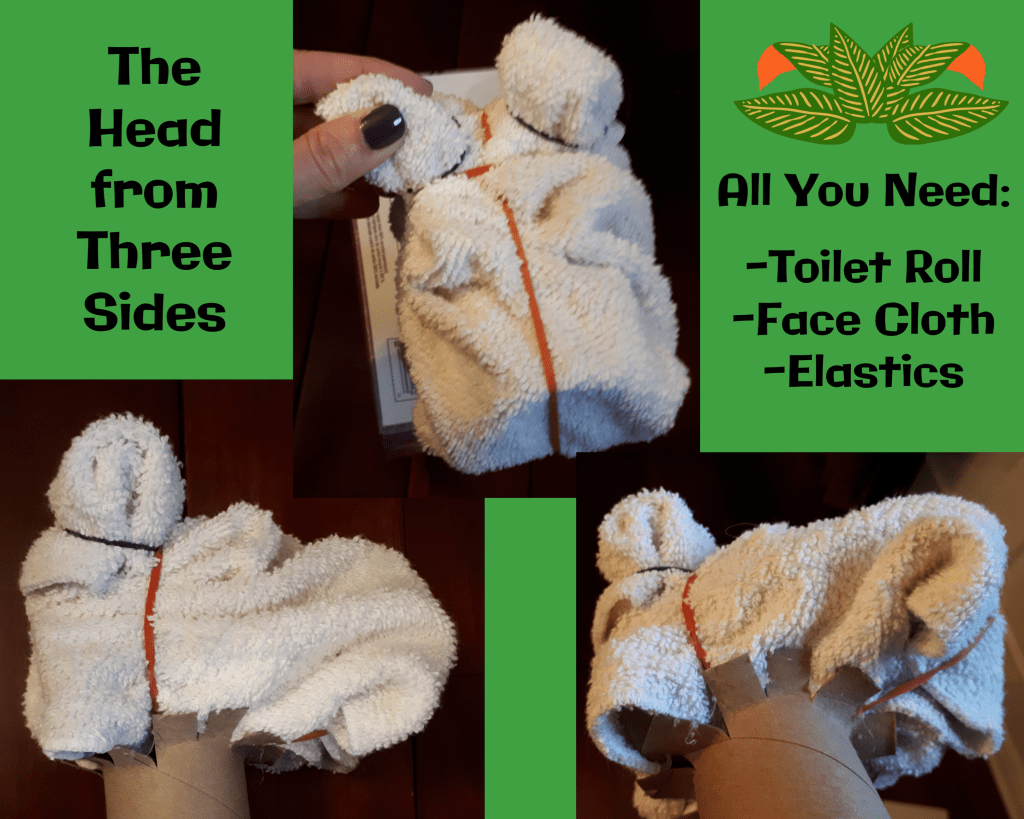
4. To make the head (1) take one toilet paper roll and cover it with a rag (we used an old face cloth). (2) Form two ears and wrap a small elastic around each to hold it in place. (3) Wrap a bigger elastic from front to back, separating the ears and holding the front of the face in place. (4) Put the last elastic in front of the ears. This will hold the ears in place and the sides together. (5) Hot glue the head onto the neck. Be sure to glue the cloth (whatever edges you can reach) as well as the toilet paper roll to make sure it’s secure.
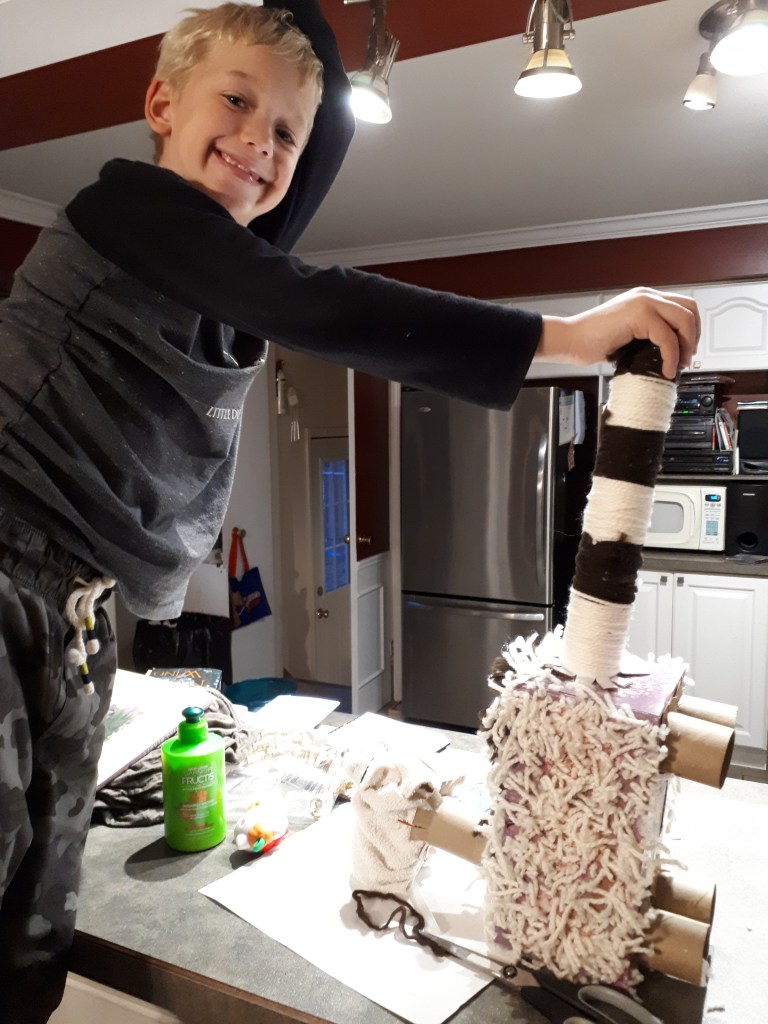
It will also make you feel better about your house if it’s a mess like mine.
Look at all the random stuff everywhere ’cause but first we craft(ed).
5. Genets have very long striped tails. To make a tail for your genet take the last paper towel roll and wrap it, alternately, in your light and dark yarn. To help it stay attached I put a line of hot glue (perpendicular to the direction I was wrapping the yarn), and then wrap one colour around it. Then I put another line of hot glue and did the other colour, etc.
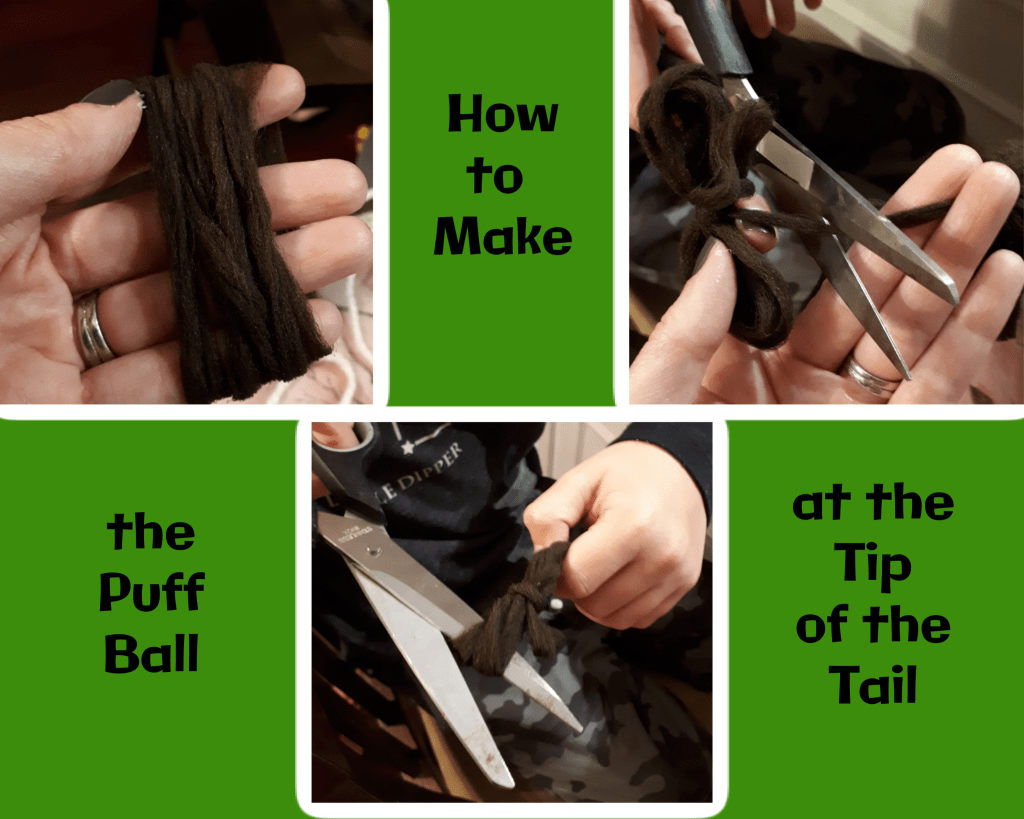
6. We made a puff ball to stick in the tip of the paper towel roll to fill it in and make it look fluffy. Can you tell how we did it from the picture above? (1) Wrap the yarn many, many times loosely around a couple of fingers. (2) Twist the yarn around the centre of the yarn and tie it. (3) Cut the yarn from the ball. (4) Cut the loops on both ends. (5) roll it around in your hands to fluff it up.
7. Put hot glue around the rim of the paper towel roll tail and stick in the puff ball. (You can see this in the picture from step 5.)
8. Cut the half inch slits in the opposite end of the tail the same way we did to attach the neck and legs to the body. Attach the tail to the body (you can see this in the picture from step 5, too).
9. Put hot glue in small sections around the face of the Genet. We did the front first, then the sides, then around the ears, etc.
10. Hot glue the googly eyes just below the ears on your genet’s head.
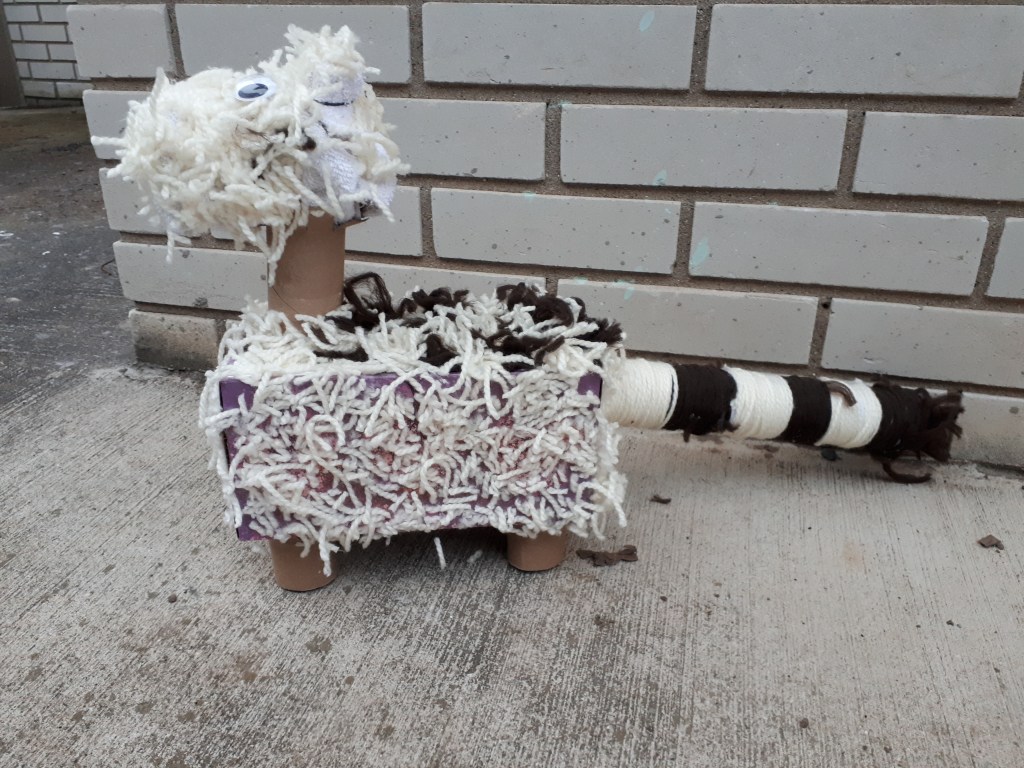
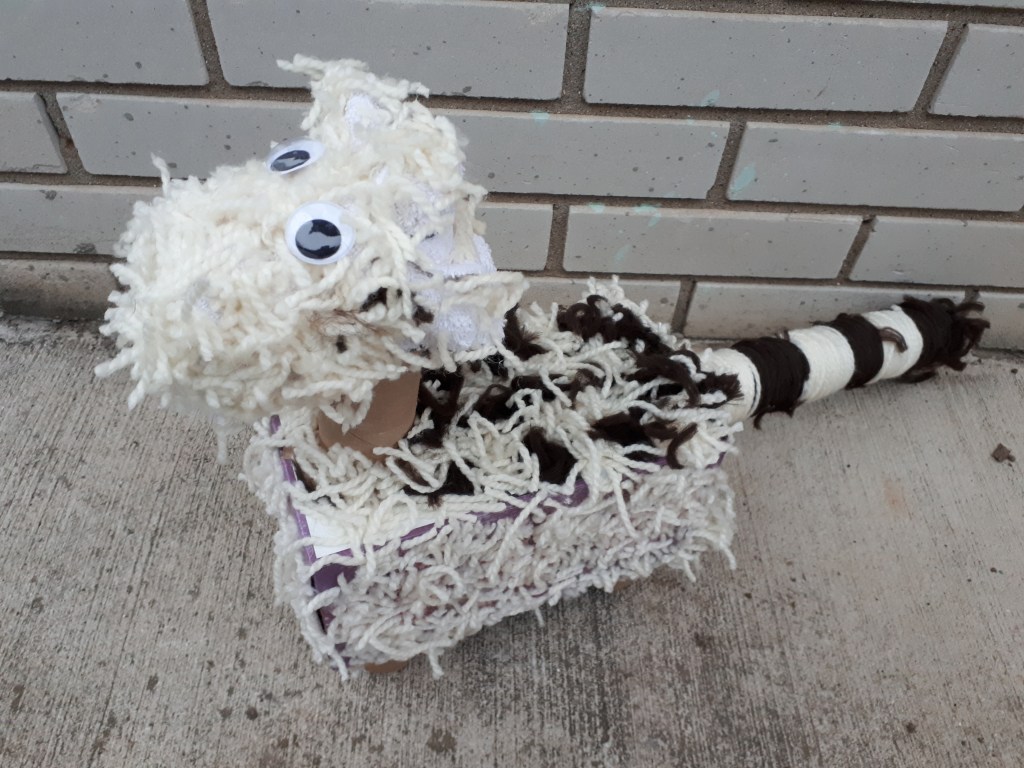
Now place your completed genet in a place of honour in your house! Isn’t it cute? And now go vacuum, too. It’s a good excuse to brush the dust off the vacuum, right? 🤭 Oh, I have a better idea! Get your genet’s owner (a.k.a. your child) to go vacuum. You can say they’re cleaning up after their genet, or cleaning out their genet’s cage. They’ll totally go for it. Now you can go have a cup of tea! Enjoy!