

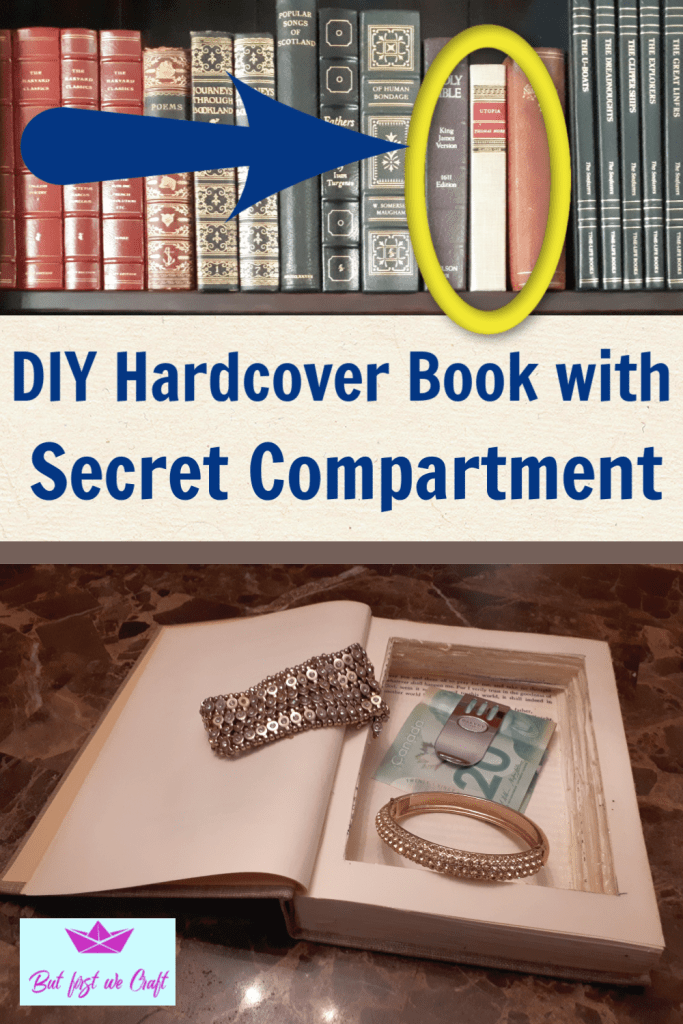
We have two bookshelves in our home that are filled with beautiful old books. I don’t read any of them. Okay, maybe I’ve read half a dozen of them, but my husband is the classic lover in our family. I’m more of a historical fiction and Harry Potter kind of girl (for my Harry Potter Party click here!). We recently got more hardcover books, and there was at least one that was on the shelf already, so I used the duplicate to make a book with a secret compartment! After all, where else would I keep all my jewels and treasure😝? Check it out:
Supplies:
- Hardcover book – see Step 2 for a tip on how to choose!
- Scrap paper and scissors
- Craft Knife
- Thin cutting board
- Plastic wrap or a plastic bag
- Mod Podge and brush
- Something heavy, I used two large hardcover books
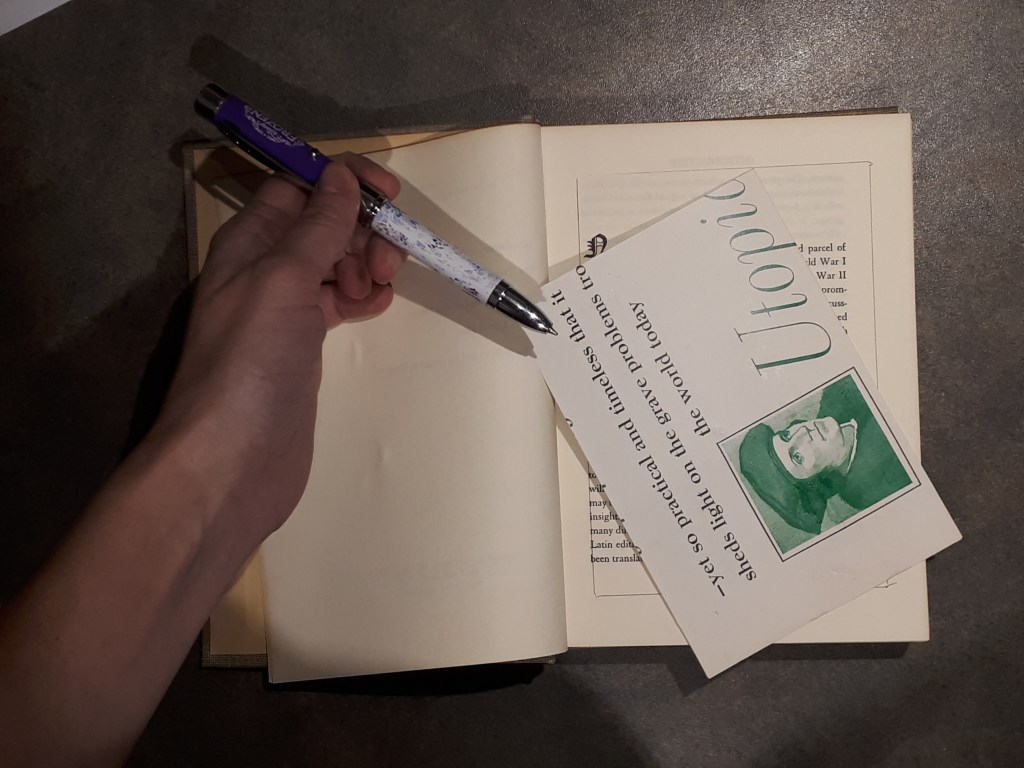
- Figure out how big you want your compartment to be and measure it out. I made a template out of paper so I could better see how it would look when it was done. When you’re happy with your compartment size trace it out onto about page 5 of the book. It will be more convincing if someone happens to pick it up to read it if they can flip the first couple pages before finding the hole.
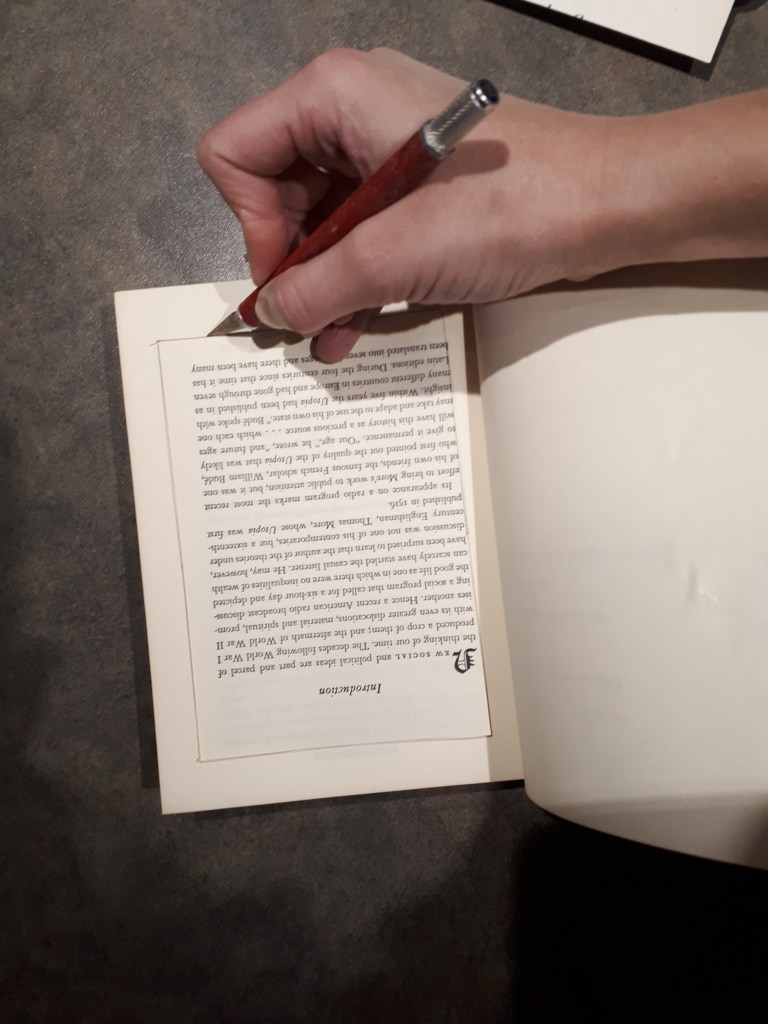
2. Using your craft knife cut along your line. If you want a sleeker look use a metal ruler and cut along it. No matter how you’re making this BE CAREFUL! I totally cut off the front of one of my fingernails while I was making this, thankfully I didn’t get past the nail.
This step is, hands down, the most time consuming part (other than letting it dry). We homeschool, and every day (or mostly every day) the kids listen to a couple chapters of the Bible while colouring a corresponding picture from their My Bible Coloring Book. Sometimes I read it to them, but today I went on Bible Gateway audio Bible and set it to the dramatized version. My kids coloured for ages while I cut, and cut, and cut, and cut, etc. My pointer finger is still sore! So choose your book length wisely! You have been warned!!
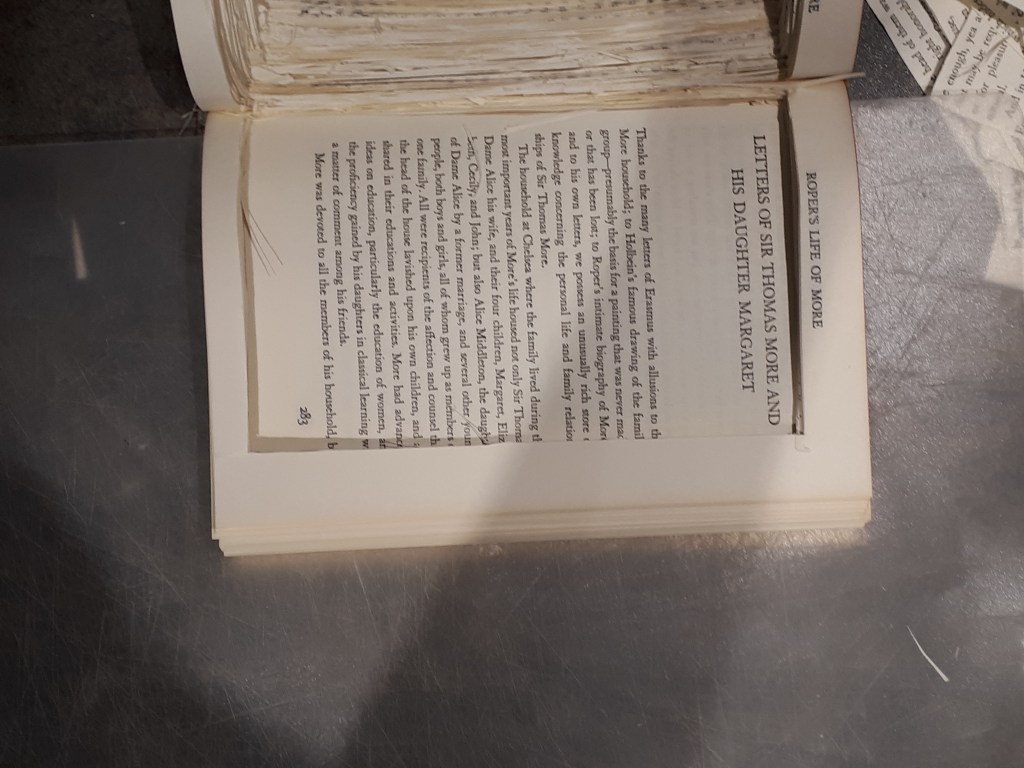
3. I’m getting near to the end of my cutting, so I put a thin cutting board before the end of the book to keep from cutting through. When you’re done (I left about 15 pages before the end) brush out all the paper crumbs, and clean up your edges a bit if you want.
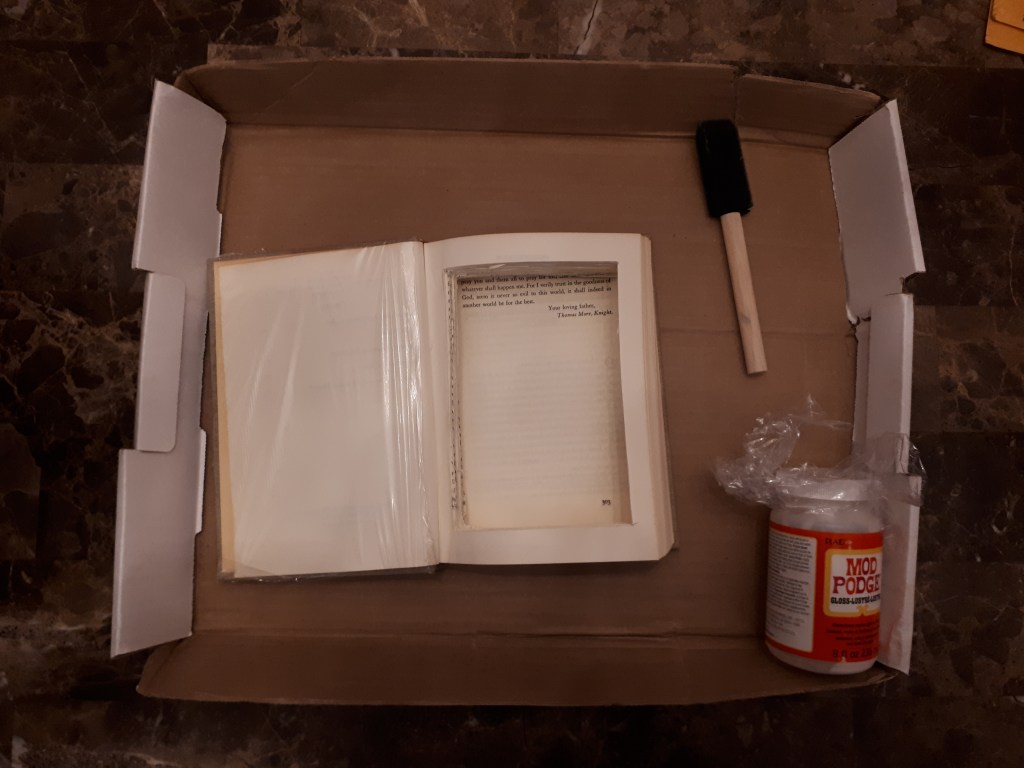
4. Cover the cover in plastic wrap to keep it clean from the Mod Podge then put your book on a surface that you’re not worried about.
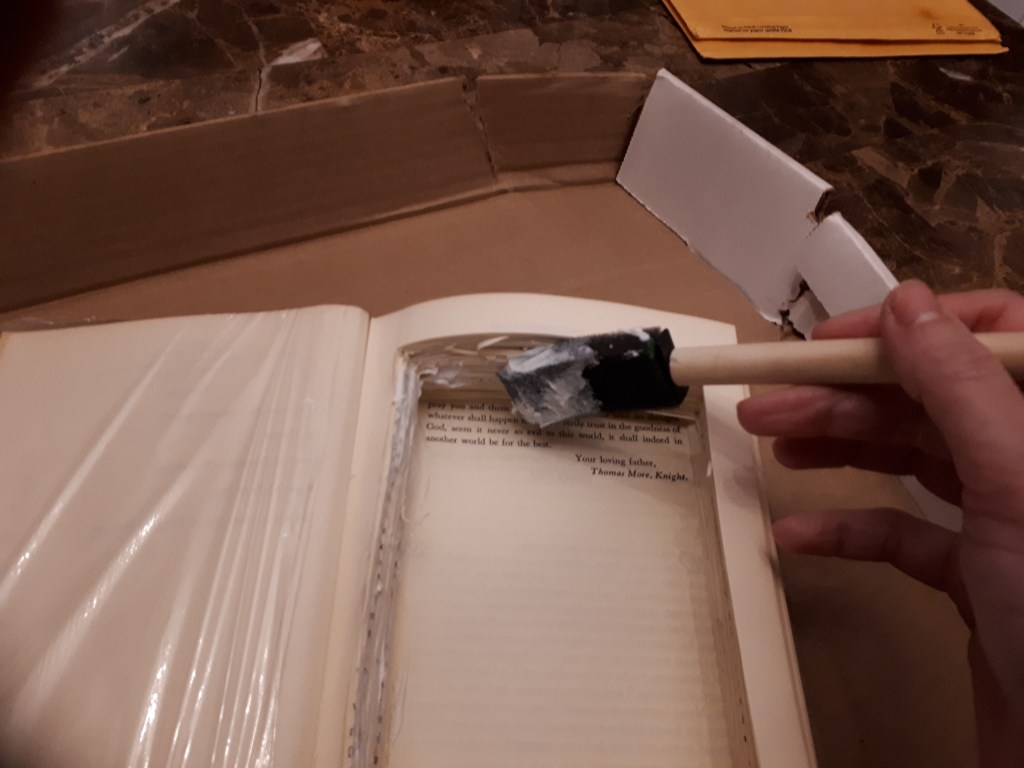
5. Using your brush (you can use a normal paint brush if you want) put Mod Podge around the inside of the hole in your book. Then shut the book tight (make sure it is all lined up) and Mod Podge around the outside edges of your book.
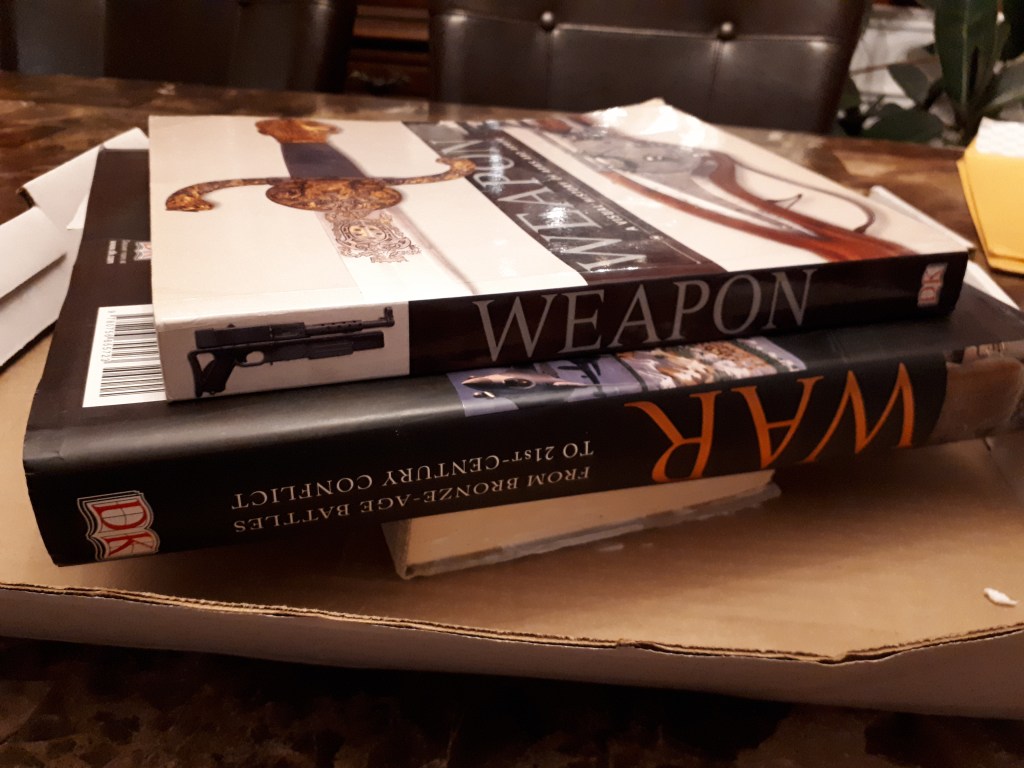
6. Keep the book on your safe surface and place your heavy things on top. Leave it here until it’s dry; I left mine overnight.
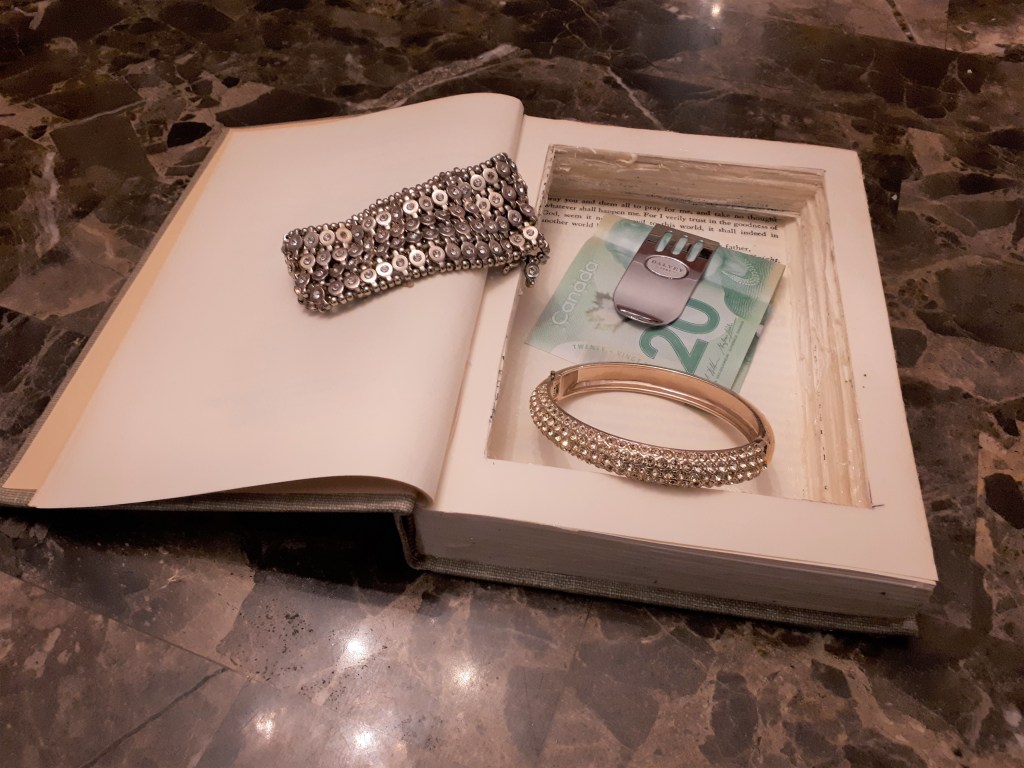
7. Now go hide something in it and stick it on the shelf! (My husband says that the only thing that makes it look like a secret compartment and not a real book, compared to all the other books on the shelf, is that it’s not dusty🤭! Because…But First We Craft!)
Pretty cool, eh? I love these little projects that take very little time but are so interesting! I’m not sure what I’m going to store in this book…obviously I can’t hide any valuables in it now that the internet knows what book it is! Maybe I’ll hide some sort of treasure map in it for whenever my kids think to open it. That would be exciting for them😊. I’ll be sure to include lots of writing so they have to put in some reading effort/practice before they can have a reward. Sounds like a plan! If you want to see another book craft take a look at this No-Sew DIY Hardcover Book Purse!

Wow it’s amazing 😍 I would love to try it out….. Do check out my sites as well 😁
LikeLike
Thanks Aditi!
LikeLike
😄😄💝
LikeLike