I just love a wreath! I love laying it out, and seeing where things fit. I love being creative with what I’m going to include in my wreath. I love that you can use the exact same supplies as somebody else and yet the wreaths somehow turn out completely different. It’s craft magic.
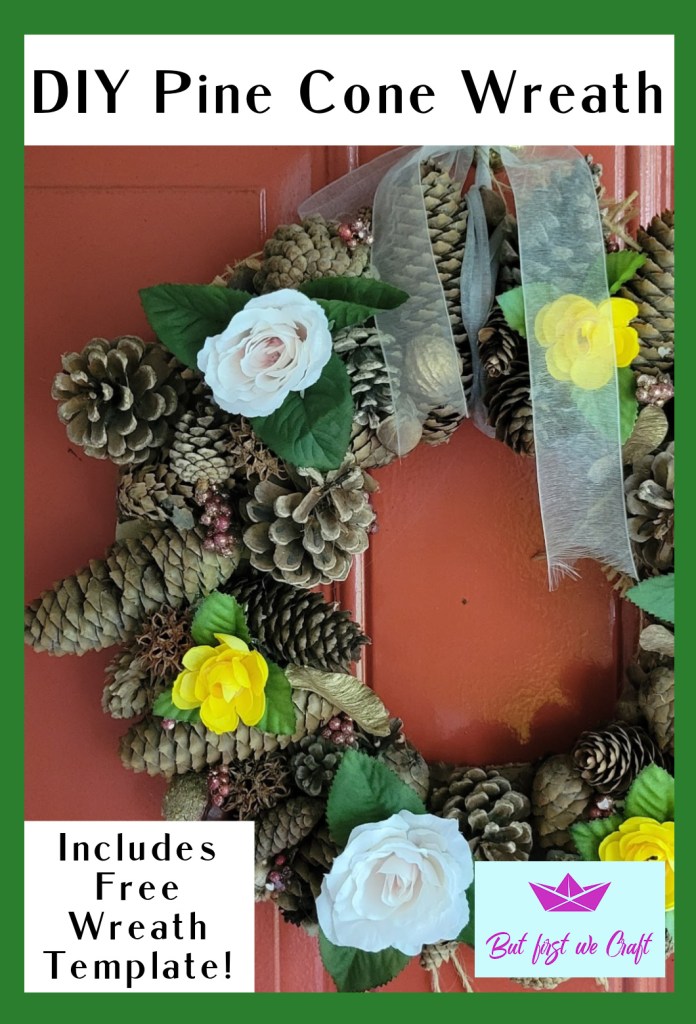
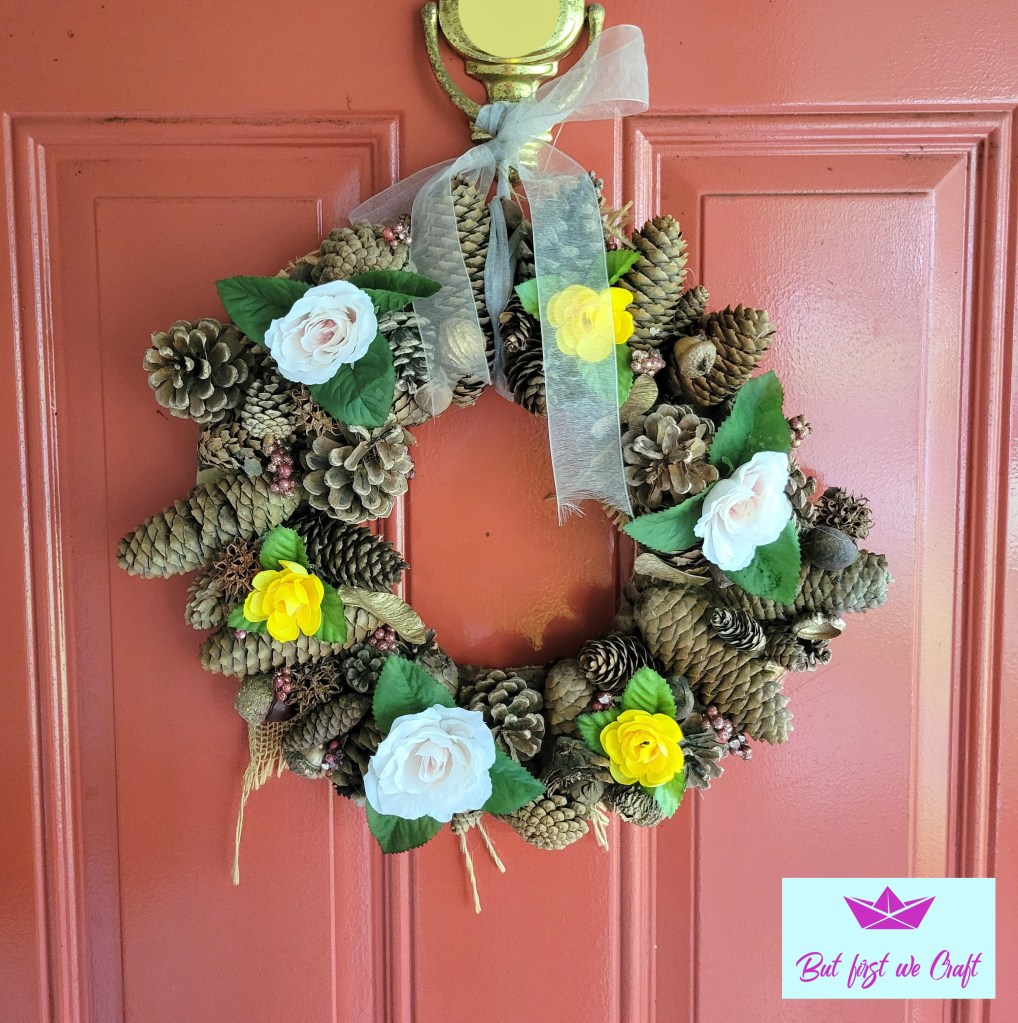
Several years ago I put together this pinecone wreath, and it lasted on my door so long that pieces of it started falling off. I took it to my craft room to repair it, and there it stayed for about a year and a half. And this week I fixed it and (I think) improved it. I added the flowers to give it some colour! Take a look at this video for a close up of the finished project! Then keep reading to learn how easy this pinecone wreath is to make!
Supplies:
- Cardboard
- Burlap
- Decorations from the forest: pine cones, acorns, maple keys, leaves, and anything else you can find!(or you can choose artificial)
- Artificial flowers and berries
- Gold spray paint (optional)
- Glue gun and glue
To see how I gathered my decorations (with my kids) in the forest check out this post. Try decorating for fall, or decorate for Thanksgiving, using all these natural decorations! I made a Thanksgiving Table Display using these exact same items several years ago.
Instructions:
Make Your Wreath Backing
- Cut out the wreath template from your cardboard. I used an old frozen pizza box, and layered it several times.
Maker’s Tip: I made a rookie mistake here and didn’t cover my cardboard with anything, so I had to go back and fill in all the visible cardboard with my burlap. It would be much easier to cover it with burlap in the first place. My burlap had lots of holes in it so my decorations were still glued onto the cardboard. If your burlap is close-knit you’ll have to glue it really well to give it more support. Otherwise your fabric may pull away from the wreath.
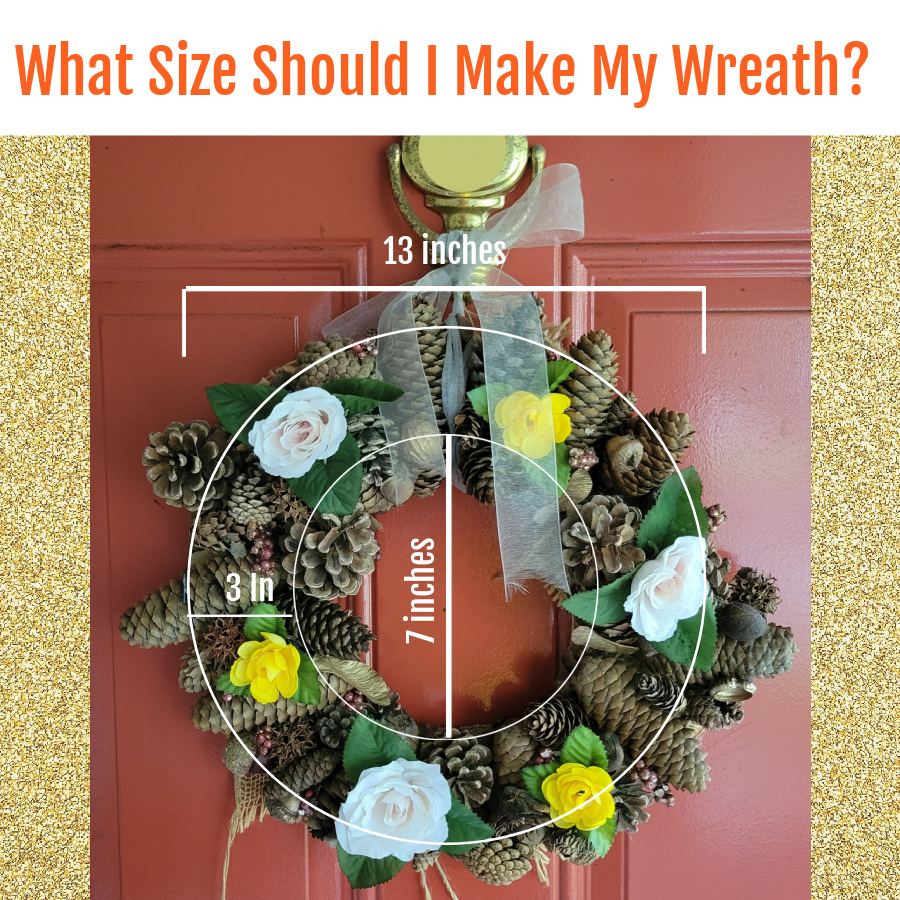
It can be difficult deciding what size wreath you want to make. Here are some tips:
- What space is it for? Hold your tape measure up in the area to be able to visualize the fit
- How heavy is too heavy? Do you know how you’re going to mount your wreath? Or what you’re going to put on it? If your decorations are heavy, then smaller is likely better.
- How many decorations do you have? If the wreath is bigger you’ll need more decorations. The wreath I’m showing you is made of cardboard, so you don’t want that dark underside of crafting showing!
- Would you feel more comfortable tracing a circle? How big is your biggest pot lid? Does that size work?
Here are some other Maker’s Tips for cutting out your template :
- If your cardboard is thin you can probably get away with scissors, but a utility knife works excellently too
- Your template doesn’t need to be perfect. We’ll go over the edges with our decorations, so if it’s lop-sided or rough you won’t be able to tell
- If you chose a flimsy cardboard simply glue strips of cardboard to the back to reinforce it
- Here is a template for how I measured my wreath:
2. Cover your Backing.
This step is semi-optional. If you’re going to fill it completely you don’t really need to cover your wreath first. But if bits of cardboard might show you should just cover it to begin with. I used burlap to fill in the gaps once I was finished, but I regretted not just covering it in the first place.
3. Glue on your Decorations:
Now this is the fun part! This is the optional gold spray paint part. I spray painted about a quarter of my decorations to give it a bit of a special shine. You don’t have to do this, but I think it adds a little something to the wreath . I always lay things out first to get a general idea of what works and what doesn’t. Then I go crazy, glue gunning with such ferocity that the burns are inevitable! What crafting fun!
4. Finishing up your Wreath:
- Look your wreath over and pull off any rogue strands of glue
- Make sure everything is glued securely
- Are there any holes that need to be filled?
- Does the back need to be reinforced?
5. Hang up your Wreath:
I loved using the hooks that just hook on the bricks for my DIY Christmas Wreath. But for this one I just attached ribbon and my husband hung it on the door for me, bless him.
Also, you don’t have to hang a wreath! I made a wreath for my Mum, and she used it as a candle holder:
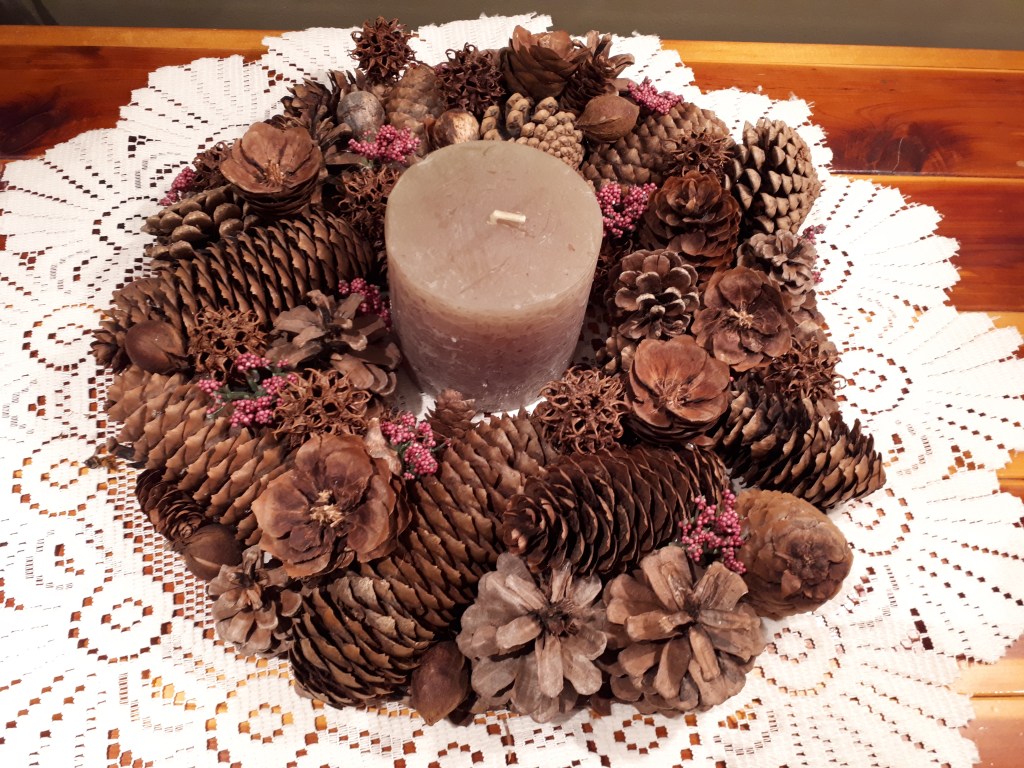
Do you see how I cut some of the pine cones in half to make them look like flowers? So cool, eh? And so pretty!
I hope you enjoy this fall season, and all the inexpensive décor experience it provides. I hope you take time to just go for a walk, and collect the beautiful things you see!