
This week is the one year anniversary of the completion of a small home reno project that my husband and I tackled last year. I’m pretty sure two-thirds of the way through my husband was feeling a very weighty regret at ever undertaking the project (it took FOREVER!!!) but now, we love it so much, and are so glad that we did our DIY stairway remodel!
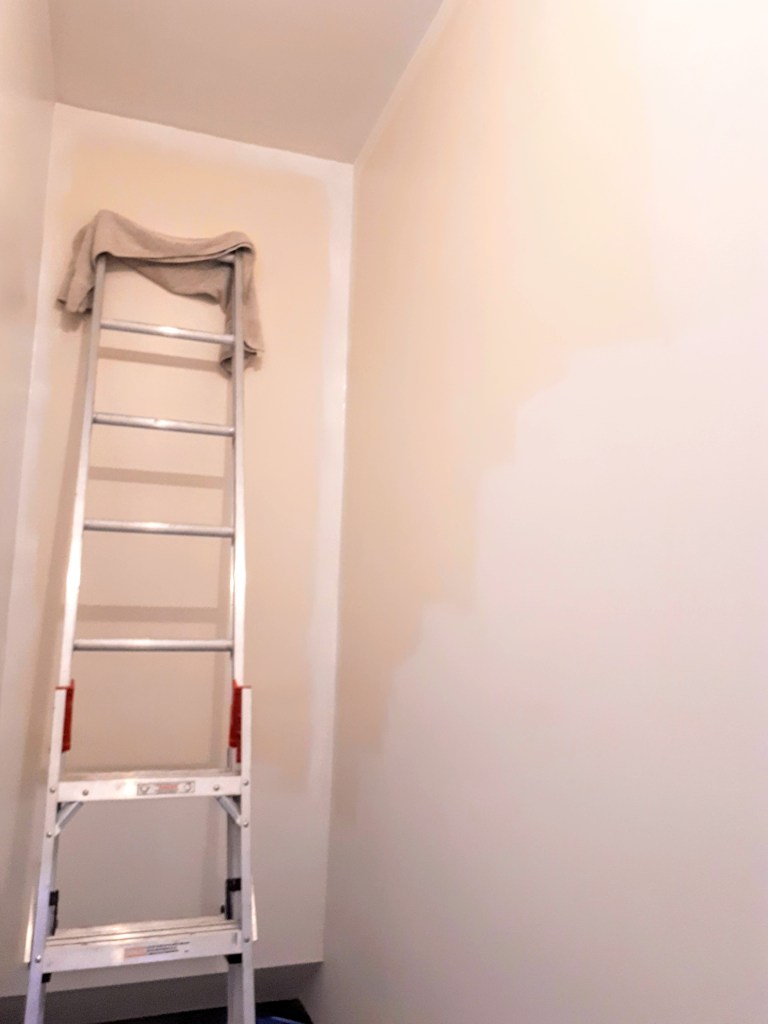
The main floor of our house is all finished and lovely, but the basement is completely unfinished, including the stairway to the basement. I always hated looking through the doorway to the landing and seeing the disgusting walls and horrible dingy paint colour; it looked like it might have been white in 1960, but also may have been intentionally taupe, and it was all shiny like that sick oil paint…and chipped. So chipped.
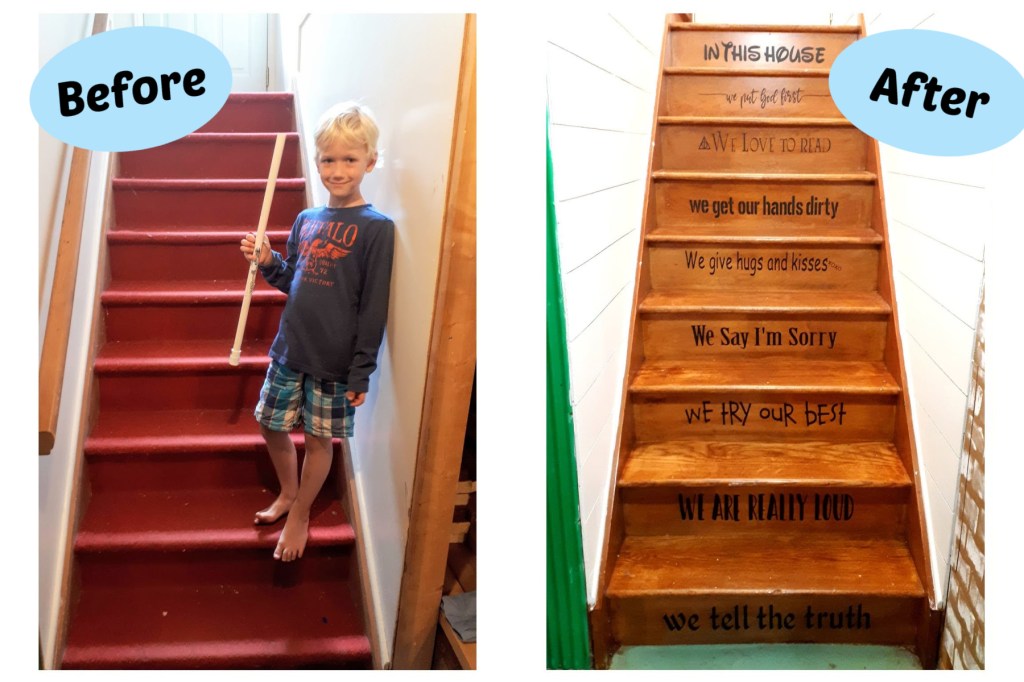
But I’m getting ahead of myself. The project really started in the autumn of 2017 when my son and I ripped up the red carpet from the stairs. The underlayer was by then a thin layer of dust, and there were mouse droppings under it. Disgusting. Just taking off the carpet and revealing the lovely wooden stairs was a huge improvement. And that’s the way it stayed for years.

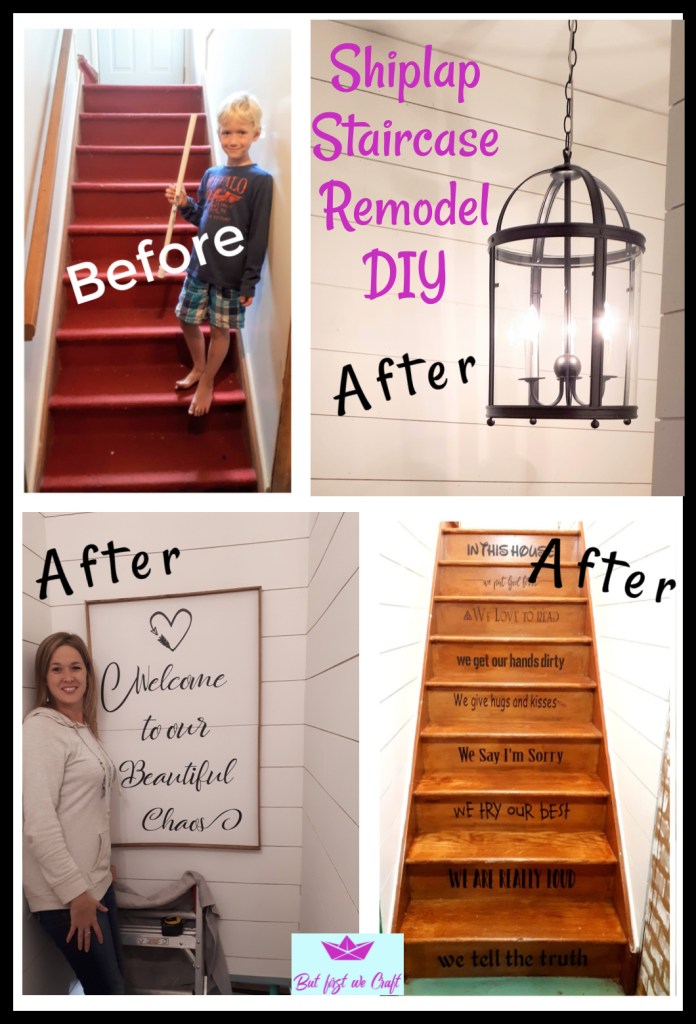
Fast-forward to late summer of 2020. My friend came over and was telling me about how she wanted to shiplap her walls. Friends, I didn’t even know what shiplap was. When she showed me, I thought: 💡 we should do that on the walls of the stairway. So I told my husband about it, told him it was going to be a ridiculous amount of work, and that I was incapable of doing it all myself. He thought about it for a while, and agreed that we could do it.
I measured my walls and went to the paint store and got all.the.paint. After patching all the holes (and one gigantic crack that ran the length of the stairs) I applied the primer, followed by a coat of white. Two coats was recommended, but I was only doing this step so the dirty-dingy-taupe wouldn’t show between the cracks of the shiplap. And one coat of primer and one coat of paint worked out perfectly well in the end.
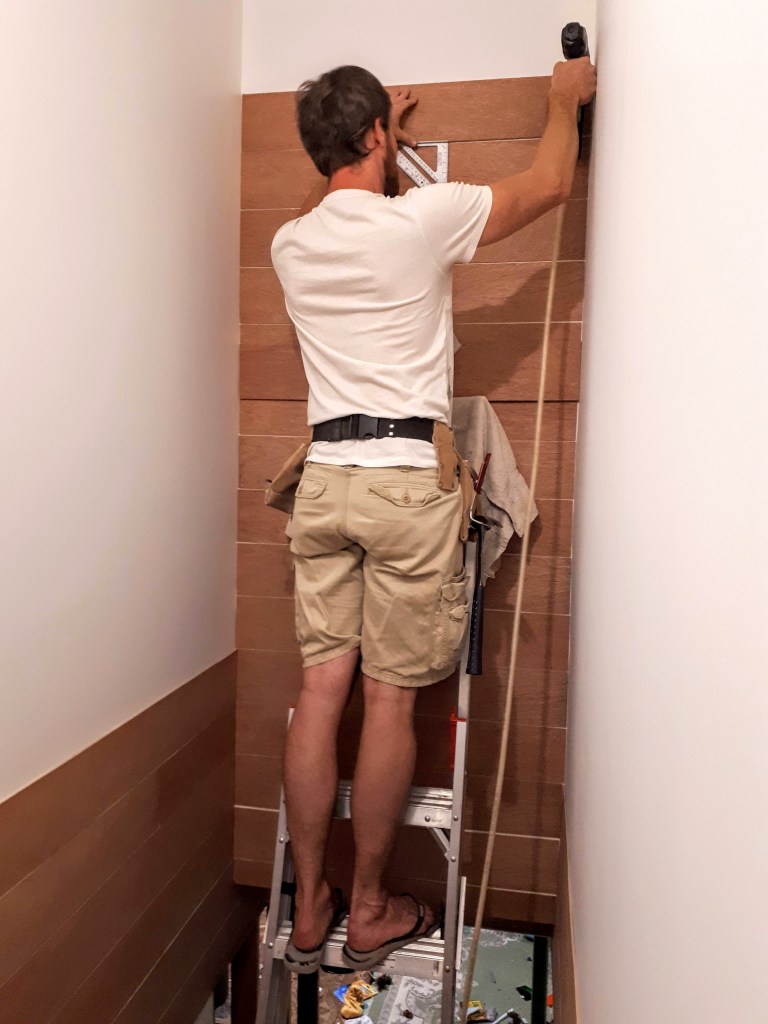
I also went to Lowe’s with my kids and got all.the.wood. They cut the 4 x 8 foot pre-sanded wood into 6 inch strips along the 8 foot side. We decided not to do real shiplap but, instead, to cut strips of wood and use the brad nailer to attach them to the wall. We separated them the distance of a nickel and a speed square to give the illusion of shiplap. And when I say we in the second half of this paragraph I mean my husband did, with my emotional and, very rarely, physical support.
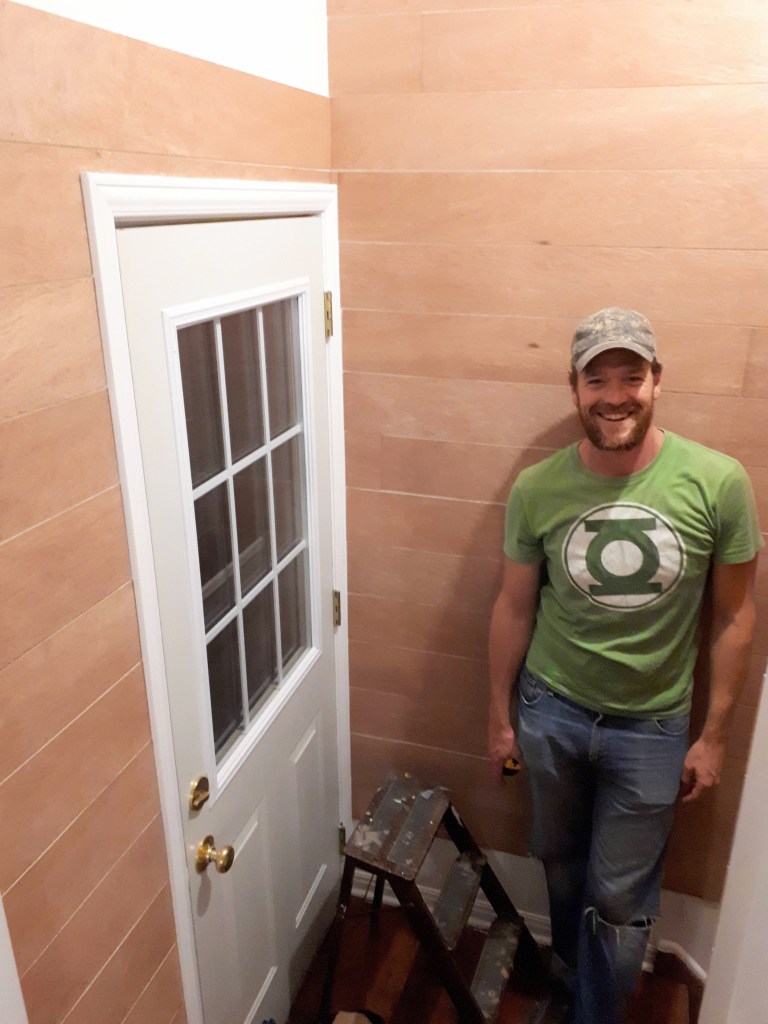
Getting the shiplap onto the walls was quite a tricky job because the lovely young man at Rona didn’t do a very precise job of cutting the wood, so they were all different widths. It was like a puzzle trying to make the boards line up around the room.
My husband hates when I put his picture up on my blog, so enjoy it while you can…not like he reads my blog 🙄.
Once it was all up I was back on the ladder to paint once more. This time I did one coat of primer and two coats of paint. There was one section at the top that I couldn’t reach, so I got Mr. Tall a.k.a. Long-Arms a.k.a. my husband to paint it.
I wanted a nice lantern-like light to hang from there, but I really didn’t want to pay that much for it…lights are horrifically expensive! So I kept my eye on Facebook Marketplace and thrift stores for a while and it paid off! I found one for an amazingly reasonable price, AND it was exactly what I was looking for. Here’s the amusing anecdote of the pick-up:
On the day I was going to pick up the light fixture I left my kids with my husband and went by myself. The light owner was only about 10 minutes from my house. It was a gorgeous day, and the lady I was meeting was late, so I just sat in the sun on her front lawn to wait for her. I messaged her several times and she wasn’t answering, but I was out of my house, without the kids, in the sunshine, so I was quite at my leisure. Finally the lady texted, and said that she completely forgot and would be home in ten minutes. I told her not to rush, I was completely fine – especially since I now knew she was on her way.
Well, this lovely lady showed up, and was she ever flustered! She was apologizing and rushing around explaining what had happened. I tried to calm her to tell her it didn’t matter, she was here now, I’m not annoyed…but she was completely wound up. Then she said, “As I was laying in bed last night I realized that the light has been in the garage for years and I didn’t even check to make sure it wasn’t broken. I’m just going to do that now, check that it’s not broken.”
She proceeded to open up the box and unwrap the four sheets of glass. The first one she pulled out fell from the package onto the concrete garage floor, and shattered. It was shocking, especially when she was already so stressed out I think it was the proverbial straw. I couldn’t help it. I burst out laughing. She felt sick at what she’d just done, and so embarrassed. And I couldn’t stop laughing. She said, almost whispering, “Just take it. I can’t believe I just did that. Just pay me whatever you want. You probably don’t even want it now. I can’t believe I just did that” over and over at random. I still took the light, and just took five dollars off. I felt really bad for her. But even as I think of this story, more than a year later, I’m laughing.
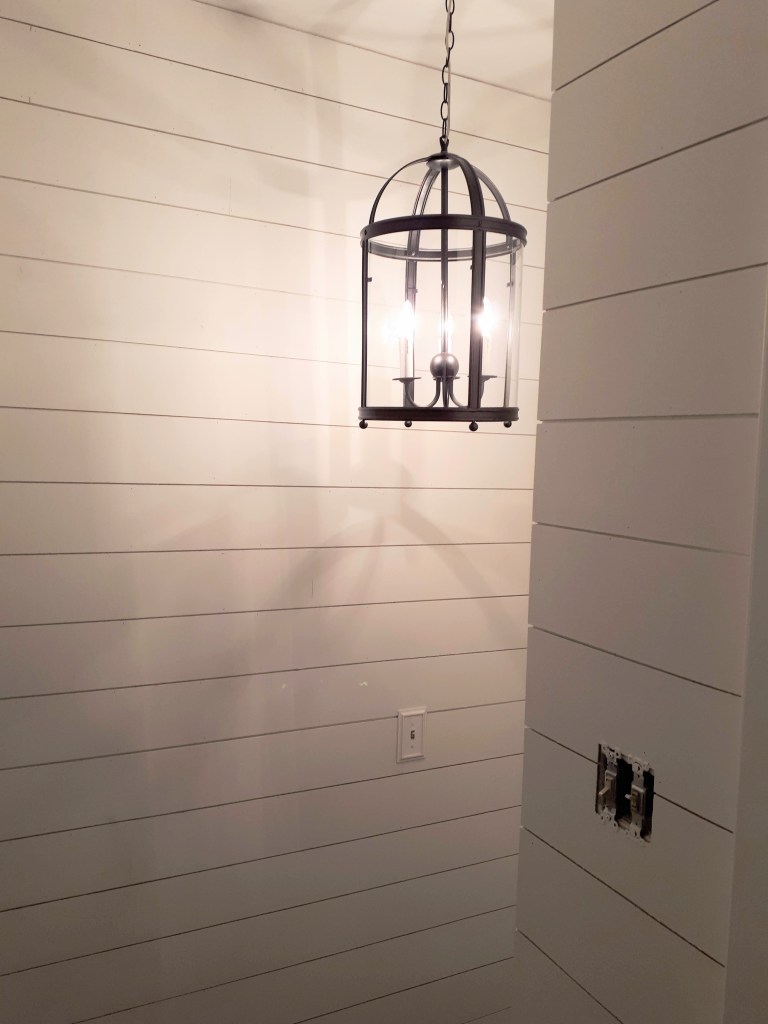
Can you tell that there’s one pane of glass missing?
I made a sign for the the wall that says, “Welcome to our Beautiful Chaos.” I made it from two huge canvases from Dollarama and adhesive vinyl then framed it with spacers from our fence board delivery. I designed and cut out the vinyl with my Cricut. The canvas was really hard to work with, and I almost gave up, but I kept thinking about how much more it would have cost to buy the canvas somewhere like Michaels. And it’s been up and lovely for more than a year now.

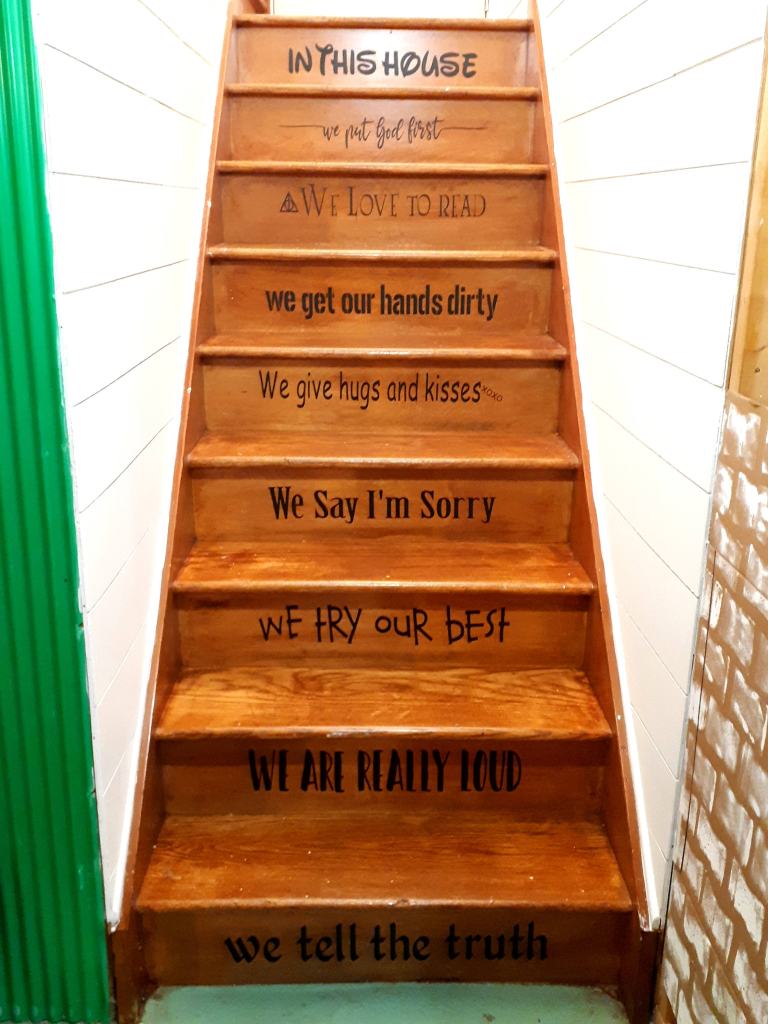
I got new light switch covers from the hardware store, stained the wooden stairs and railing, and with my Cricut I designed and cut out these decals for the stairs.
I absolutely love the finished project. It was so much work, but it has really breathed new life into the space.

Great job! I shipplapped our bathroom and in the process, saw many a blog post saying that using ripped plywood turned out to be a lot more work than they thought. Good for you for sticking at it (or keeping your hubby at it😋)
And now I’ve discovered that you have even more talents than just being an amazing choir director. 🧡
LikeLike
Haha! Thanks, Ange!! For all the compliments!😊
LikeLike
Gorgeous and so meaningful!
LikeLike
Thank you, Marina! 🥰
LikeLike
What a difference all that work made! It’s beautiful!!! I love the walls and the stairs equally!!
LikeLike
Thank you so much! I agree, such a difference! It’s so refreshing!
LikeLike
it looks just as lovely in person 🙂
LikeLike
Thank you, Bonnie!!😄
LikeLike
it looks just as lovely in person 🙂
LikeLike
Thank you!!
LikeLike
Love this amazing DIY project! And this post. And you!
LikeLike
Haha! Thank you! Thank you! Thank you! 😊
LikeLike