
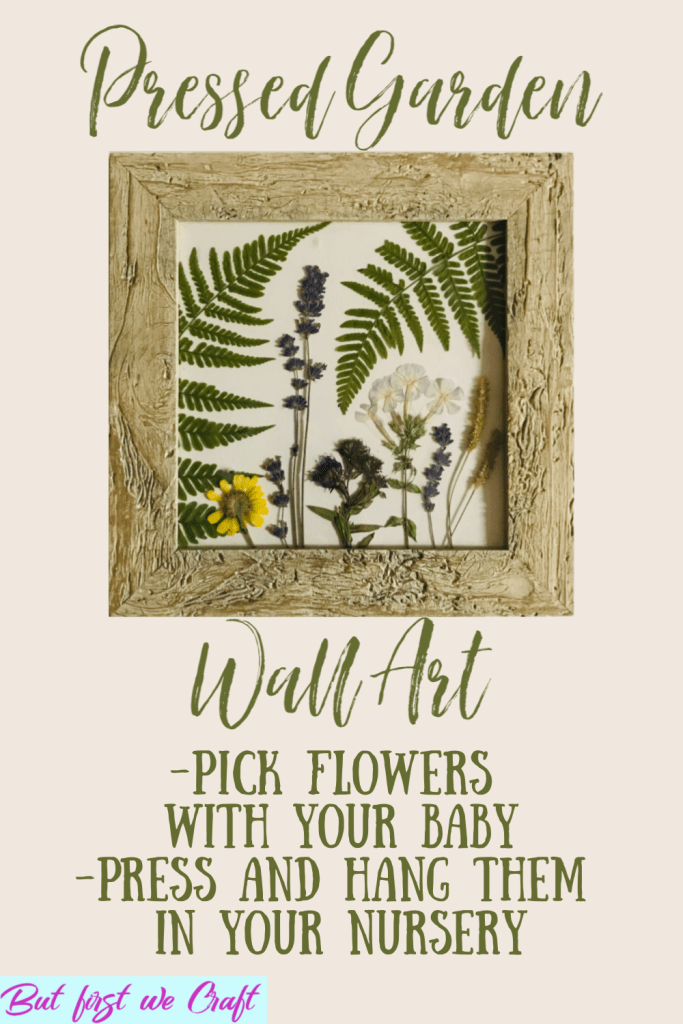
My fifth niece was born to my sister in September. My sister had this amazing idea that she’s going to share with you today. If you’re big on going for walks and enjoying nature, this is the craft for you! She made it for her baby, but you can make one for when you get engaged, get married, or any other hallmark milestone in your life. This is such a beautiful idea that I can’t wait for her to get started! Here she is:
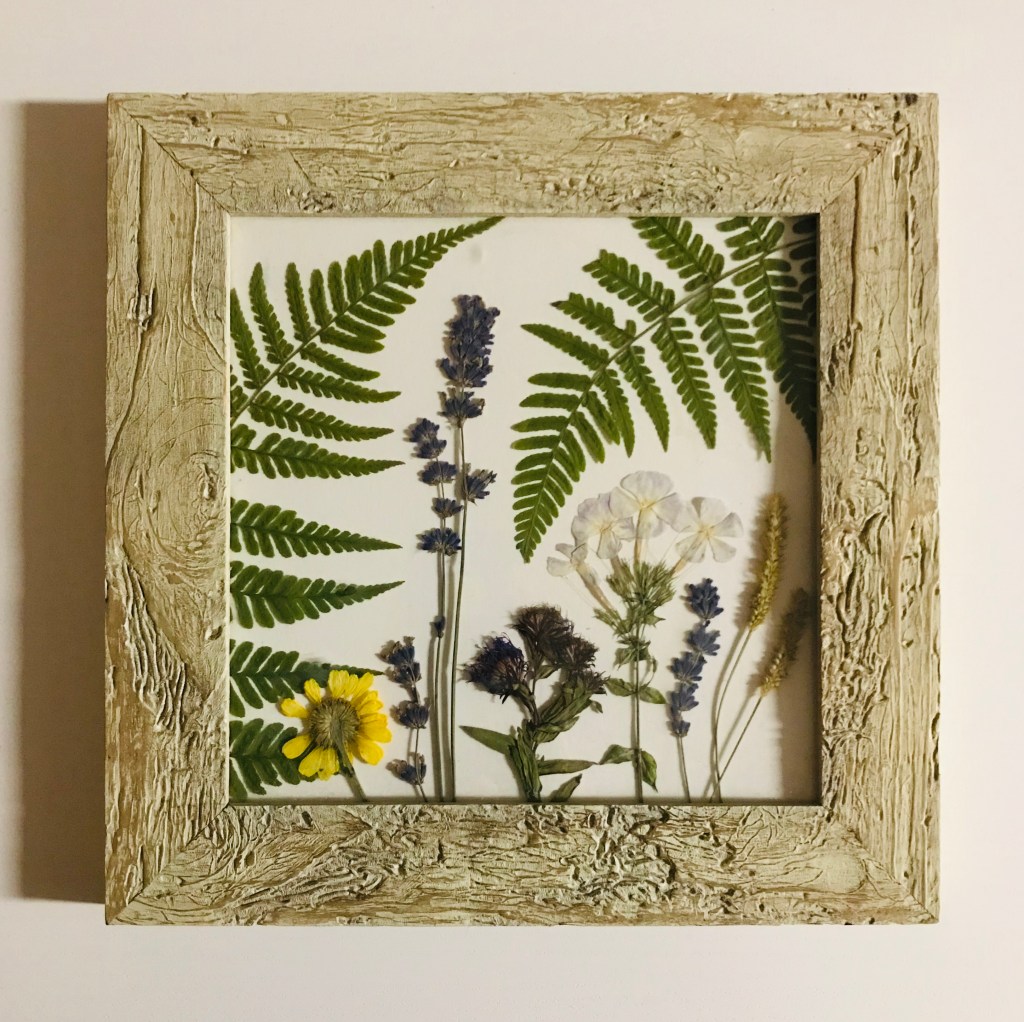
I began my Pressed Garden when my daughter was a few weeks old. This is a great project….even if you’re busy…because the first step is to get outside and go for a walk. Step two is to press what you pick. That’s it. The rest of the project can wait until you’re less busy, the weather is crumby and you want something to occupy you inside on a rainy afternoon, in 5 years when you have an evening free…you get the idea. My little girl took a record long nap one afternoon and I was able to complete her Pressed Garden. It is now hanging in her room and is a nice reminder of all the flowers that were in bloom, and the walks we went on together, the month she was born.
What You’ll Need:
- A bag to carry the flowers and plants that you find
- Several large and heavy books in which to press your flowers
- Wax paper
- A picture frame
- Paper – or matting
- A glue gun, white glue, or crazy glue
Steps:
Step 1: Enjoy going for a walk
Tip: Bring something in which to carry the flowers, plants, and foliage that you find along your way.
Step 2: Pick plants and flowers that catch your eye, that have interesting textures and shapes, and are in a variety of colours – plants press differently than you may expect. Choose plants that are either on your property or along a trail….or get to know your neighbours and ask for permission before you pick!
Tip: Pick more than you think you’ll need; you’ll be surprised what will and will not work!

Step 3: Place your plants between a sheet of wax paper and put them in the last few pages of a heavy book. Stack the book somewhere out of the way and place a few more books on top for good measure.
Tip: Think about how you want your plants to be seen. This is when you have the opportunity to place your plants in the shape you want them to be. For example, if you want to see the face of a flower be sure to press it so the whole face is pressed down.
Step 4: Wait. Wait at least a week for your flowers to be pressed.
Tip: This is the bonus of this project. If you have the time to create your Pressed Garden in a week’s time great! I had just had my baby girl and so did not have the time until a few months later. You could even wait years to complete your Pressed Garden!
Step 5: Get your matting, or paper, that you will use for the background of your Pressed Garden and layout your flowers and plants in an aesthetically pleasing way. Do not glue anything yet!

Tip: I would argue that this is one of the most important steps. Take your time. I took photos of a few different ideas I had so I could go back to them and choose which layout I preferred.
Bonus Tip: Use a high contrast backing so your flowers really pop off the page.
Step 6: Once you’ve completed your layout it’s time to glue! Keep the photo you took of your preferred layout handy in case anything shifts or moves.
Tip: I used a glue gun for the heavier flowers. The more delicate plants will stay in place with either crazy glue or white glue…whatever you have on hand. Do not use a glue stick as this could tear your flowers.
Step 7: Trim the stems and petals that hang over the edge of your matting or paper – and frame!
Tip: Wait until your glue is completely dry before framing your Pressed Garden or it will smudge on the glass.
Step 8: Hang and enjoy!
I just love crafts like this that are not only beautiful, but also have a deeper meaning behind them. This will be such a lovely reminder of your early days together! Thank you for sharing your idea with us!

This is such a great idea!!!
LikeLike
Isn’t it? I’ll pass on your comment to my sister!
LikeLike