
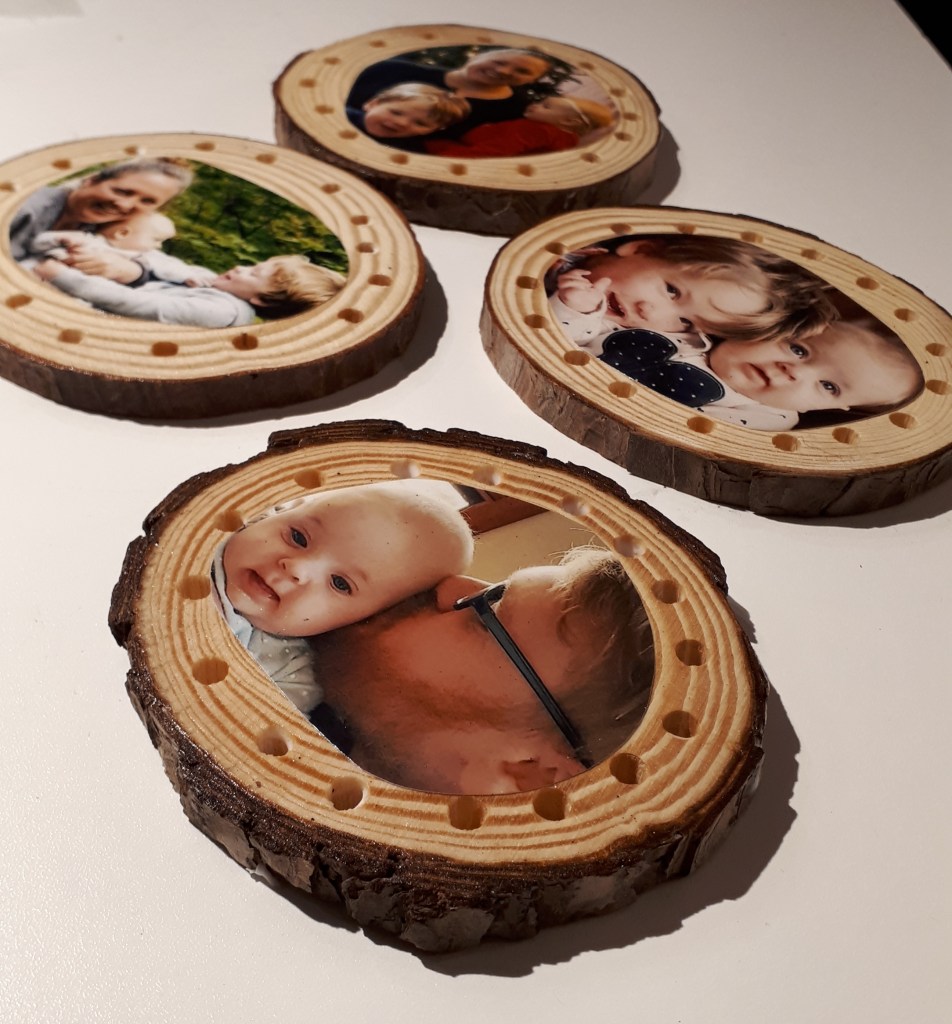
I love personalized gifts. I especially love it when personalized gifts have an actual purpose, not just another decoration to lay around a shelf, or hang on a wall. That’s what’s so lovely about these DIY Fine Motor Skill Toys. This delightful personalized gift helps children work on their fine motor skills while they look at pictures of themselves, or people who love them. I made these for my little niece’s first birthday. **Disclaimer: These are not necessarily baby proof. Use caution when giving them to a small child, and do not leave said child unattended with this toy.** The nice thing about the recipient of my gift is that her older brother, my nephew, is 3, so they’re safe for him to use, though still not unattended…kids and string, am I right?
Supplies:

- Wooden cookies
- Shoe laces (preferably one per wooden cookie)
- Photographs (in the end you’ll need one per cookie, but print more than that just in case you make a mistake, or the picture you want doesn’t fit. I printed five pictures, and one was definitely way too big, and unusable)
- Mod Podge
- Sponge or brush to apply the Mod Podge
- Juice glasses, or something on which to dry the Mod Podge
- Drill press or drill
Instructions:
- Drill the holes in the wooden cookie. I was very fortunate to have my lovely brother do it for me with his drill press, but if you don’t have access to a drill press you can use a drill to make the holes. Just put the cookie in a vice or on a piece of scrap wood and drill through it. Before drilling double check that the hole your drill bit will leave is big enough for your shoe lace to fit through.
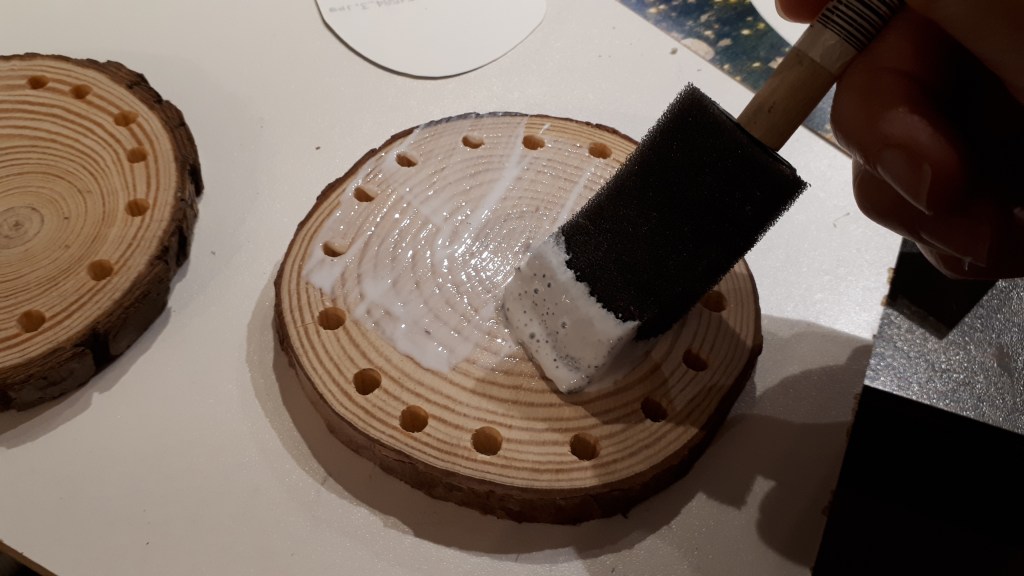
2. After cutting the photograph to fit in the space, Mod Podge the wooden cookie. This will help the picture stick to the wood slice. You can Mod Podge right over the holes. To prevent the holes from getting clogged, just blow through them when you’re done brushing.

3. While the Mod Podge is still wet place the picture on the wood slice and Mod Podge over top with a sponge or paint brush. Allow to dry for several hours. Even after it’s dry to the touch, the Mod Podge will be impressionable. I left mine for two hours before doing the other side, and even then I was really gentle with them.
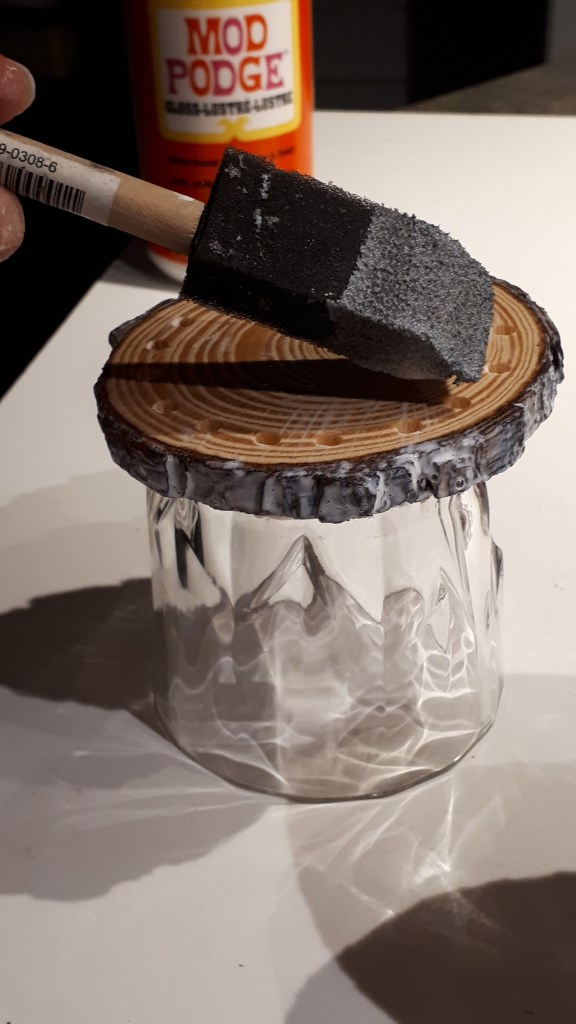
4. Flip over the wooden cookies and Mod Podge the sides and the back. To prevent the Mod Podge on the sides from sticking to the table surface, place the slice on a cup, or something similar. A toilet paper roll would work well. Allow the Mod Podge to dry again.

5. Tie a double knot in one end of the shoelace – or as many knots as you need to prevent the end of the shoe lace from slipping through the hole.
Sadly, I have not yet been able to deliver this gift. We’ve had to cancel two get-togethers with this beautiful family because of coronavirus, so I have no idea when I’ll be able to get it to them. Hopefully very soon – we miss you and love you very much!

