
Halloween is this weekend! WooHoo! While this year may look very different out there on the street, we’re still going to give Trick-or-Treating a go. We always give the kids some reusable shopping bags for their candy, but this year we’re going to DIY our own Halloween Bags. The idea is to reuse some of the Costco coffee cans we have lying around. Upcycle, if you will. So here goes…
Supplies:

- Empty container
- Hammer and thick nail
- Mod Podge
- String (we used paracord)
- Black and orange construction paper
- Scissors (not pictured)
- Paper plate (or something similar) for your Mod Podge
Instructions:
- Rip up your construction paper into manageable pieces. I like to rip the straight edges off so they look ragged like the rest. I made my pieces mostly about 4 inches wide and about 2 inches high, but they’re all different. I didn’t want to make them so small that we have to stick on a thousand of them, but I don’t want them to be so big that they’re unwieldy. Around the handle of the container was a particularly difficult place to work, so we made our pieces tiny there. That way they’d conform more easily to the contours of the receptacle.
- Put a puddle of Mod Podge on your paper plate, dip in the construction paper (getting both sides wet) and wipe it off between your fingers. Stick the paper onto your container.
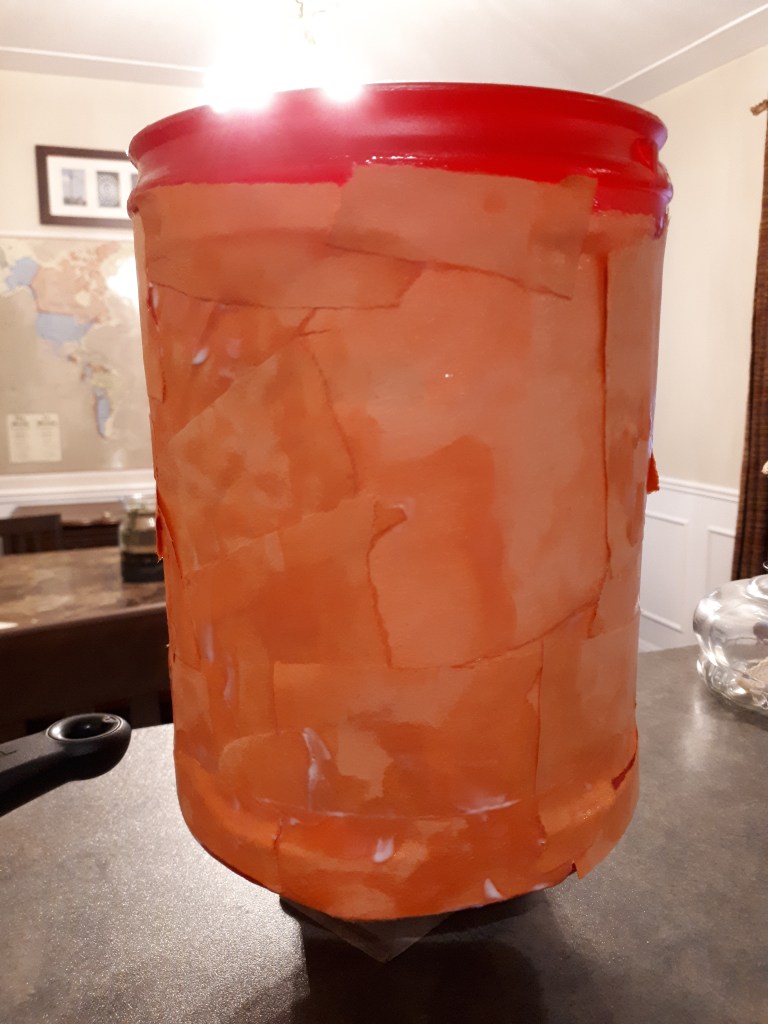
3. Continue doing this, overlapping at random, until the sides of the container is covered. You should wrap the edges at the top over the rim, or trim them with scissors so it’s even with the rim. Also make sure it goes around the edges of the bottom, but you don’t have to cover the entire bottom, just the edges. (Of course, my kids didn’t want to do this, so there’s a bit of red around the rim. The orange and red is rather hard on the eyes, but the kids don’t even notice it. And who’s the craft for? The children! Is it perfect? NO! Should it be? NO!!)
4. Using your black construction paper, cut out various shapes to make a face. (We did this step at the very end, so do this whenever it seems easier and more practical for you)
5. Once again use your Mod Podge to stick on the face (or normal glue if you do it at the end). Allow the whole thing to dry. You may want to set it on something, like a glass, so the Mod Podge edges aren’t touching any surface.

6. Lay the DIY Halloween Bag on its side and hammer a nail through the side (put wood underneath it so the nail can go through into something destroyable). Flip the container over to repeat this step.

7. Thread your rope/string/paracord through the holes and tie knots to make a handle. Give it to your little person…or, in my case this year, your Karate kid, Wonder Woman and Fairy Princess!
Trick-or-Treat!! You may think that these DIY Halloween bags are a little small for all the trick-or-treating you’ve got planned, so here’s another little tip: have an adult carry a backpack, and whenever the upcycled Halloween bags get too full or heavy for those tired little arms, just dump it into the backpack. We always sort the candy before giving it to the children anyway (on account of we take 2/3 of it!🙌), so it’s also an easy way to get your hands on the goods. May the odds be ever in your favour. Happy Halloween!


One thought on “DIY Halloween Pumpkin Bag”