
When he was little my husband started a stuffed animal collection. This isn’t any ordinary stuffed animal collection. Oh, no. This is an ostrich, rhino, long horned cattle, snow leopard and more. Much more. They are very cool, so I don’t want to get rid of them BUT the problem is that they are everywhere. All. The. Time. Solution: mount them. That way they are on display, but they are more difficult to throw around the house. You remember those bamboo shoots we used to make the lasers from the Ninja Party? Well, it was time for those to be re-purposed. I used cargo netting from our old car too. Take a look and see how it turned out!
Supplies for Bottom Net:
- Unfinished basement (or something to staple the netting to)
- Cargo netting in a single layer (you’ll need a seam ripper if yours is a bag like mine)
- Staple Gun
- More stuffed animals than you know what to do with
Instructions:

- Disassemble (if necessary) the cargo netting so it is in a single layer.
- Measure net to see how stretched you want your it to be between your 2 x 4s. Remember that you’ll want to stuff it with stuffies, so make sure there’s room for them!

- Staple gun the bottom corners, then find the middle of the netting and staple it to the middle 2×4.
- Find the middle of those two sides and staple them to the halfway point of those sections. Keep doing this until your whole bottom section is stapled on.

- Stretch the netting as high as it will go and staple on. Make sure both sides are level.
- Using the same halfway method staple the rest of the net on.
- Stuff!
Supplies for Poles:
- Bamboo shoots
- Nails
- Hammer
Instructions:
- Figure out how high you want the shoots to be. *Note: My shoots were not straight. You will have to eye it to make sure it looks level.
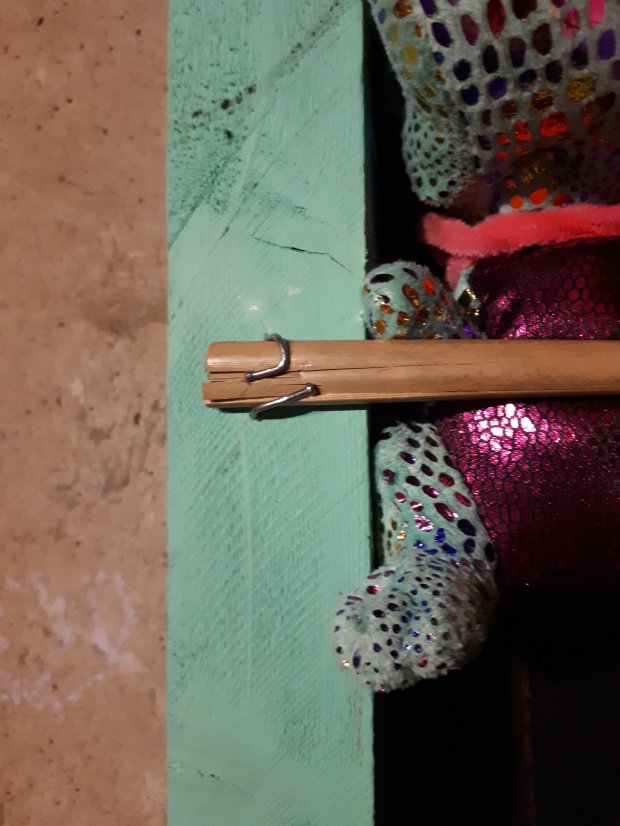
- Nail on one end. Now this might not be the best way to do it, but man did it work! I’m no carpenter, so I hammered a nail above and below the shoot, about halfway in. Then I hit them on the side so that they curled around the shoot. This held them in place very well. Nail both ends in like this and then the middle.
- Hang up as many as you want.
- Stuff thin stuffed animals through the bars.

To complete the look of the Zoo I made a sign that said, “ZOO.” I cut the adhesive vinyl letters with my Cricut, and put it on some thin wood that I had painted white. Then I hammered in a self-leveling hook. It turned out so well. And no more animals all over the house!!

