
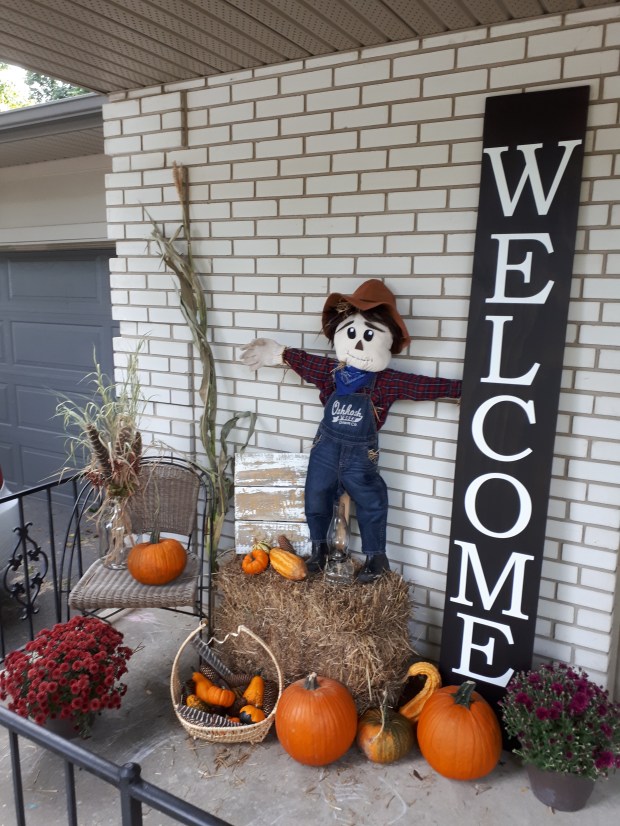
Well, it’s fall! I’ve been anticipating making a porch display for weeks! I had gotten it all set when my son asked if we could make a scarecrow. We watched a couple YouTube videos and saw that it was actually very straightforward. My parents were coming for a visit last Saturday, and my Mum said she wanted to bring a craft for the kids to do. I told her about my son’s desire to make a scarecrow, so she came with most of what we needed! With the help of little kids it took about an hour, but if you’re doing this on your own it won’t take that long! And it looks so adorable!
Supplies:
- One 8-foot long piece of 1 x 4, cut in two. Measure the length of your shirt from wrist to wrist, leave a little space for the gloves, and that’s how long your crosspiece of your scarecrow should be.
- Clothes: We used size 4 boys clothes. Shirt, overalls, bandana, work gloves, wig (optional- can also make hair out of straw), hat and boots.
- Old white or cream pillowcase (or shirt) for the scarecrow’s head.
- Straw to stuff in the edges.
- Stuffing for the head. We used cotton batting.
- Stuffing for the body. We used cardboard, an old garment bag, egg cartons, etc. You could use straw, crumpled magazines or newspapers, garbage bags, shopping bags. It really doesn’t matter.
- Hammer and 3 nails.
- Felt for the face.
- Glue gun and glue.
- Needle and black thread to make the scarecrow’s mouth (optional).
Instructions:
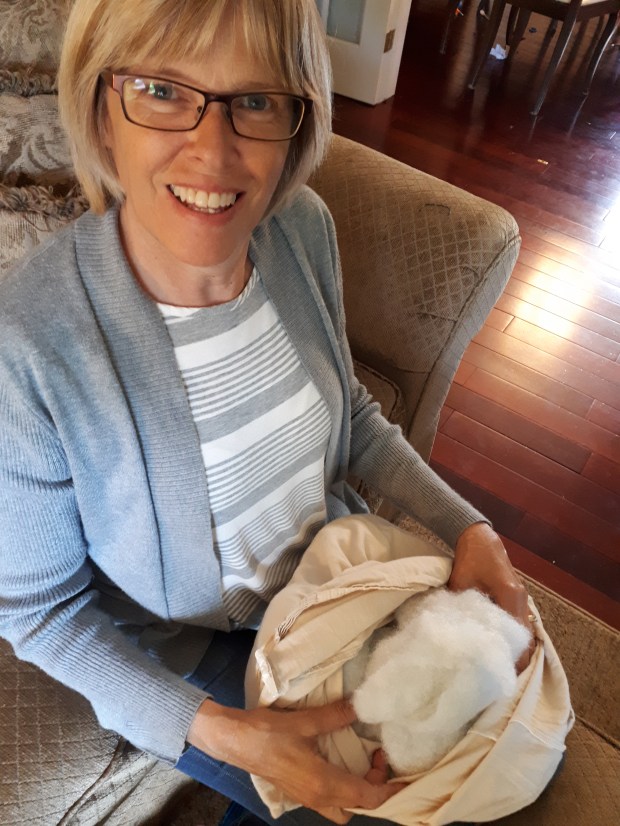
- Make the scarecrow’s head. Get your pillow case and stuff it with cotton batting, about the top third, but not the corners. Make sure your hat fits it.
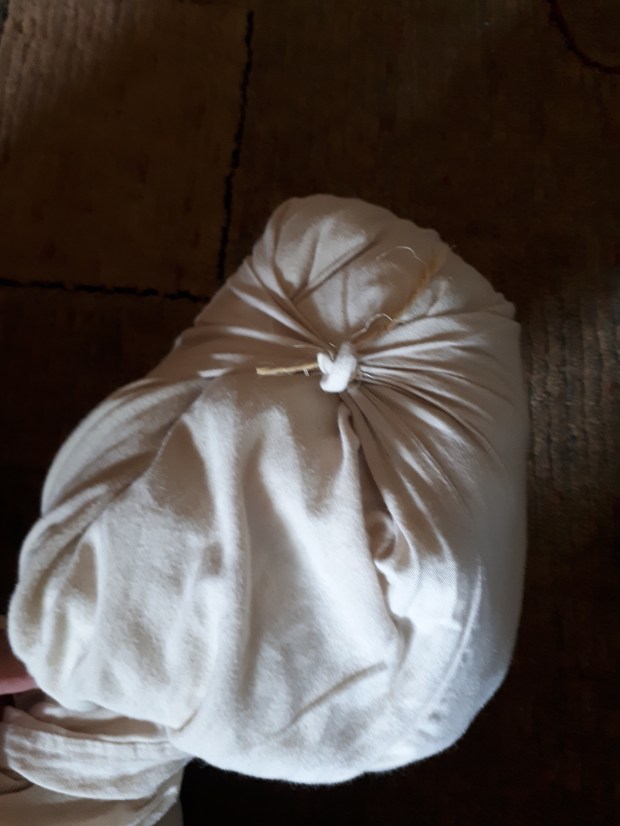
- You want your scarecrow’s head to be round (does that go without saying?), so once it’s full and rounded tie the corners of the pillowcase behind the head.

- Use an elastic to seal the hole, but not too tight, because now is the time to shove the stick all the way to the top of the scarecrow’s head. Centre the head on the stick.
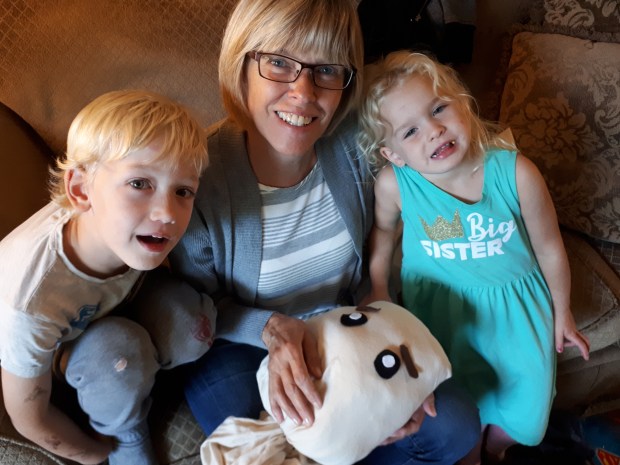
- Design your face with the felt.

- Using a hot glue gun, glue the felt face on. (Optional: Use a needle and black thread to make the mouth.)
- Put on the wig and the hat. You can glue these too if you think they might blow away or fall off.
- Put the shirt on the crosspiece.

- Put the stick with the head through the shirt so the head is right on the collar of the shirt. Put in 3 nails to hold it secure.

- Put on the overalls. You might need to cut a hole in the crotch of the pants. My son started cutting ours, and said it was too hard. I went to help him and discovered that our overalls had buttons for changing diapers.
- Tie the Bandanna around the scarecrow’s “neck.” This will cover up the wood.
- If you aren’t already outside, take your scarecrow out and put him up where you want him.
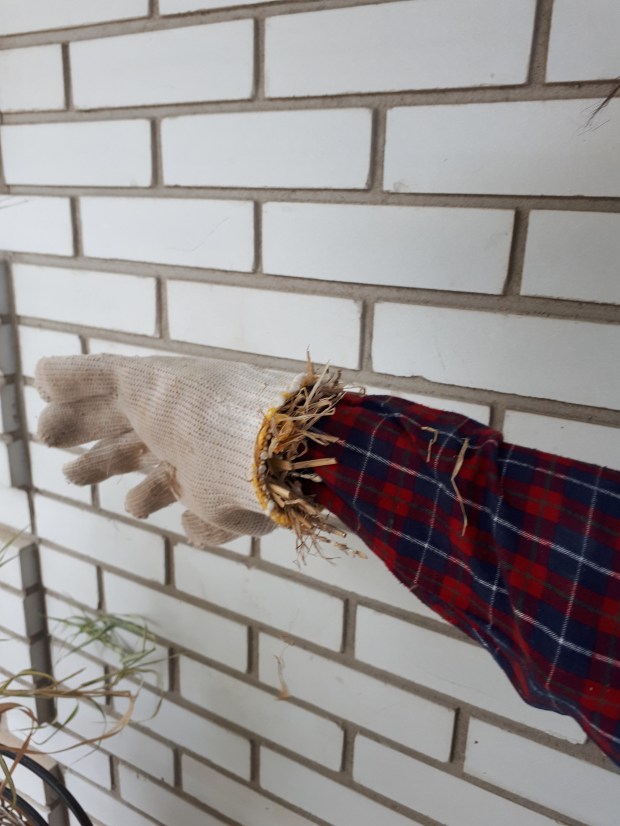
- Put on your scarecrow’s gloves and boots. Stuff straw in all the places where two things meet. ie. bandanna to shirt, shirt to gloves, etc.
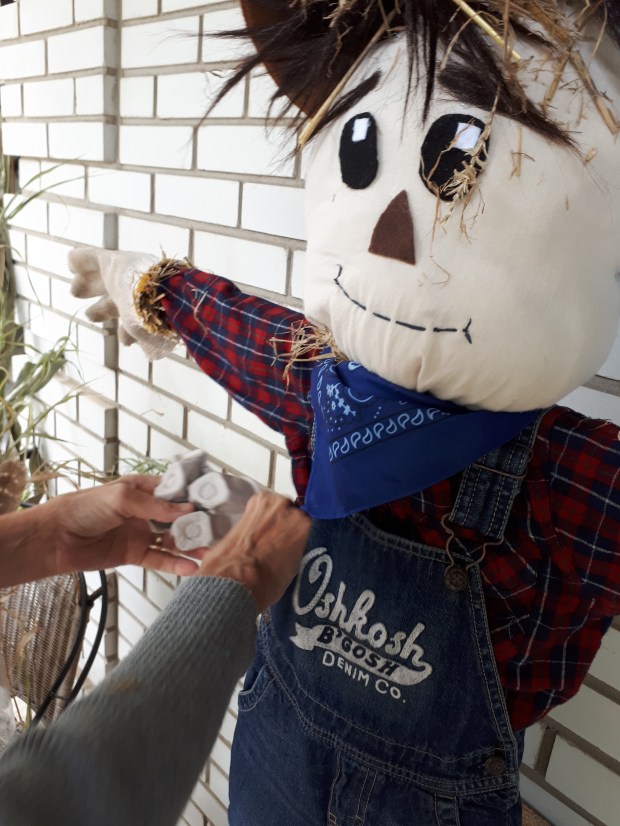
- Stuff him with whatever you’re using for stuffing.
- Take a second look to make sure everything’s arranged the way you want it to be: straight boots and bandanna, thumbs on the gloves are facing up (an easy way to be sure he doesn’t have two left hands!), hat at a jaunty angle, etc.

2 thoughts on “Scarecrow”